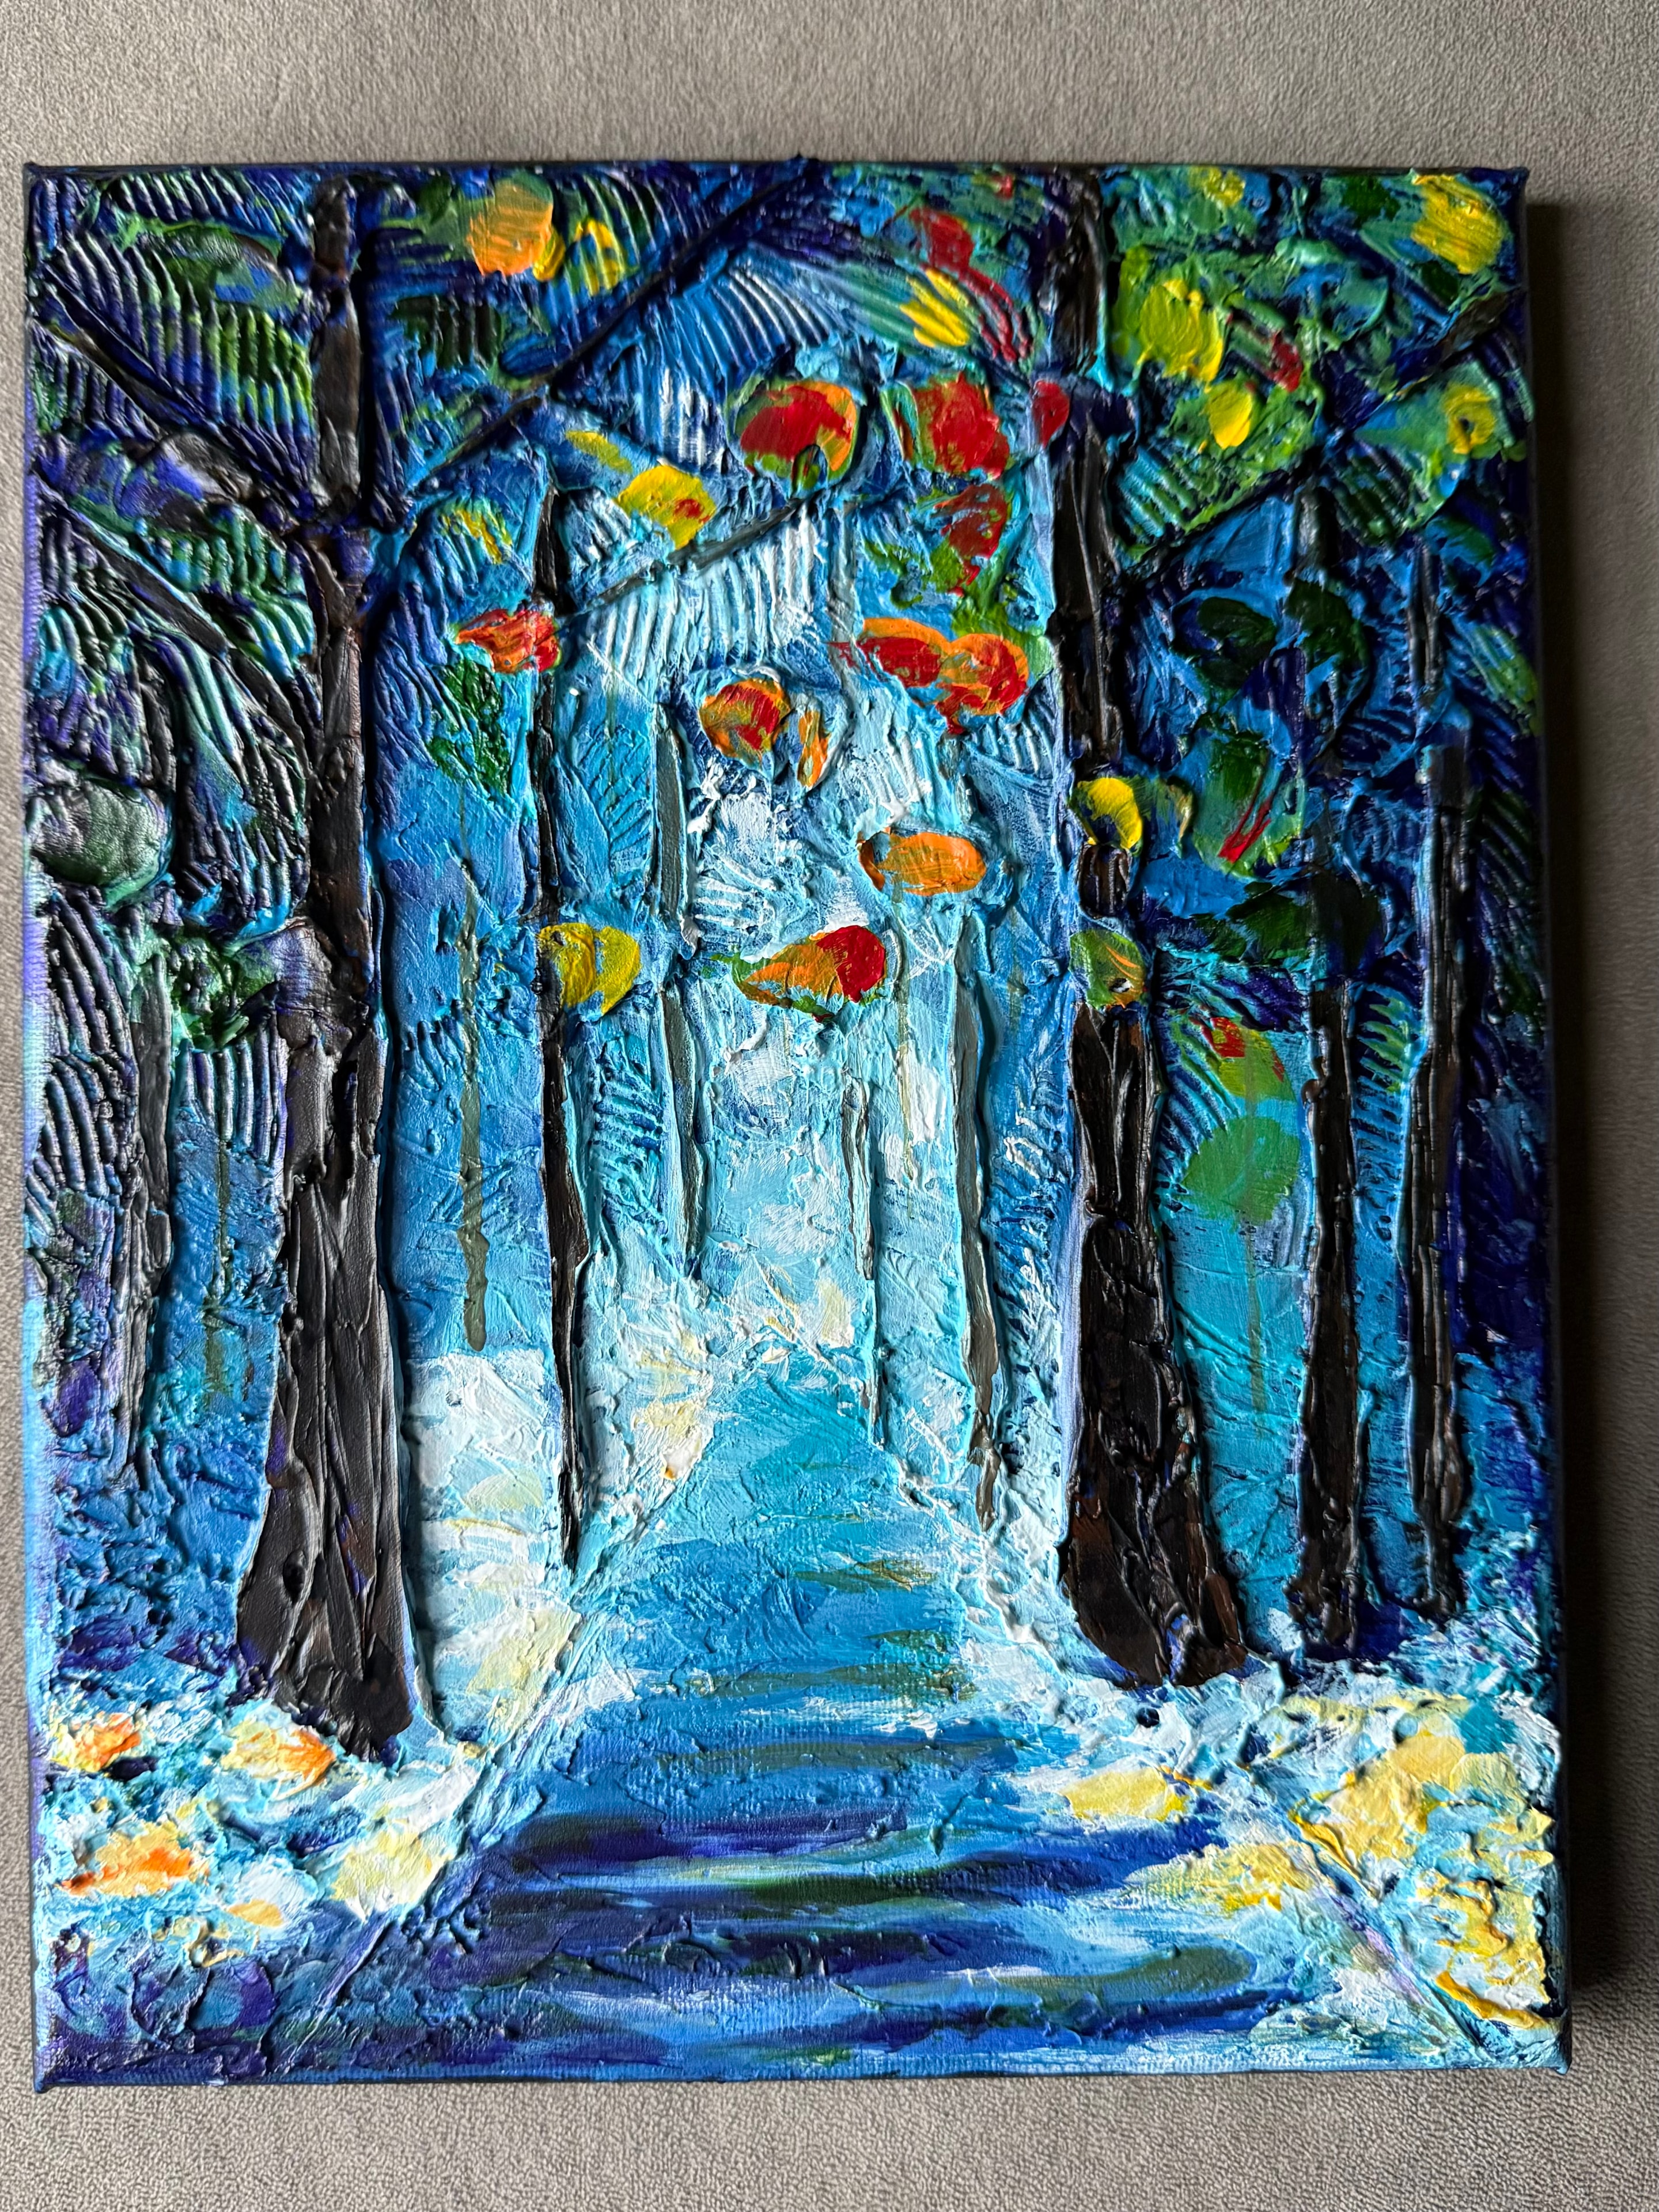
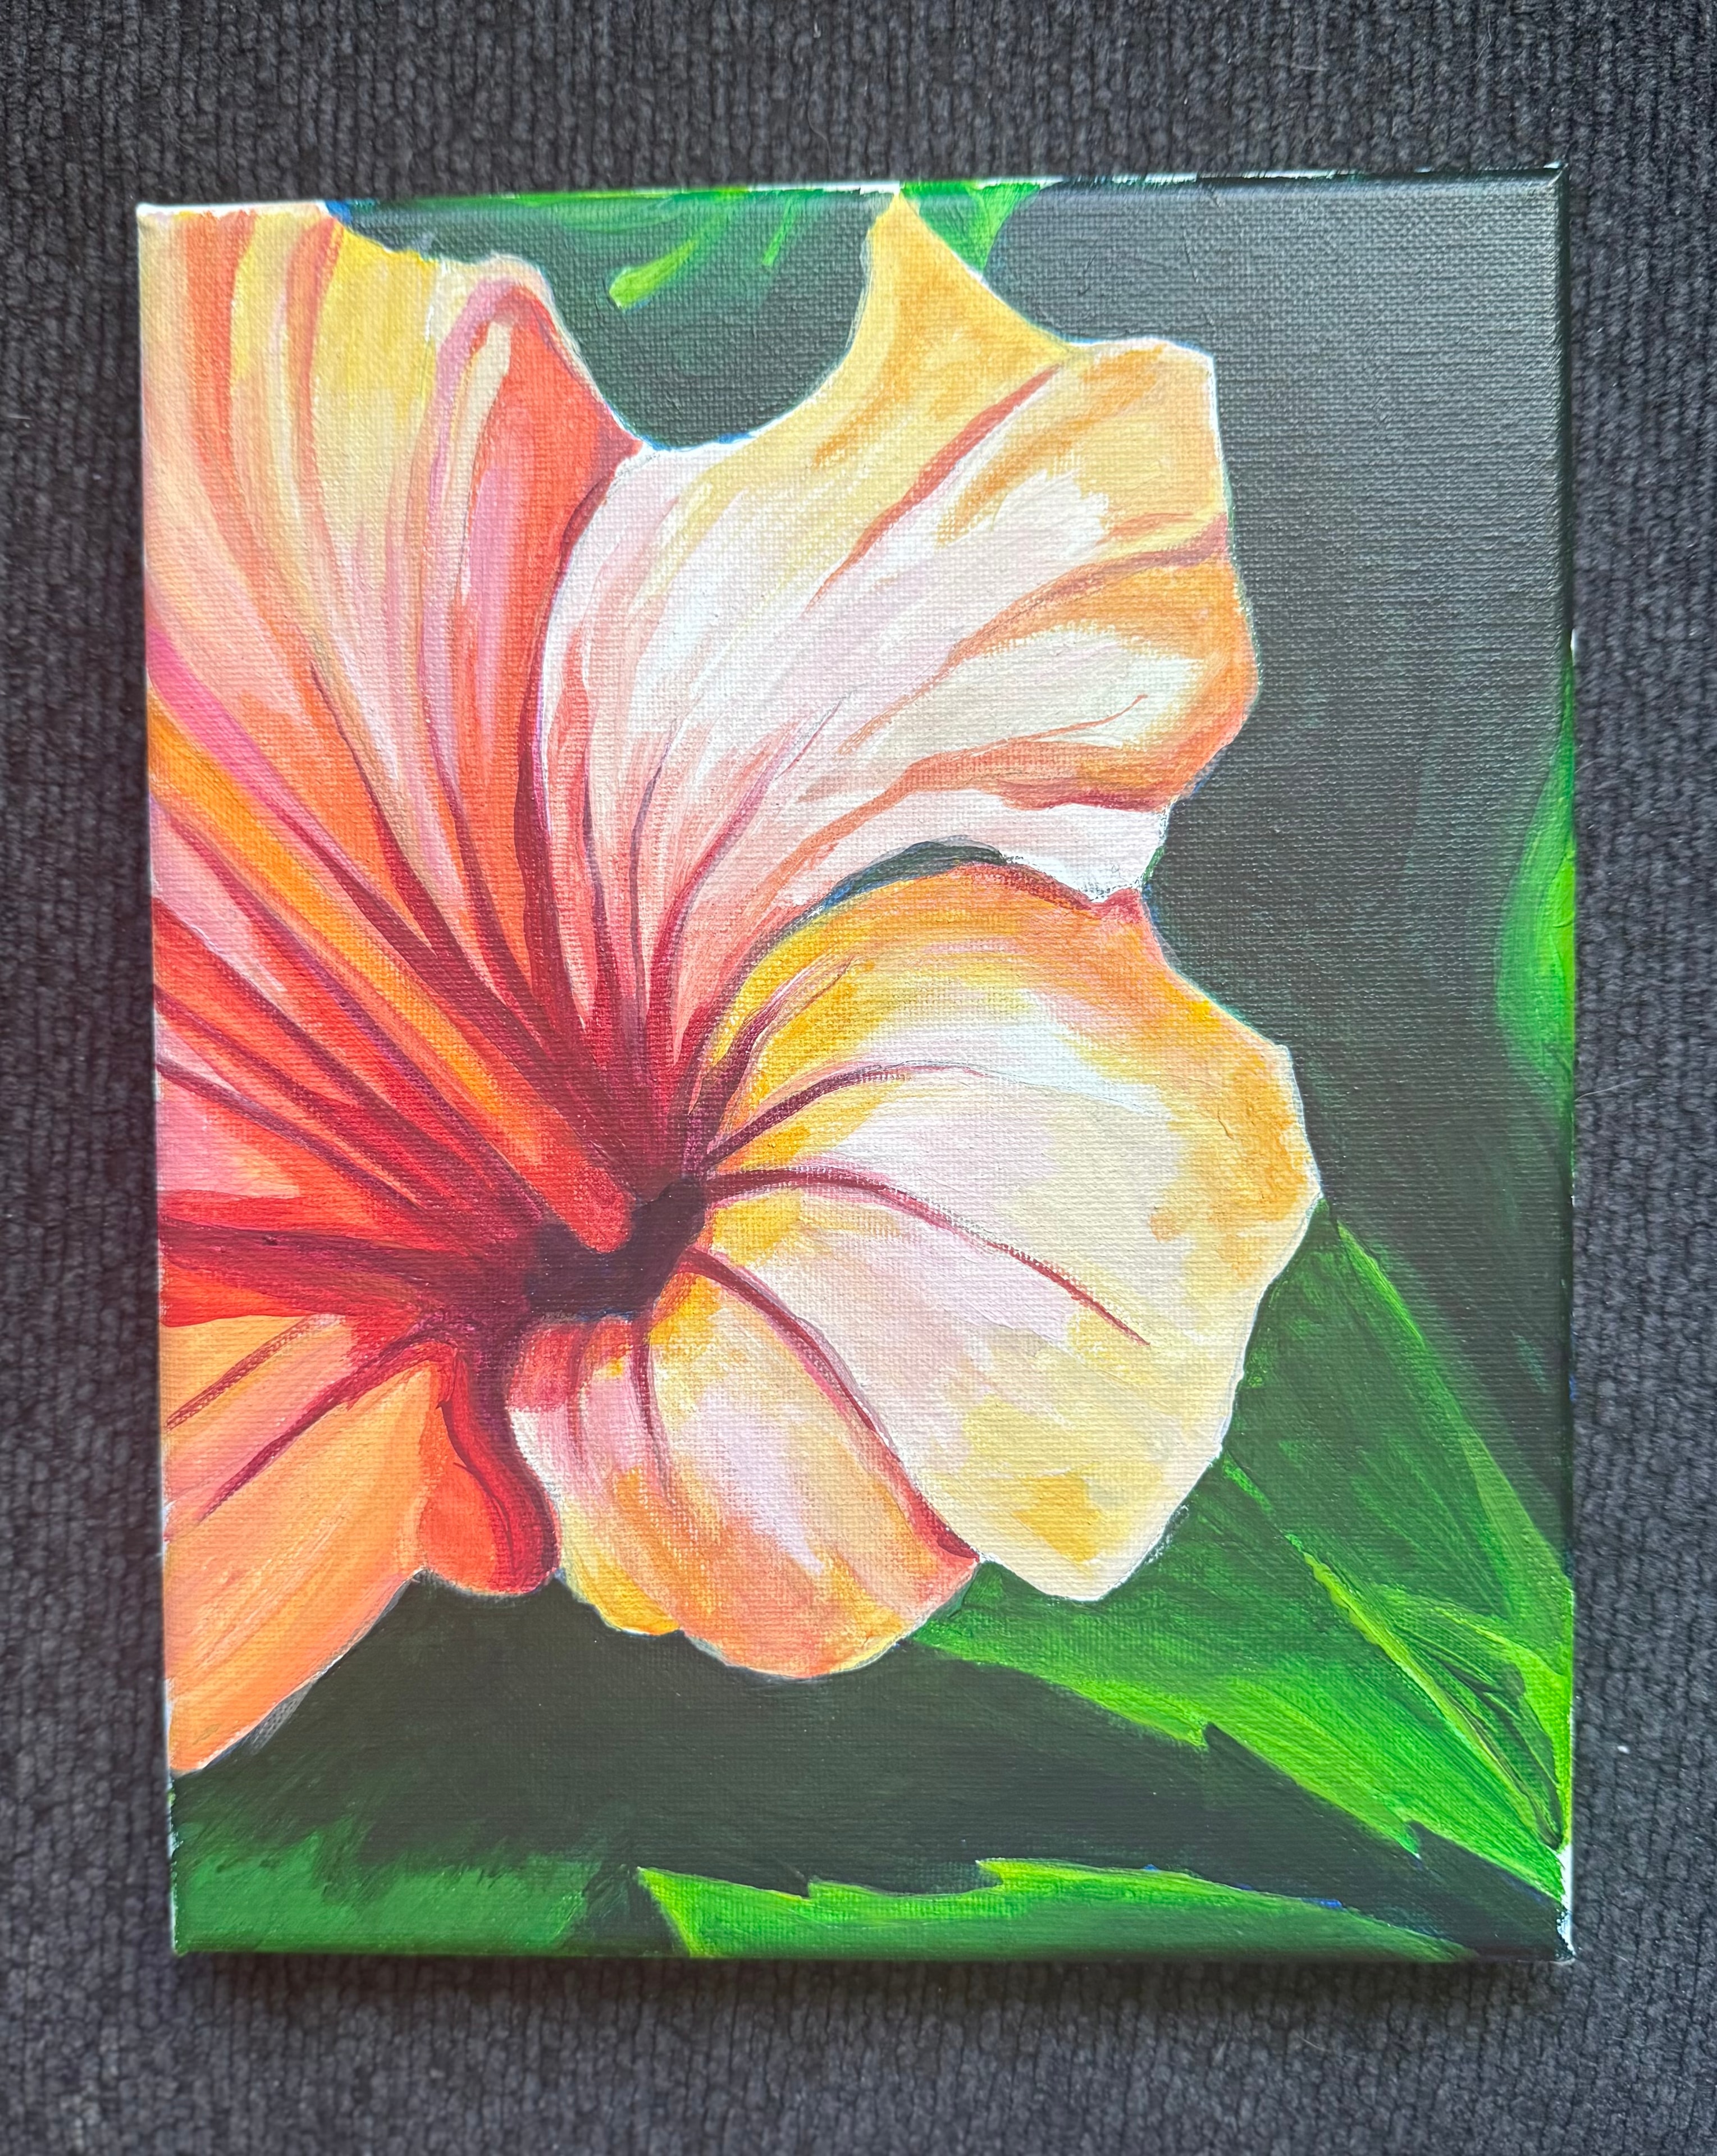
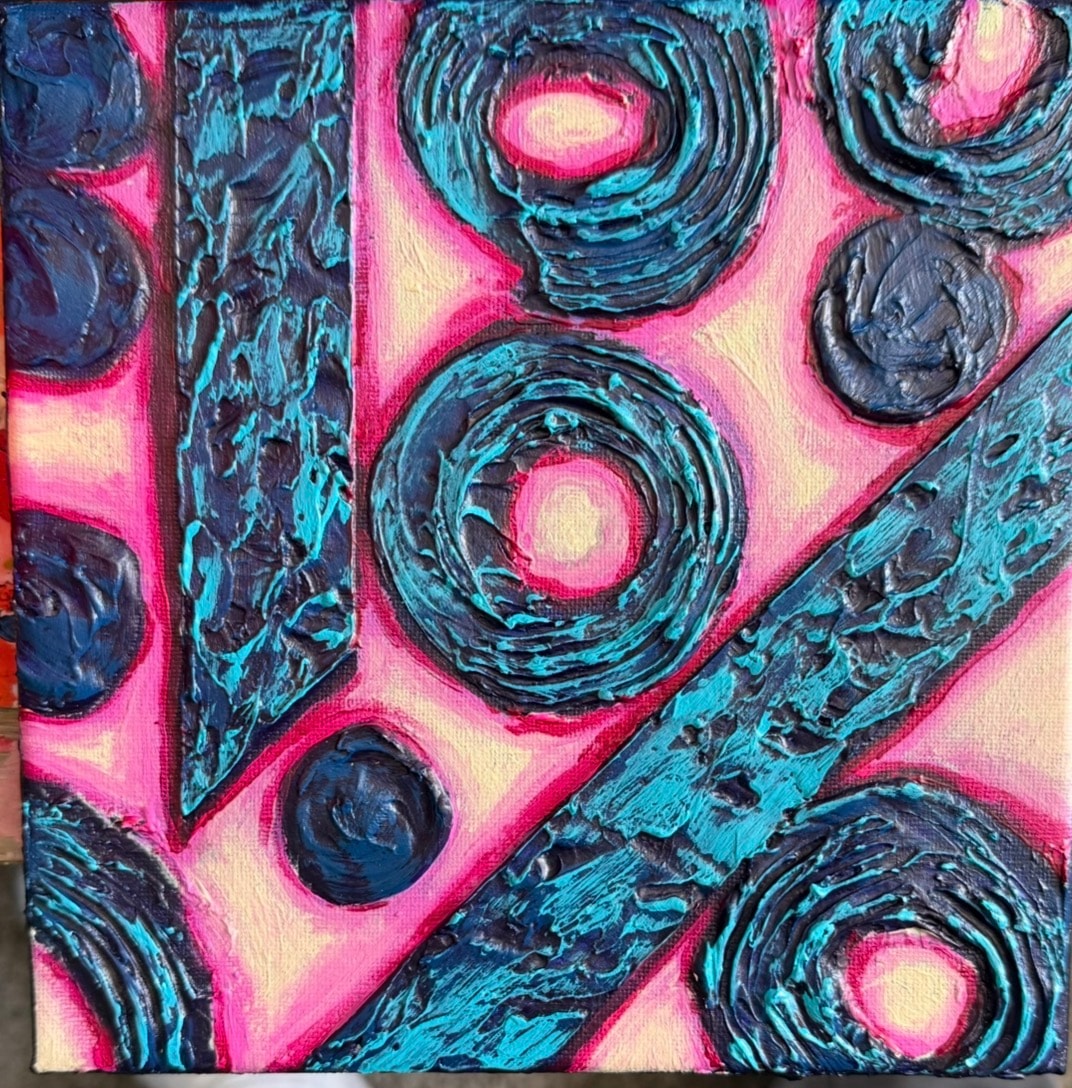
Your First Texture Painting: A Beginner's Step-by-Step Project Guide
Ready to try texture painting for the first time? This beginner project guide walks you through a complete first texture painting from start to finish — what to buy, what to do, and what to expect when you're just starting out.
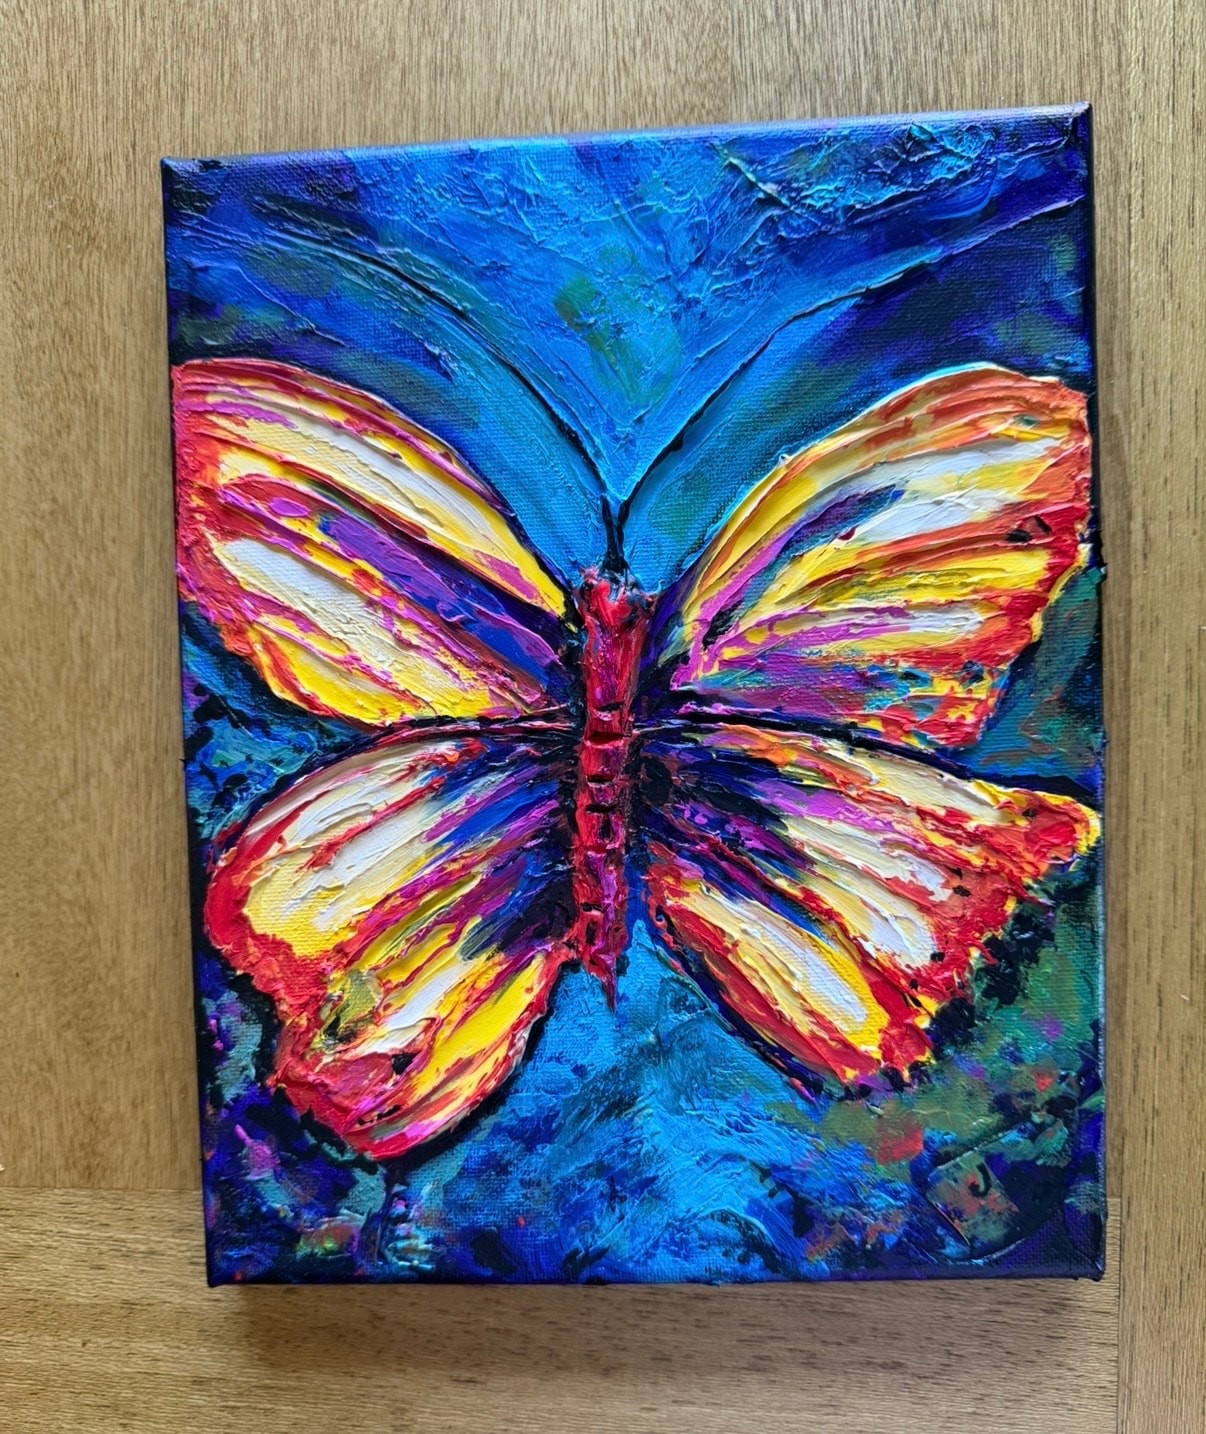
The hardest part of starting texture painting isn't the technique. It's knowing where to begin.
Most guides to texture painting cover the theory — what impasto is, how palette knife work creates ridges, why caulk is more durable than thick paint. That's useful background. But if you've never made a texture painting before, what you actually need is a project: a specific thing to make, with specific materials, in a specific order.
This is that guide. By the end, you'll have made your first texture painting.
What You'll Need for Your First Project
Keep the materials list short for your first project. You can expand later once you know what you're doing.
Canvas: A small stretched canvas — 8×10 or 9×12 is ideal for a first project. Small enough to be manageable, large enough to practice the technique.
Caulk: One tube of white paintable acrylic caulk. Available at any hardware store for a few dollars. Make sure it says "paintable" on the label — some caulk formulations resist paint adhesion.
Caulk gun: A basic caulk gun to apply the caulk from the tube. Also a few dollars at a hardware store.
Palette knives: A set of basic palette knives for shaping the caulk. A flat knife and a pointed knife will cover most needs.
Acrylic paint: A small set of acrylic paints in the colors you want. Acrylics bond well to cured caulk and dry quickly.
Brushes: A few basic brushes — a flat brush for broad areas, a round brush for detail.
Varnish: A can of acrylic varnish to seal the finished painting. Matte or gloss depending on your preference.
Total cost: Under $30 for everything if you're starting from scratch.
Choosing Your First Subject
For your first texture painting, choose a simple subject with clear three-dimensional forms. Good choices:
- A single flower — one hibiscus, one sunflower, or one daisy. Simple composition, clear petal forms, satisfying result.
- A simple landscape — a tree against a sky, or a rolling hill. Straightforward forms that are forgiving for beginners.
- An abstract composition — swirling ridges and geometric peaks. No "right" answer, so mistakes are invisible.
Avoid complex multi-element compositions for your first project. You want to focus on learning the caulk technique, not managing a complicated composition.
Step 1: Plan Before You Touch the Caulk
This is the most important step — and the one most beginners skip.
The caulk structure is permanent. Once it sets, you can't change it. Before you apply a single bead of caulk, know exactly where every raised surface will be.
Sketch your composition lightly on the canvas with a pencil. Mark where the raised areas will be (the petals, the tree trunk, the abstract ridges) and where the recessed areas will be (the background, the spaces between elements).
Take five minutes on this step. It will save you from the most common beginner mistake: applying caulk and then realizing the composition isn't working.
Step 2: Apply the Caulk
Load the caulk tube into the gun and cut the tip at a 45-degree angle. The size of the opening determines how much caulk comes out — start with a small opening and you can always cut more.
Apply caulk to the canvas following your sketch. For a flower, apply beads of caulk in the shapes of the petals. For a landscape, apply caulk to the foreground elements. For an abstract, apply caulk in the patterns you want.
Don't try to make it perfect at this stage. The caulk will be shaped in the next step. Right now you're just getting material onto the canvas in roughly the right places.
Work quickly — caulk begins to skin over within 10–15 minutes in typical conditions. You don't need to finish the entire canvas in one session, but work section by section without stopping.
Step 3: Shape the Caulk
While the caulk is still workable, use your palette knives to shape it into the forms you want.
For petals: use the flat knife to smooth and curve the caulk into petal shapes. Use the pointed knife to define the edges.
For bark or rough texture: use the flat knife to create irregular ridges and rough surfaces.
For smooth curves: use a damp finger (just slightly damp) to smooth the caulk into gentle curves.
Work quickly. The caulk is most workable in the first 10–15 minutes after application. After that, it begins to set and becomes harder to shape without tearing.
Step 4: Let It Cure — Completely
This is where most beginners go wrong: they don't wait long enough.
Caulk cures from the outside in. The surface may feel dry within an hour, but the interior is still soft. If you paint over uncured caulk, the paint can crack as the caulk finishes curing beneath it.
Wait at least 24 hours before painting. In humid conditions or with thick applications, wait 48 hours. Press gently on the thickest areas — if they feel firm all the way through, the caulk is cured.
Step 5: Paint
With the caulk fully cured, you have a white three-dimensional sculpture on your canvas. Now paint it.
Start with the background — the flat areas behind your three-dimensional forms. Use a flat brush and broad strokes.
Then paint the three-dimensional forms. This is where the technique becomes interesting: paint behaves differently on a three-dimensional surface. It pools in the valleys between ridges. It sits on the peaks. Dry-brushing — dragging a nearly-dry brush lightly across the raised texture — creates highlights that look natural because they are natural.
Build up color in layers. Start with darker base tones and add lighter highlights on the raised surfaces.
Step 6: Seal
Once the paint is completely dry, apply a coat of acrylic varnish over the entire surface. The varnish protects the paint from UV degradation and surface abrasion, and gives the finished painting a professional appearance.
Apply in thin, even coats. Two thin coats are better than one thick coat.
What to Expect From Your First Texture Painting
Your first texture painting probably won't look like Jay the Painter's work. That's fine — he's been developing this technique for years.
What you should expect:
- The caulk will be harder to control than you expected. That's normal.
- The painting will look better in person than in photographs. That's always true of texture work.
- You'll immediately see what you'd do differently next time. That's how the technique develops.
The goal of your first project isn't a masterpiece. It's understanding how the material behaves — how long the working window is, how the caulk responds to different tools, how paint behaves on a three-dimensional surface.
Make the first one. Then make a better second one.
See What the Technique Can Achieve
If you want to see what caulk texture painting looks like at a professional level, browse Jay the Painter's gallery:
Full gallery: jaythepainter.com/artwork
Before-and-after process photos: jaythepainter.com/caulk-art-process
The complete technique guide: What Is Caulk Art? →
Jay the Painter is an independent caulk texture artist based in Akron, Ohio. He creates original dimensional paintings and sells directly to collectors nationwide.
Explore Topics
Written by
Jay the Painter
Content creator and writer sharing insights and stories.