Caulk Art for Beginners: Everything You Need to Know to Get Started
New to caulk art? This beginner's guide covers what caulk art is, what supplies you need, how the process works, and where to buy original caulk art paintings if you'd rather own one than make one.
Caulk Art for Beginners: Everything You Need to Know to Get Started
If you've never heard of caulk art before, you're not alone. It's a relatively new technique — and one artist in Akron, Ohio is largely responsible for putting it on the map. This guide covers everything a beginner needs to know: what caulk art is, how it works, what supplies you need, and where to buy original caulk art if you'd rather own one than make one.
What Is Caulk Art?
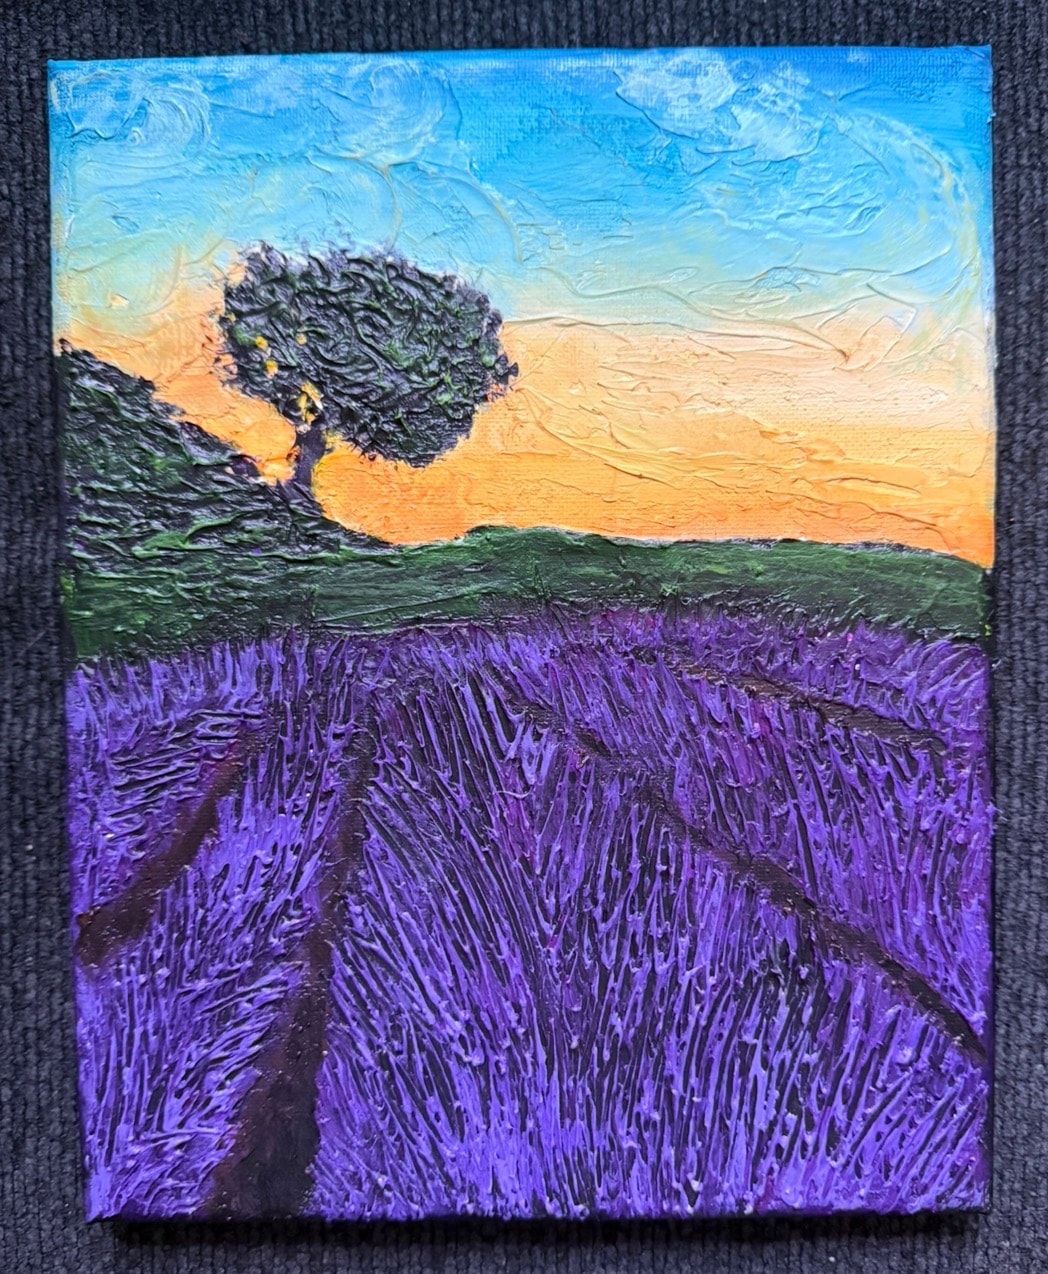
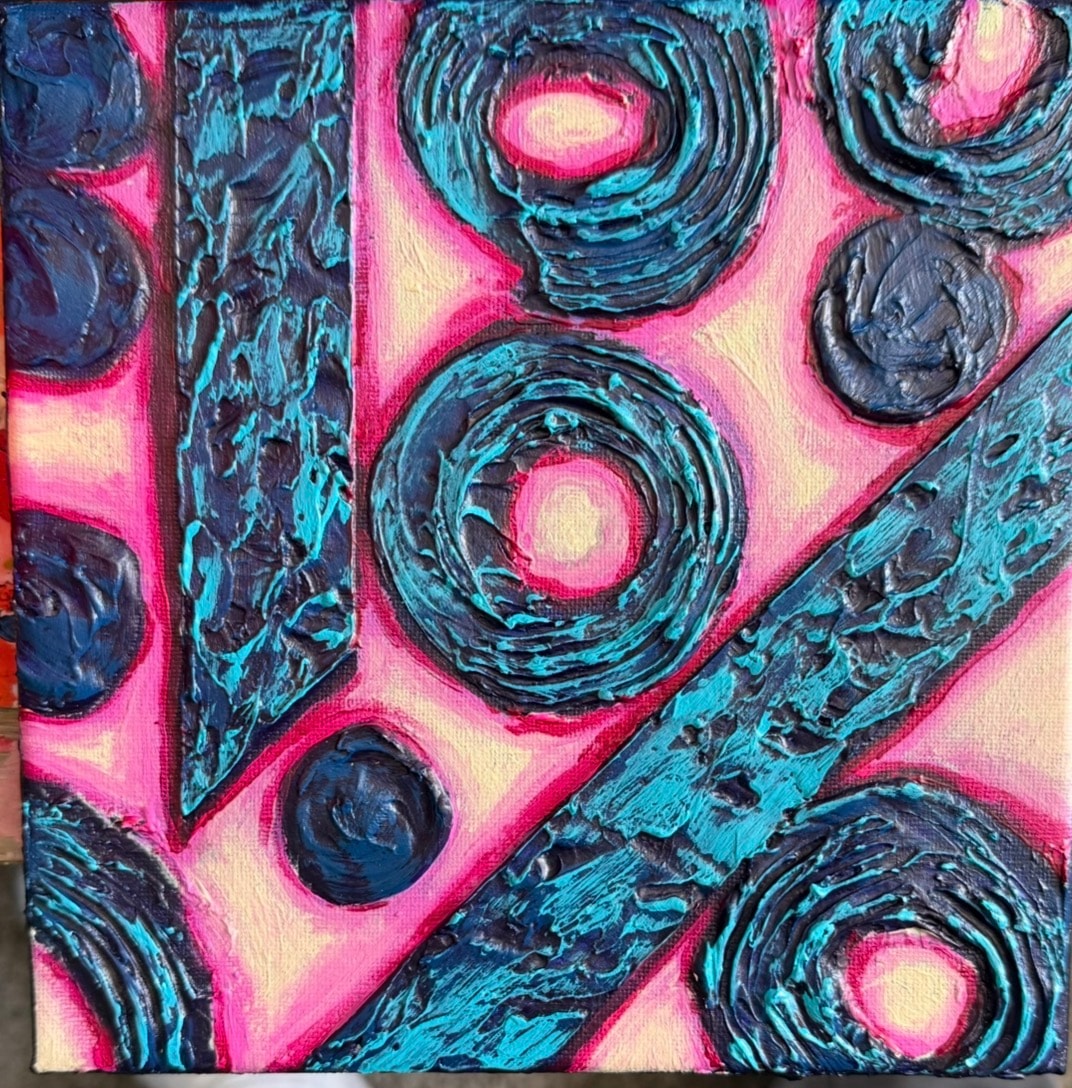
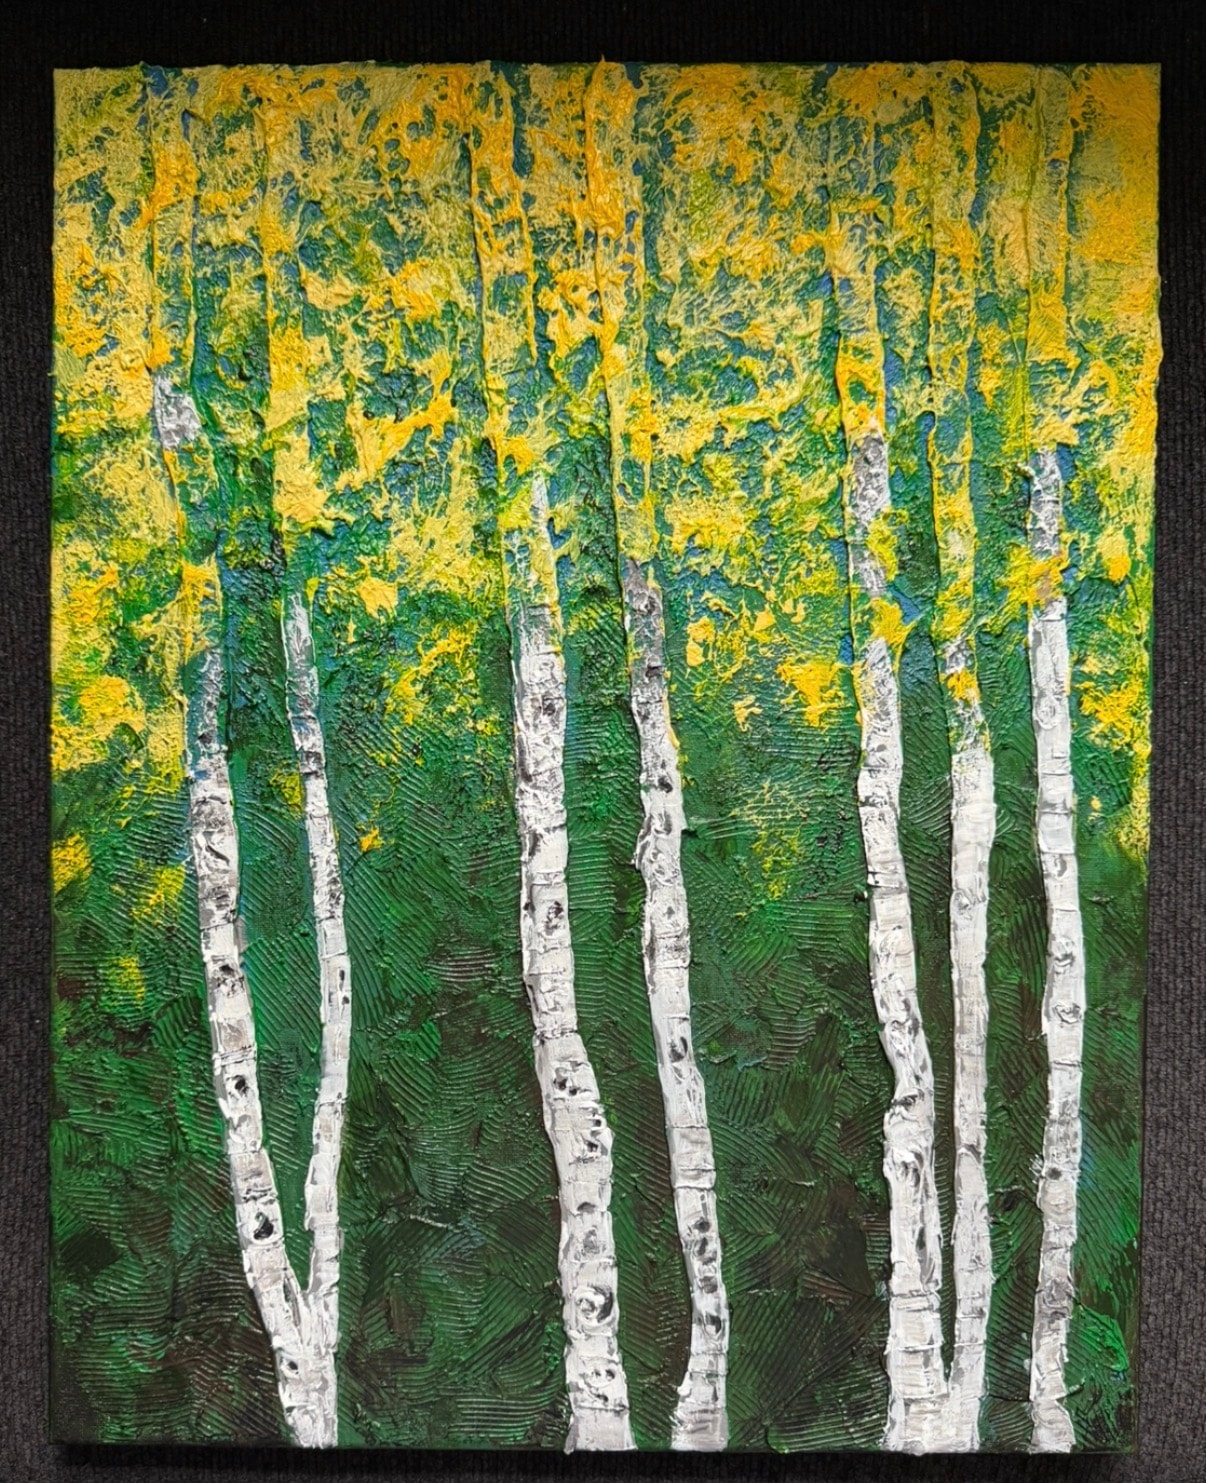
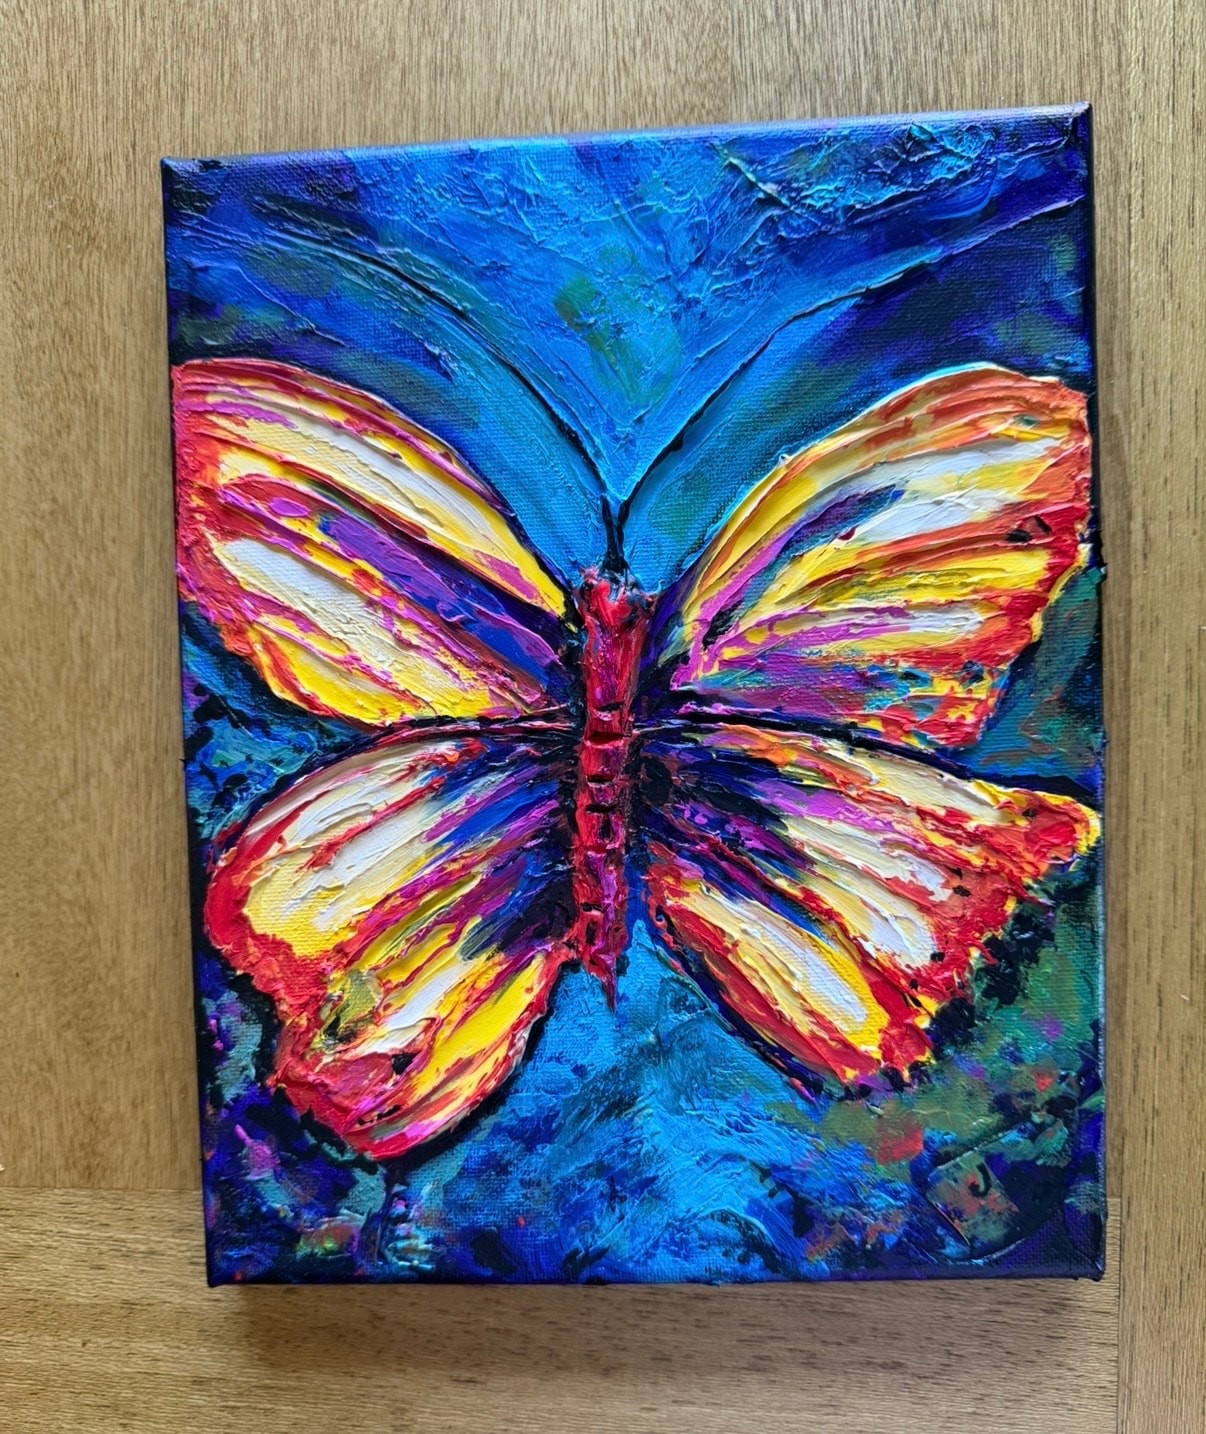
Caulk art is a painting technique where flexible caulk — the same material used to seal bathtubs, windows, and tile — is applied directly to a canvas to build real, physical 3D texture before any paint is added.
The caulk is sculpted into ridges, peaks, swirls, and patterns. Once it cures hard, the artist paints over the textured surface. The result is a painting with dramatic depth and dimension that looks alive from across the room.
This is different from impasto, which uses thick paint to build texture. Caulk creates more dramatic, structural texture — sharp ridges and deep valleys that paint alone cannot achieve.
Who Invented Caulk Art?
Jay the Painter of Akron, Ohio is the originator of the caulk art technique. A BFA graduate of Bowling Green State University, Jay developed the technique by experimenting with materials outside the traditional art supply store. He discovered that flexible caulk could be sculpted onto canvas in ways that paint mediums never could — and the results were unlike anything else in contemporary painting.
Jay's gallery at jaythepainter.com is the best place to see what caulk art looks like in practice.
Caulk Art Supplies for Beginners
To get started with caulk art, you'll need:
- Flexible acrylic caulk — paintable, from any hardware store
- Caulk gun — for controlled application
- Palette knife — for sculpting and spreading the caulk
- Primed canvas or canvas board — any size
- Acrylic paints — applied after the caulk cures
- Brushes — various sizes
- Varnish or sealant — to protect the finished painting
The good news: most of these supplies are inexpensive and available at any hardware store or art supply shop.
The Caulk Art Process Step by Step
Step 1: Prepare your canvas
Start with a primed canvas or canvas board. The surface needs to be clean and dry.
Step 2: Apply the caulk texture
Using a caulk gun and palette knife, apply flexible caulk to the canvas in the shapes and patterns you want. This is where the 3D texture is built.
Step 3: Let it cure
The caulk must dry and cure fully before painting begins — usually 24 to 48 hours depending on thickness.
Step 4: Paint over the texture
Once cured, apply acrylic paint over the textured surface. The paint settles into the valleys and highlights the ridges, creating dramatic depth.
Step 5: Seal and finish
Apply a varnish or sealant to protect the painting and enhance the colors.
Want to Own Original Caulk Art Instead?
If you'd rather own a finished caulk art painting than make one yourself, Jay the Painter sells originals directly from his Akron, Ohio studio. Every piece is one of a kind — no prints, ever.
- View the full gallery — large originals
- Mini paintings from $40 — original caulk art starting at $40
- Commission a painting — custom caulk art made to order
Call or text Jay directly at 330-285-3136.