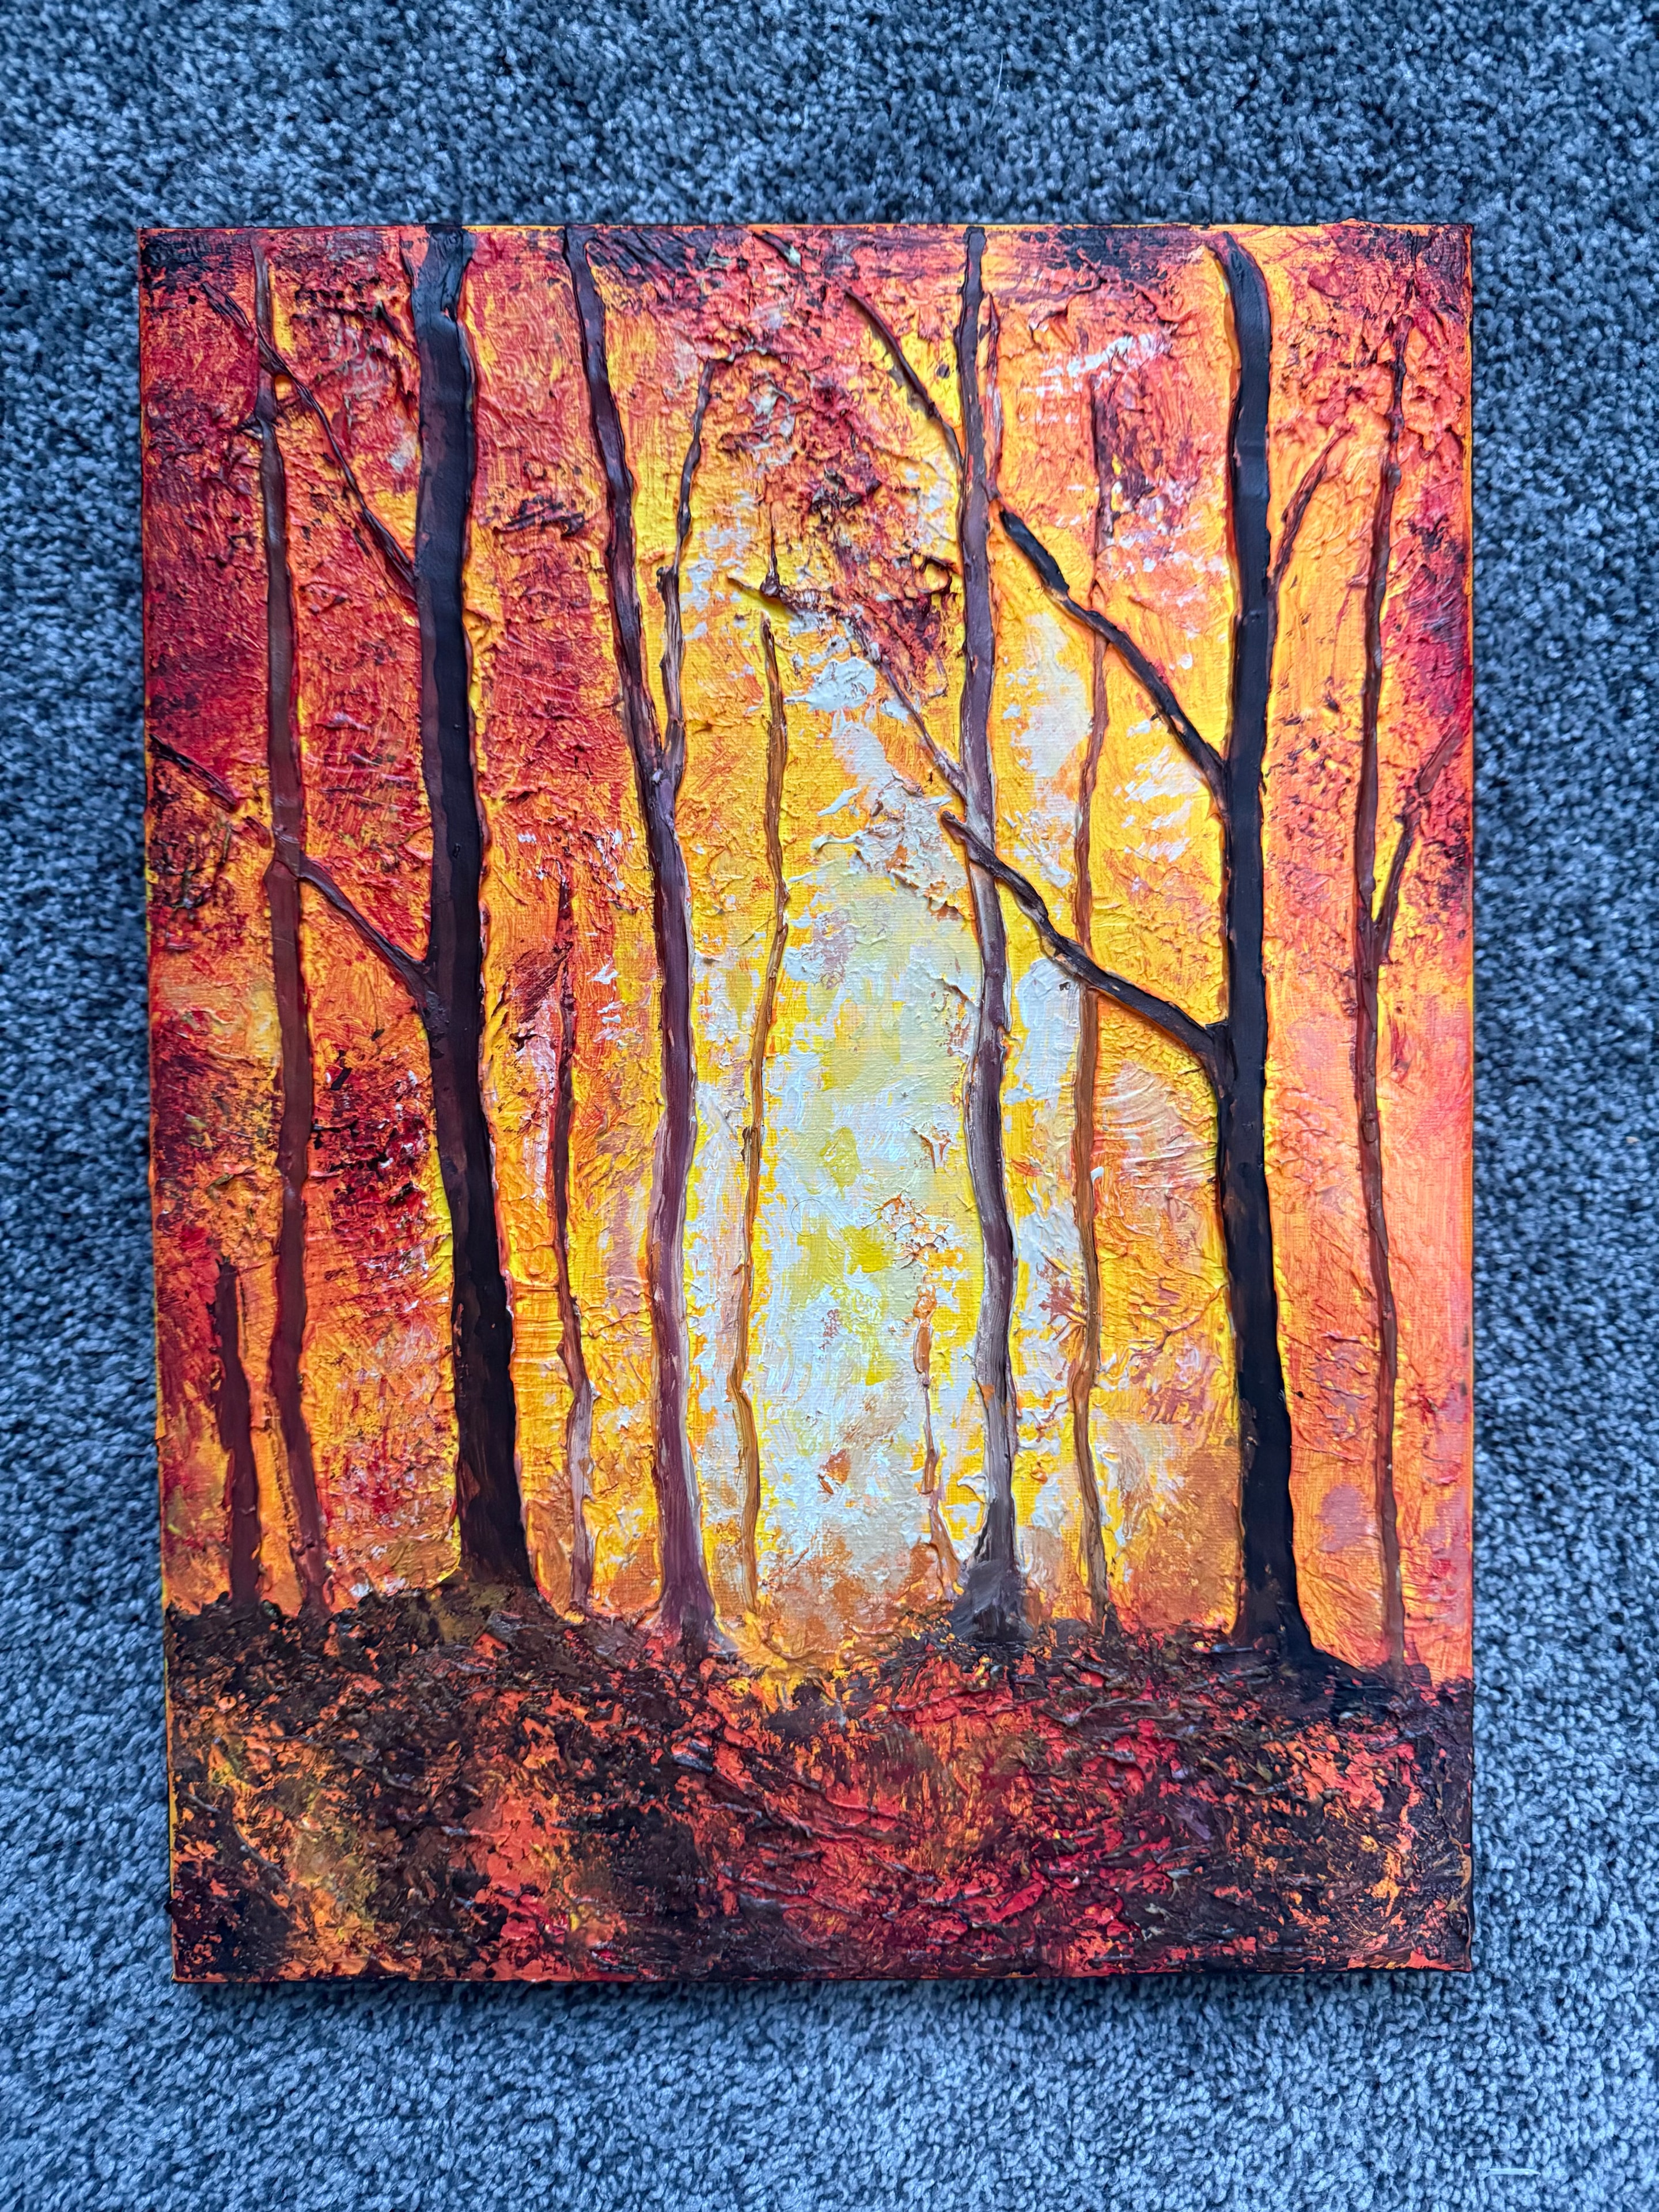
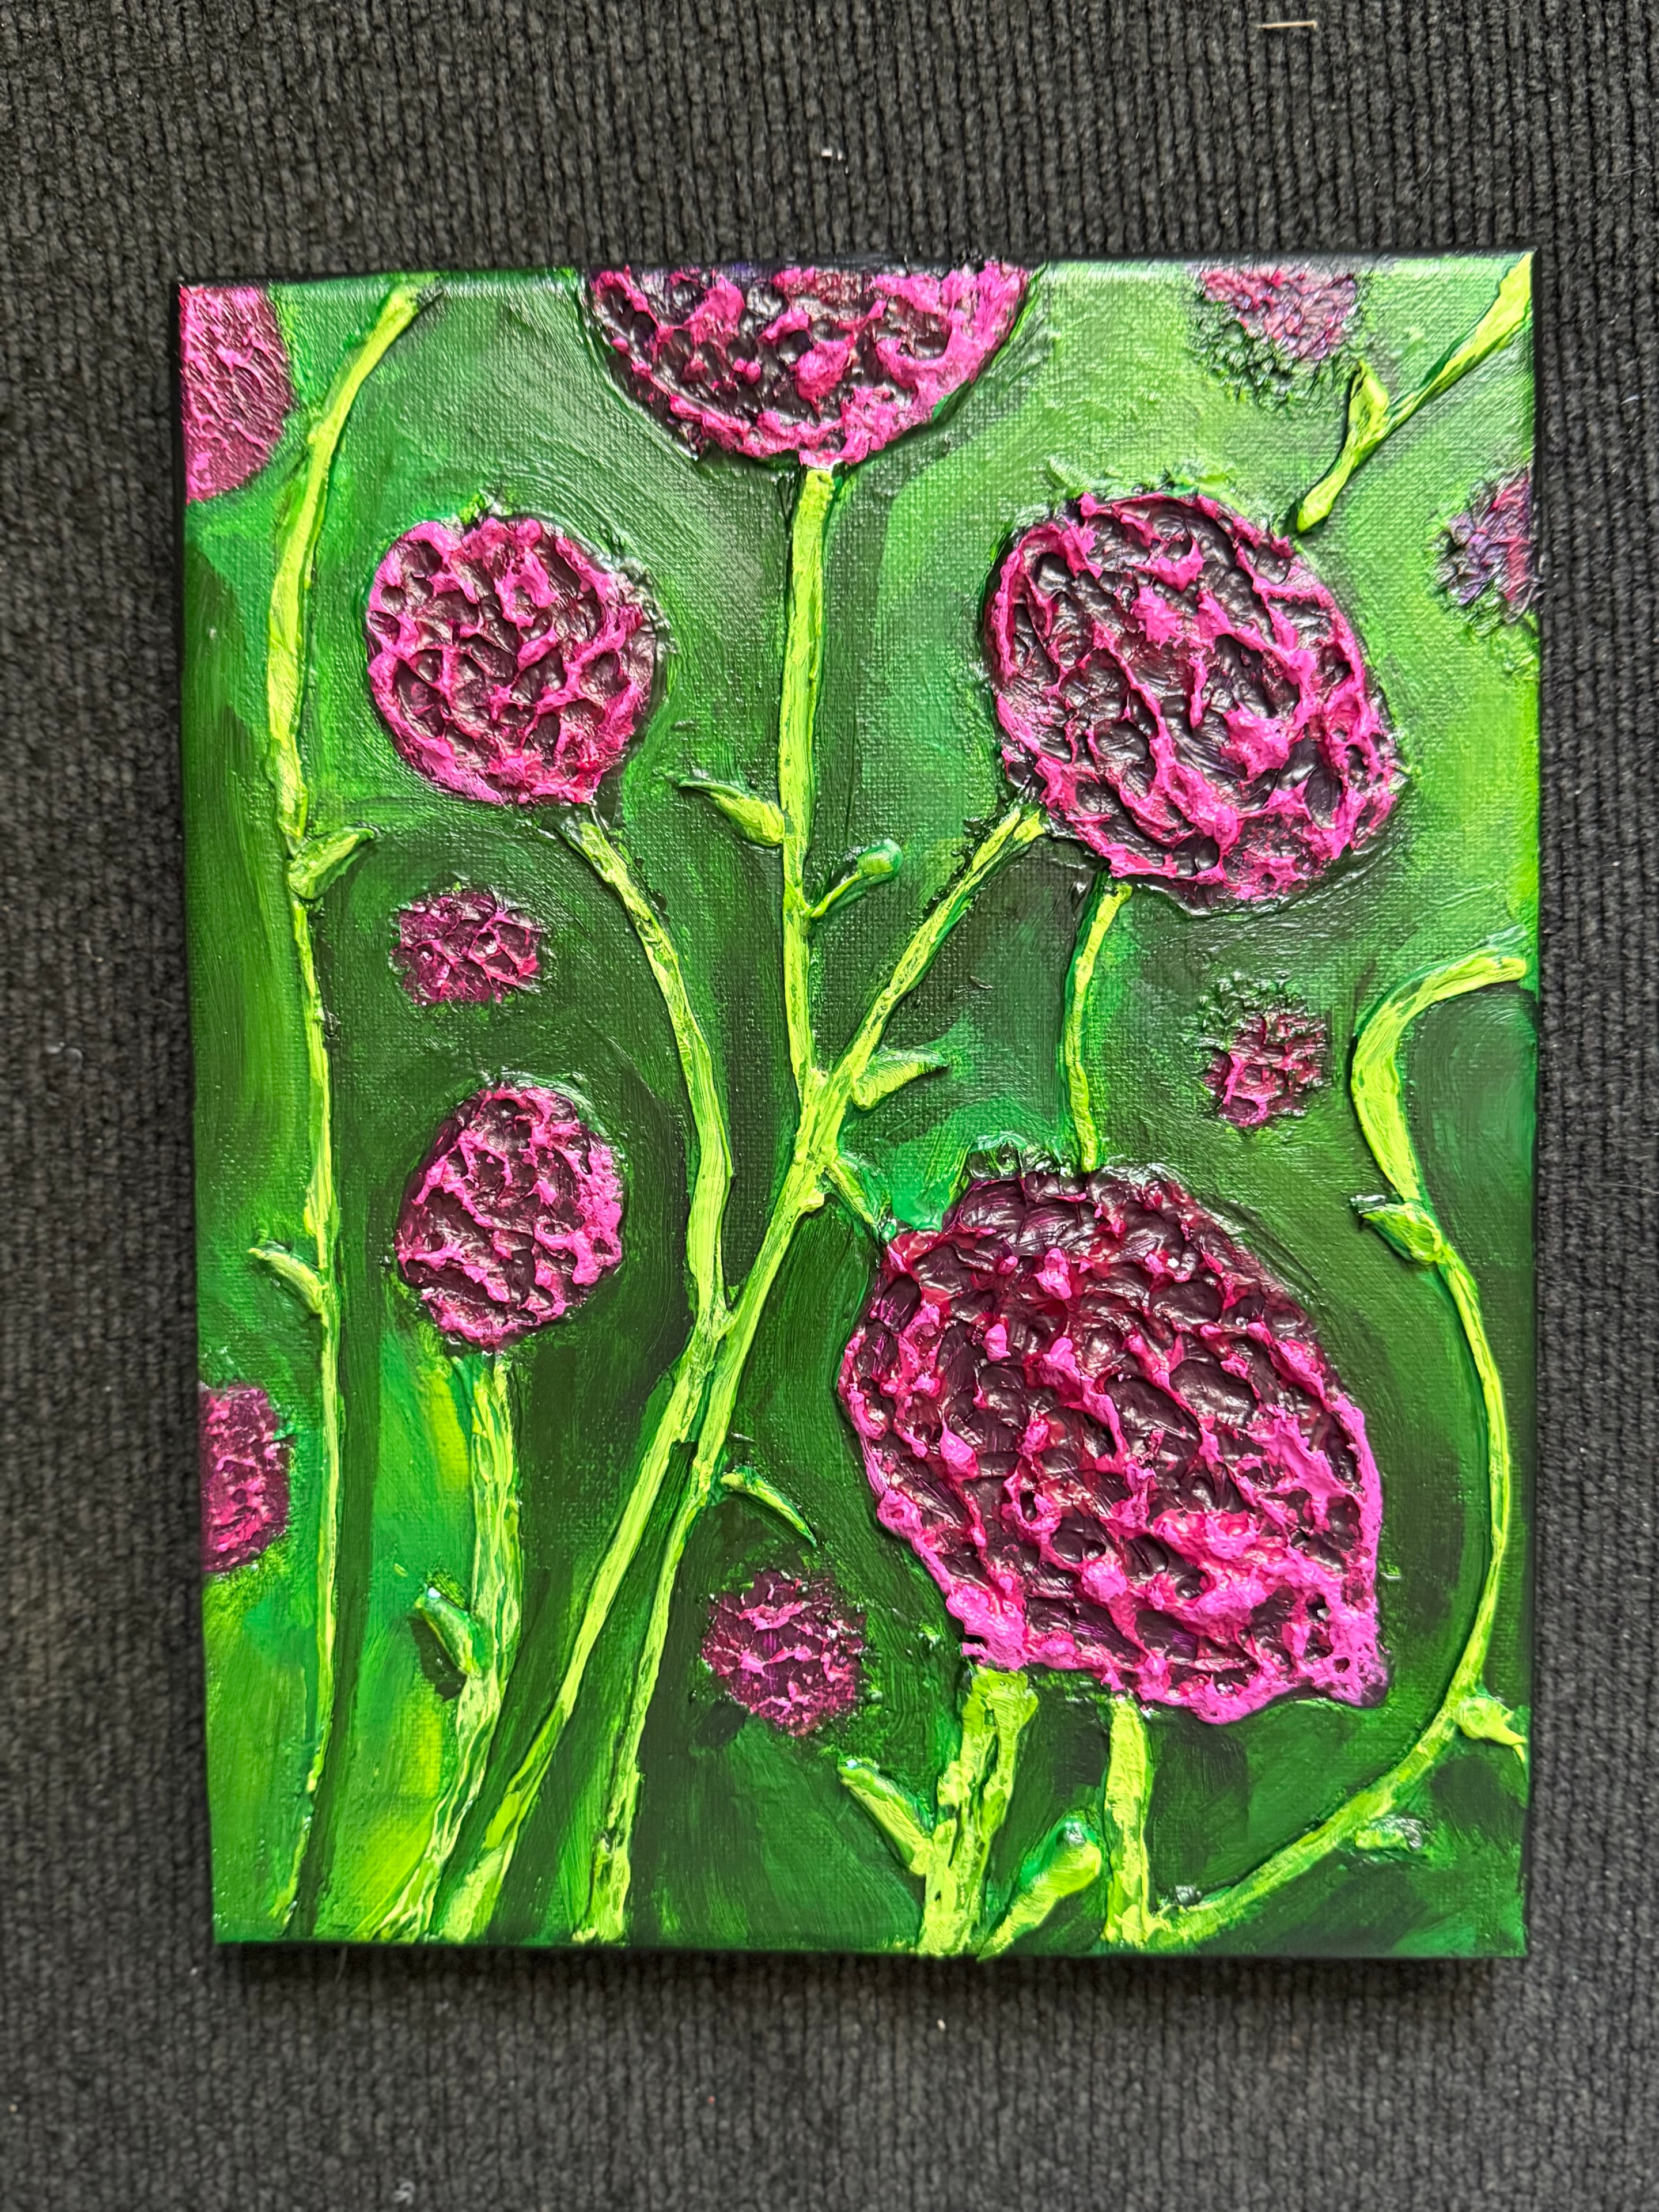
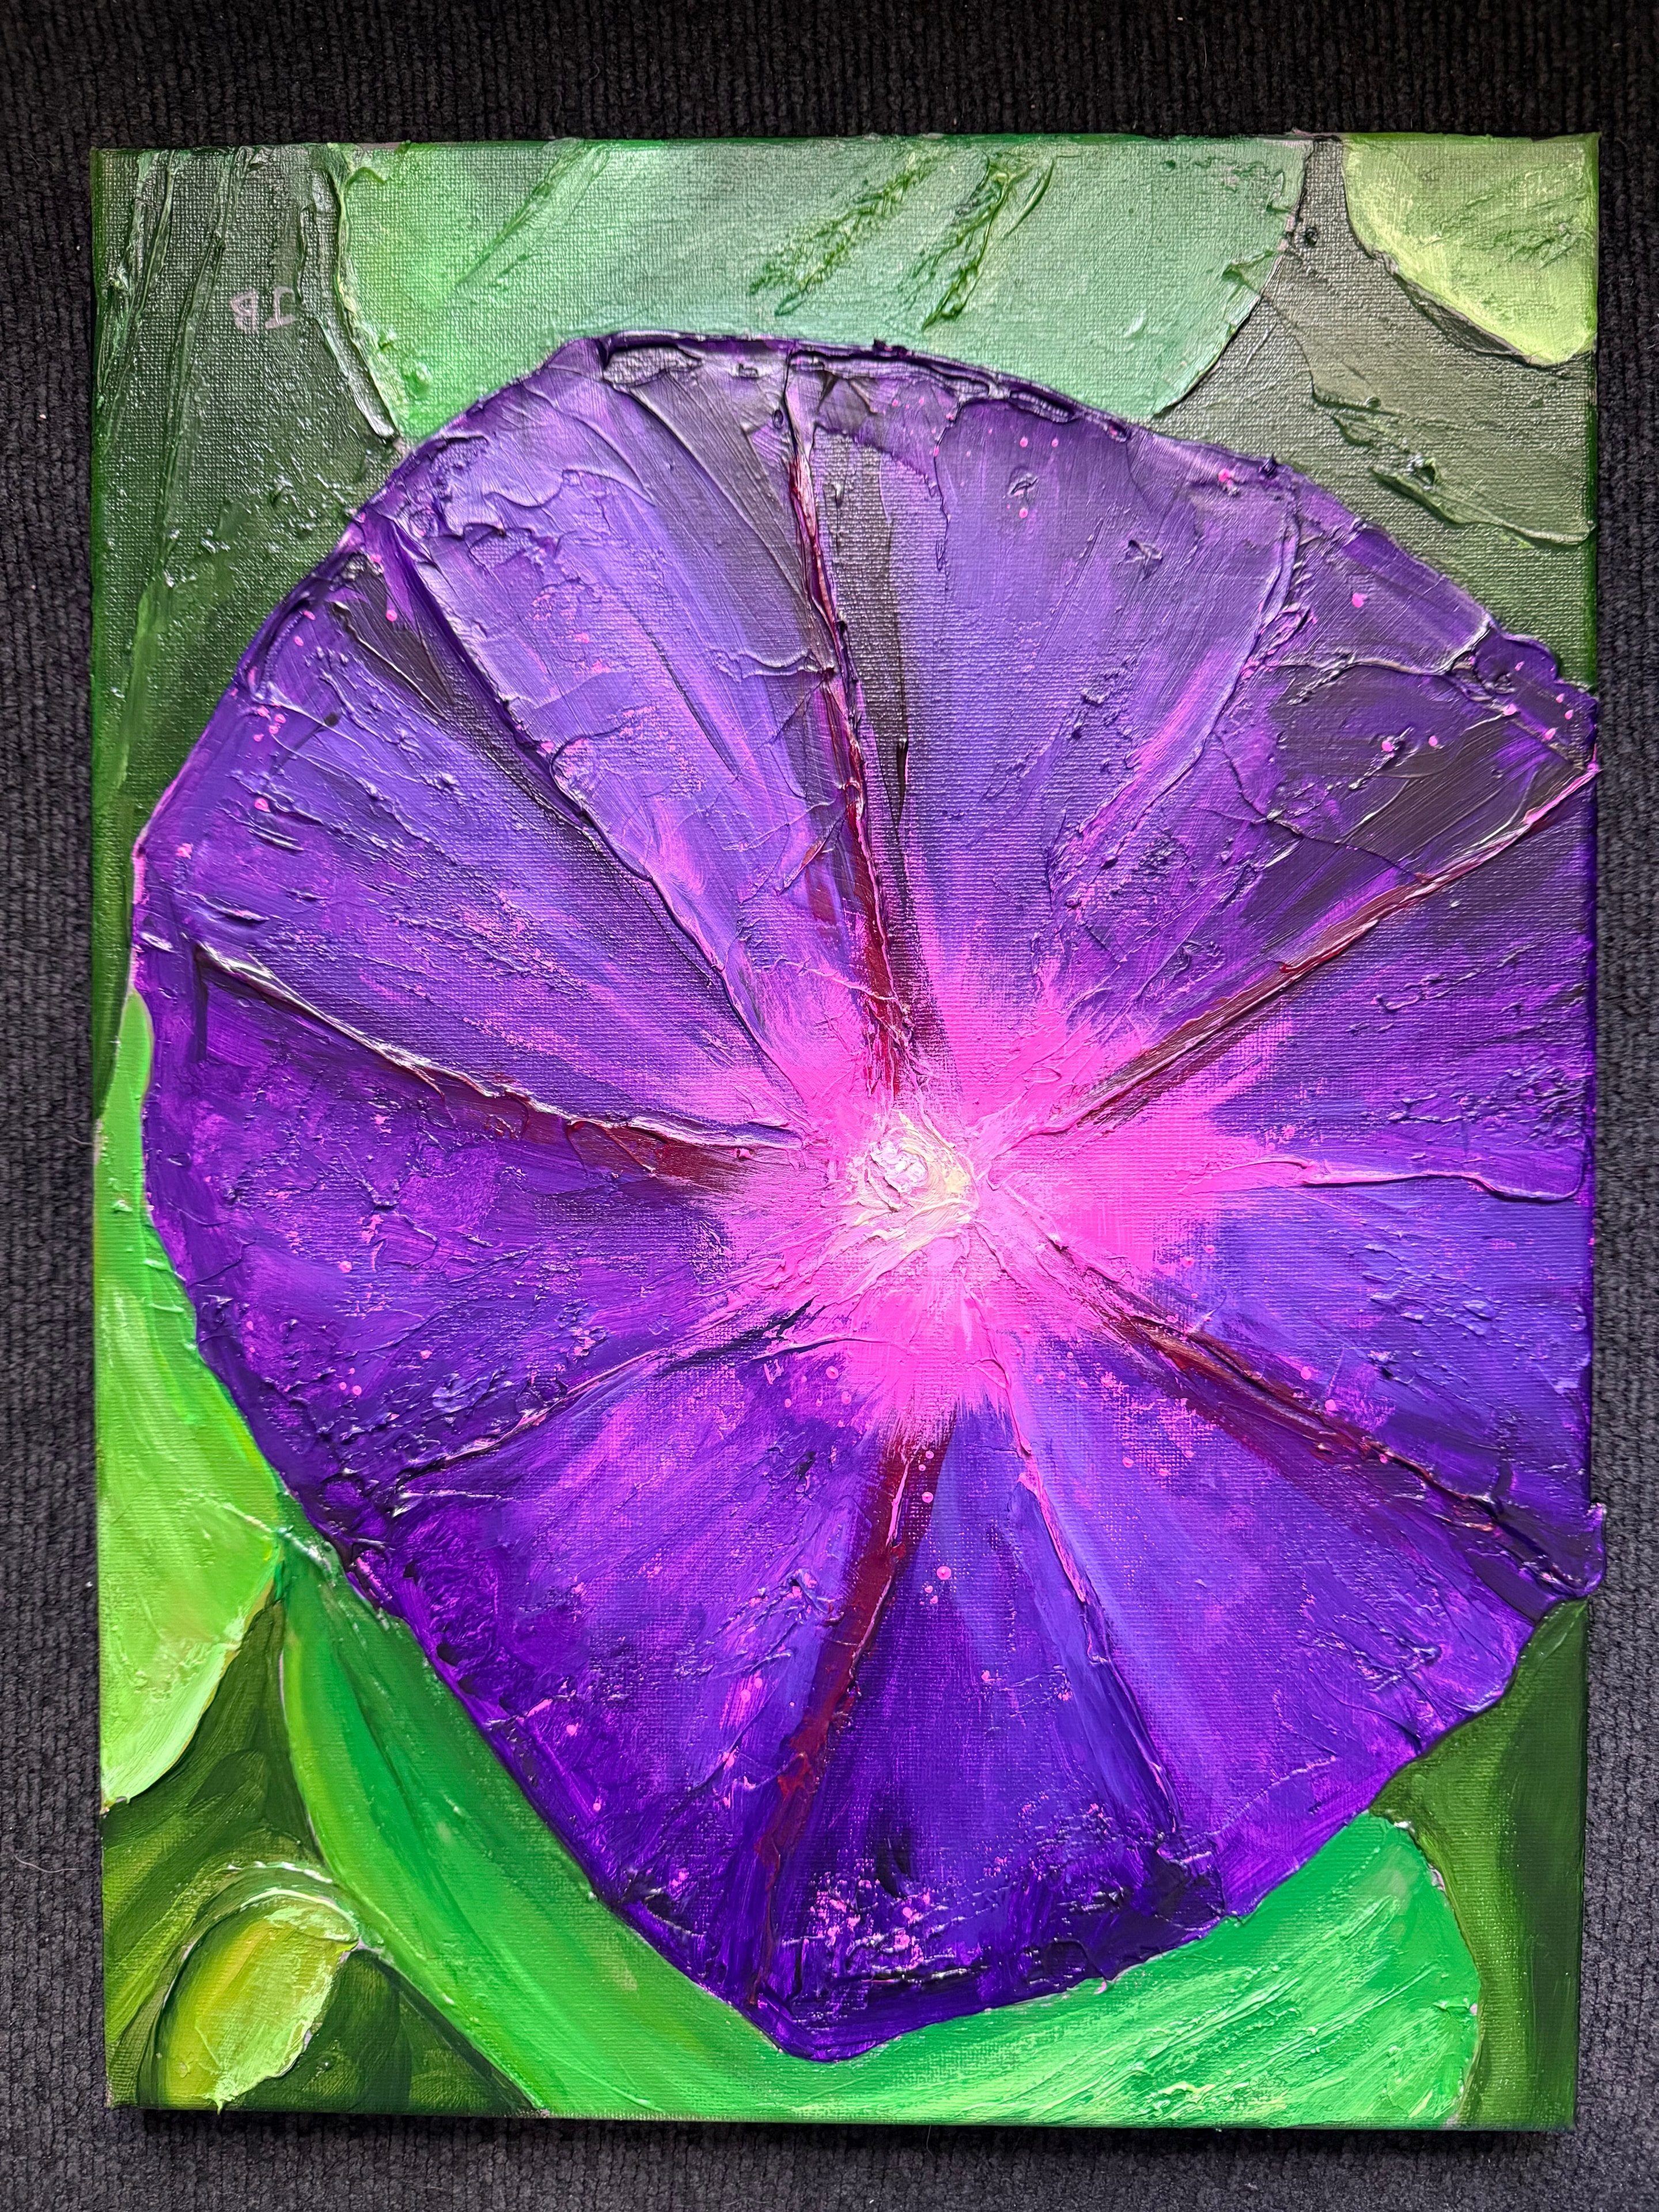
How to Make Textured Paintings with Caulk: The Complete Guide
Want to try caulk texture painting yourself? This complete guide covers the materials, tools, and step-by-step process for making your own 3D textured paintings using flexible caulk — the same technique Jay the Painter uses.
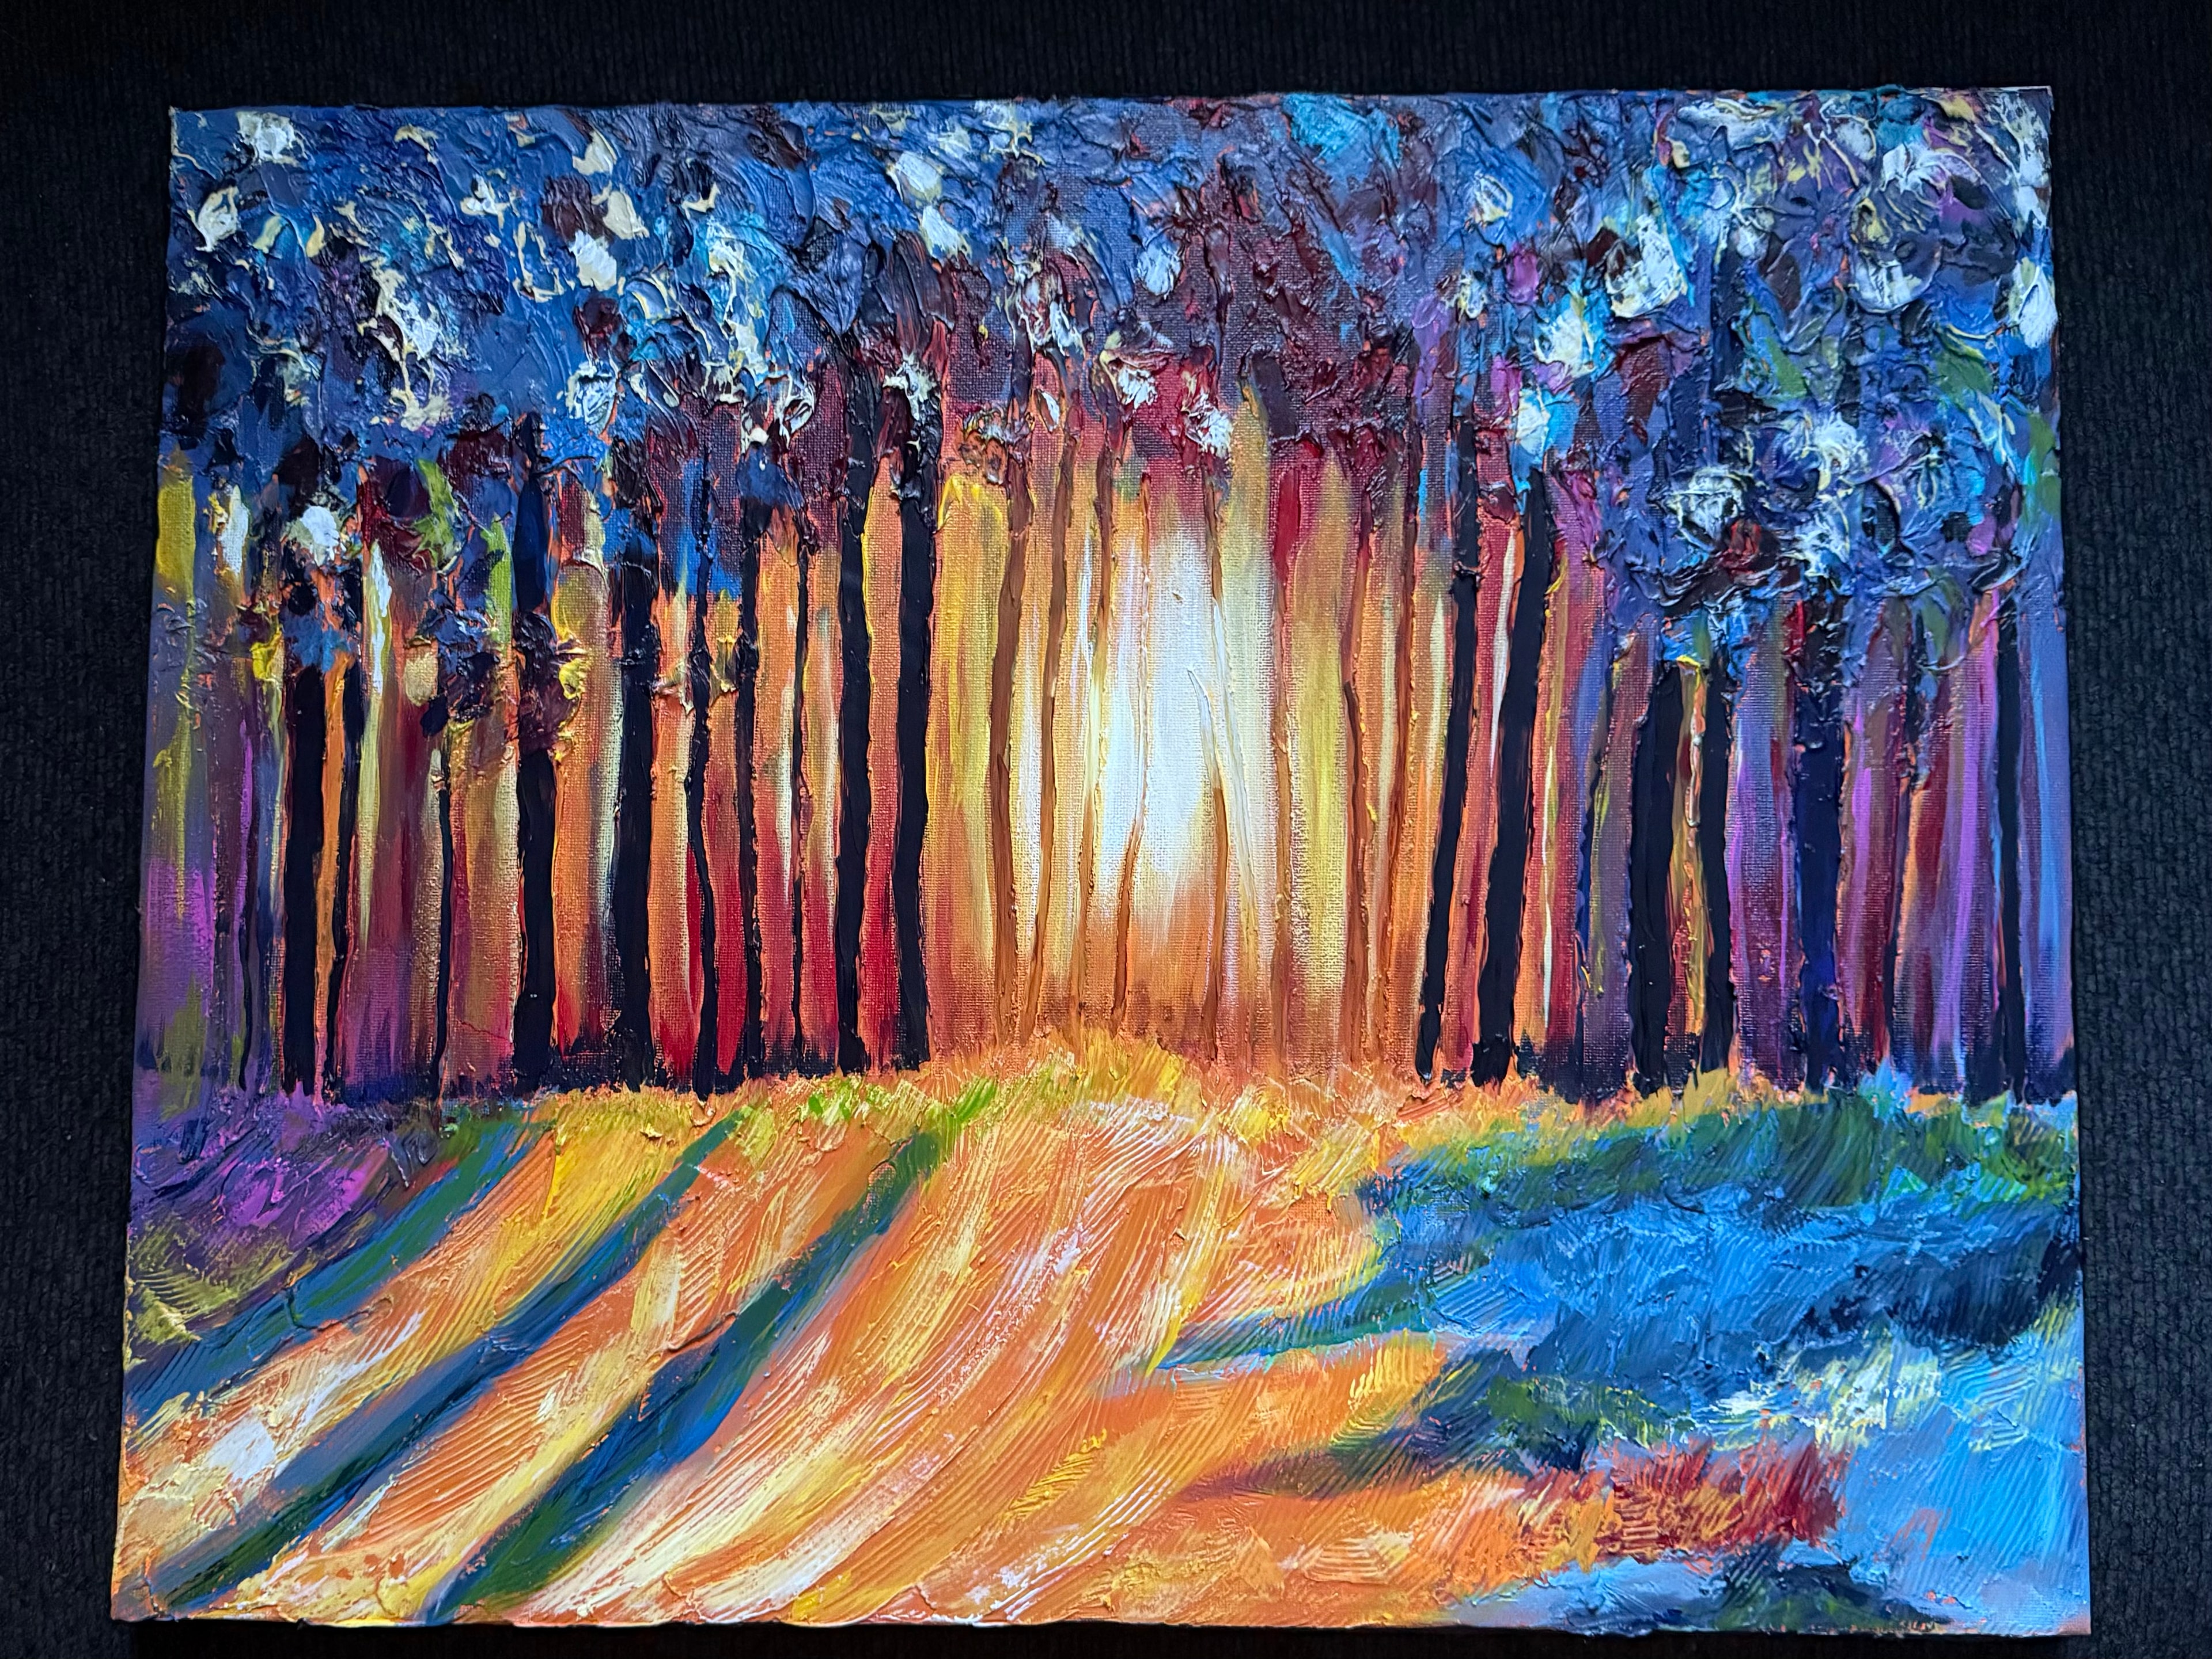
Caulk texture painting is one of the most visually striking techniques in contemporary art — and it's more accessible than you might think.
You don't need expensive equipment. You don't need a formal art education. You need a canvas, some flexible caulk, acrylic paint, and a willingness to experiment.
This guide walks through the complete process, from choosing your materials to finishing your first caulk texture painting. It's the same fundamental approach that Jay the Painter uses for every piece in his collection.
What You'll Need
Canvas or Board
Stretched canvas works well for caulk texture painting. The flexibility of the canvas is actually an advantage — it's why flexible caulk is the right material for this technique. Standard cotton canvas in any size works.
Canvas boards (canvas glued to a rigid backing) also work and are often easier for beginners because they don't flex as much during the caulk application stage.
Wood panels are another option. They provide a very rigid surface, which some artists prefer for heavily textured work.
Avoid: Watercolor paper or thin paper — they won't support the weight of the caulk.
Caulk
This is the most important material choice. Not all caulk works for painting.
What to look for:
- Paintable — the label should say "paintable" or "accepts paint." Some silicone caulks repel paint entirely.
- Flexible — look for "flexible" or "elastomeric" on the label. Rigid caulk can crack on a flexible canvas.
- Acrylic latex caulk — this is the most common type used by artists. It's water-based, paintable, and flexible when cured.
- White or off-white — easier to paint over than gray or clear.
Avoid: 100% silicone caulk (usually repels paint), rigid grout or sealant, anything labeled "non-paintable."
A standard tube of paintable acrylic latex caulk from any hardware store is a good starting point.
Caulk Gun
A basic caulk gun costs a few dollars at any hardware store. You'll use it to apply the caulk to the canvas in controlled amounts. Practice squeezing it on a piece of cardboard before you start on your canvas — the flow takes a little getting used to.
Tools for Shaping the Caulk
This is where creativity comes in. You can use almost anything to shape wet caulk:
- Palette knives — great for spreading, smoothing, and creating ridges
- Old brushes — stiff bristle brushes can create interesting textures
- Toothpicks or skewers — for fine detail work
- Fingers — honestly one of the best tools for organic, flowing forms
- Combs — drag through wet caulk for parallel line textures
- Sponges — press and lift for rough, porous textures
- Crumpled plastic wrap — press into wet caulk for organic, random texture
Keep a cup of water nearby. Wetting your tools slightly helps prevent the caulk from sticking to them.
Acrylic Paint
Standard acrylic paint works well over cured caulk. You don't need heavy-body or impasto-specific paint — regular fluid or soft-body acrylics work fine because the texture is already built into the caulk layer.
Any brand works. Student-grade acrylics are fine for practice. Artist-grade acrylics give richer, more lightfast colors for finished work.
Brushes
A variety of brush sizes is helpful. Flat brushes work well for covering large areas. Round brushes are good for detail work. Fan brushes can create interesting effects on textured surfaces.
Soft synthetic brushes work well with acrylics. You don't need expensive brushes for this technique.
Varnish
A finishing varnish protects the completed painting and unifies the surface. Matte, satin, or gloss — choose based on the look you want. Apply after the paint is completely dry.
Step-by-Step Process
Step 1: Sketch Your Composition
Before any caulk goes on the canvas, sketch your composition lightly with a pencil. This is your roadmap.
Think about:
- Where are the main subjects? (flowers, trees, horizon line, etc.)
- Where is the light coming from?
- What areas will have the most texture?
- What areas will be smoother?
The sketch doesn't need to be detailed — just enough to guide the caulk application.
Why this matters: Once the caulk goes down, it's very difficult to change the composition. Getting the layout right before you start saves a lot of frustration.
Step 2: Apply the Caulk
This is the heart of the technique. Load your caulk gun and start building texture.
General principles:
- Apply more caulk where you want more texture and dimension
- Apply less (or none) where you want flatter areas
- Think about how light will hit the surface — raised areas will catch light, recessed areas will be in shadow
- Work from the background forward (distant elements first, foreground elements last)
For organic subjects like flowers:
- Squeeze out small amounts of caulk for each petal
- Use a palette knife or your finger to curve and shape each petal
- Build up the center of the flower with more caulk than the edges
- Create directional texture that follows the natural growth pattern
For landscapes:
- Use horizontal strokes for sky and water areas (or leave them flat)
- Build up texture in the foreground — grass, rocks, earth
- Use vertical or diagonal strokes for trees and foliage
- Create more texture in areas that will be the focal point
For abstract work:
- Experiment freely — there are no rules
- Try different tools to create different textures
- Build up areas that you want to be the visual focus
- Leave some areas flat to create contrast
Working time: Caulk starts to skin over within 5-15 minutes depending on temperature and humidity. Work in sections if you're doing a large piece. You can always add more caulk later — it adheres well to cured caulk.
Step 3: Let It Cure Completely
This step cannot be rushed. The caulk must be fully cured before you paint over it.
Minimum curing time: 24 hours for thin applications. 48-72 hours for thick applications.
How to tell if it's cured: Press gently on the thickest area. If it feels firm and rubbery with no soft spots, it's ready. If any area feels soft or tacky, wait longer.
Why this matters: Paint applied over uncured caulk won't adhere properly. It can peel, bubble, or crack. Patience here pays off in a much better finished painting.
Step 4: Prime the Caulk (Optional but Recommended)
Before painting, some artists apply a thin coat of gesso or white acrylic paint over the entire caulk surface. This:
- Creates a consistent base color
- Improves paint adhesion
- Helps you see the texture clearly before adding color
This step is optional but recommended for beginners. Let the gesso dry completely before painting.
Step 5: Paint the Textured Surface
Now the fun begins. Painting over caulk texture is a different experience from painting on a flat surface — and a more rewarding one.
Key techniques for painting over texture:
Dry brushing: Load a brush with paint, then wipe most of it off on a paper towel. Drag the nearly-dry brush lightly across the raised texture. The paint catches on the peaks and ridges, creating highlights. This is one of the most effective techniques for making texture visible.
Washing: Thin your paint with water to a very fluid consistency. Apply it over the textured surface and let it flow into the recesses. The paint pools in the valleys, creating natural shadow. Wipe the excess off the peaks with a damp cloth.
Layering: Build up color in multiple thin layers. Start with darker values in the recesses, then add lighter values on the peaks. This creates natural-looking light and shadow that works with the texture.
Direct painting: For some areas, just paint normally. The texture will still show through — the raised surface creates its own shadows and highlights regardless of how you apply the paint.
Tips:
- Work from dark to light — it's easier to add highlights than to darken
- Let each layer dry before adding the next
- Step back frequently to assess the overall effect
- The texture does a lot of the work — trust it
Step 6: Add Details
Once the base colors are established, add details with smaller brushes. Fine lines, highlights, shadows, and accents bring the painting to life.
For flowers: add petal veins, stamens, and subtle color variations. For landscapes: add individual leaves, grass blades, and light effects. For abstract work: add accent colors, fine lines, and finishing touches.
Step 7: Varnish and Finish
When the paint is completely dry (wait at least 24 hours), apply a finishing varnish.
Application tips:
- Apply in thin, even coats
- Work in one direction to avoid brush marks
- Let each coat dry before applying the next
- Two thin coats are better than one thick coat
The varnish protects the paint and the caulk texture beneath it. It also unifies the surface sheen and makes the colors appear richer.
Common Mistakes to Avoid
Painting over uncured caulk: The most common mistake. Always wait the full curing time.
Using non-paintable caulk: The paint will bead up and not adhere. Always check the label.
Applying too much caulk at once: Very thick applications take much longer to cure and can sag before they set. Build up in layers if you want extreme texture.
Rushing the composition: Sketch first. The caulk is hard to change once it's down.
Using too much water in the paint: A little water is fine for washing techniques, but too much can cause the paint to bead on the caulk surface.
Learning from the Professionals
Jay the Painter has been developing and refining his caulk texture technique for years. Every painting in his collection represents hundreds of hours of experimentation and practice.
If you want to see what's possible with this technique — and what a finished, professional caulk texture painting looks like — browse his collection at jaythepainter.com/artwork.
His work shows the full range of what caulk texture painting can achieve: from delicate flower petals to bold abstract forms, from intimate mini paintings to large statement pieces.
Browse Jay's original caulk texture paintings → | Learn more about the technique → | Shop mini paintings →
Jay the Painter is an original artist based in Akron, Ohio. Every painting he sells is 100% original — no prints, no reproductions. Text Jay at 330-285-3136 to inquire about any piece.
Learn more: The complete caulk art guide → | What is caulk art? → | Caulk Art 101 →
Explore Topics
Written by
Jay the Painter
Content creator and writer sharing insights and stories.