Caulk Texture Painting Tools: What You Actually Need
You don't need a lot of expensive equipment to start caulk texture painting. Here's the honest list of tools that actually matter — and the ones you can skip.
One of the things that draws artists to caulk texture painting is how accessible it is. You don't need a studio full of expensive equipment. You don't need specialty art supplies that only ship from one place in Europe. Most of what you need is available at a hardware store and an art supply shop.
But "accessible" doesn't mean "anything goes." The right tools make a real difference in what you can achieve. The wrong tools — or the right tools used the wrong way — will frustrate you and produce results that don't reflect what the technique is actually capable of.
Here's the honest breakdown of what you actually need.
The Caulk Itself
This is the most important supply decision you'll make, and it's the one most beginners get wrong.
What to use: Paintable acrylic latex caulk
Look for caulk labeled "paintable" and "acrylic latex." This formulation:
- Accepts acrylic paint without repelling it
- Remains flexible after curing (critical for canvas work)
- Dries to a matte finish that doesn't interfere with paint adhesion
- Is water-cleanup friendly while wet
What to avoid:
- 100% silicone caulk — paint beads off silicone. Even "paintable" silicone is problematic. Stick with acrylic latex.
- Siliconized acrylic caulk — the silicone content can cause paint adhesion problems
- Specialty construction caulks — some contain additives that affect drying time or flexibility in unpredictable ways
Tube vs. cartridge: For small work and beginners, caulk in a squeeze tube (like a large toothpaste tube) is easier to control than a full cartridge in a caulk gun. For larger pieces or high-volume work, a cartridge and gun is more economical.
The Caulk Gun
If you're working with cartridges, you need a caulk gun. Not all caulk guns are equal for art applications.
What to look for:
- A smooth-rod caulk gun (also called a "dripless" gun) — these stop the flow of caulk when you release the trigger, giving you much better control
- A comfortable grip — you'll be holding this for extended periods
- A built-in cutter and puncture tool for opening cartridges
What to avoid:
- Cheap ratchet-style guns — these continue to push caulk after you release the trigger, making fine control nearly impossible
- Very cheap guns that flex under pressure — inconsistent pressure means inconsistent flow
For most artists, a mid-range dripless gun in the $15–$25 range is the sweet spot. You don't need the most expensive professional model, but the cheapest option will fight you.
Palette Knives and Spreaders
Once the caulk is on the surface, you need tools to shape it. This is where the real artistry happens.
Palette knives are the primary shaping tool. The flexible metal blade lets you:
- Spread caulk into thin, smooth layers
- Build up ridges and peaks
- Create directional texture (for grass, water, fur, bark)
- Blend and feather edges
What to have:
- A small trowel-style palette knife (2–3" blade) for general work
- A narrow pointed knife for detail work and fine lines
- A larger spreader (4–6" blade) for covering large areas quickly
Palette knives designed for painting work perfectly. You don't need specialty tools — the same knives you'd use for impasto painting work great for caulk.
Other useful shapers:
- Old credit cards or hotel key cards — excellent for spreading thin, even layers
- Silicone-tipped sculpting tools — great for organic shapes and smooth curves
- Toothpicks and skewers — for very fine detail work in small areas
- Your fingers — sometimes the best tool is the most direct one. Caulk is non-toxic and washes off easily while wet.
Brushes for Caulk Application
Some artists apply caulk with brushes rather than (or in addition to) palette knives. This creates a different kind of texture — more painterly, less sculptural.
What works:
- Stiff-bristle brushes (hog hair or synthetic stiff) for stippling and dabbing texture
- Old brushes you don't mind ruining — caulk is hard to clean out of brush bristles completely
What doesn't work:
- Soft watercolor or detail brushes — too flexible to push caulk effectively
- Expensive brushes — save those for the painting stage
The Canvas and Priming Supplies
You need a properly primed surface before the caulk goes on. (See our full guide on best surfaces for caulk texture painting for detailed surface recommendations.)
Essential:
- Gesso — for priming canvas or board before caulk application
- A wide, flat brush for applying gesso
- Sandpaper (220 grit) for smoothing between gesso coats if needed
Acrylic Paints
Caulk texture painting is almost always finished with acrylic paint. Acrylics are ideal because:
- They're water-based, like the caulk
- They dry quickly, so you can build up layers
- They adhere well to cured caulk
- They're available in every color imaginable
What you need:
- A basic set of artist-grade acrylics (not student grade — the pigment load matters when painting over textured surfaces)
- A palette for mixing
- A range of brush sizes for the painting stage
Sealing and Finishing Supplies
Once the painting is complete, it needs to be sealed. This protects both the paint layer and the caulk texture beneath it.
What to use:
- Acrylic varnish — either brush-on or spray. Gloss varnish enhances color depth; matte varnish gives a more natural look; satin is a middle ground.
- A soft, wide brush for applying liquid varnish (or a spray can for spray varnish)
Sealing is not optional. An unsealed caulk texture painting is vulnerable to dust accumulation in the texture grooves, moisture damage, and UV fading. Seal every piece.
What You Can Skip
A lot of art supply marketing will try to sell you specialty texture mediums, modeling pastes, and other products for creating texture. You don't need any of them for caulk texture painting. The caulk itself is your texture medium — and it's better than most of those products for this specific application.
You also don't need:
- Expensive specialty caulk marketed to artists (regular hardware store acrylic latex caulk works fine)
- A heat gun for drying (let the caulk cure naturally — rushing it causes problems)
- Special primers beyond standard gesso
What Jay the Painter Uses
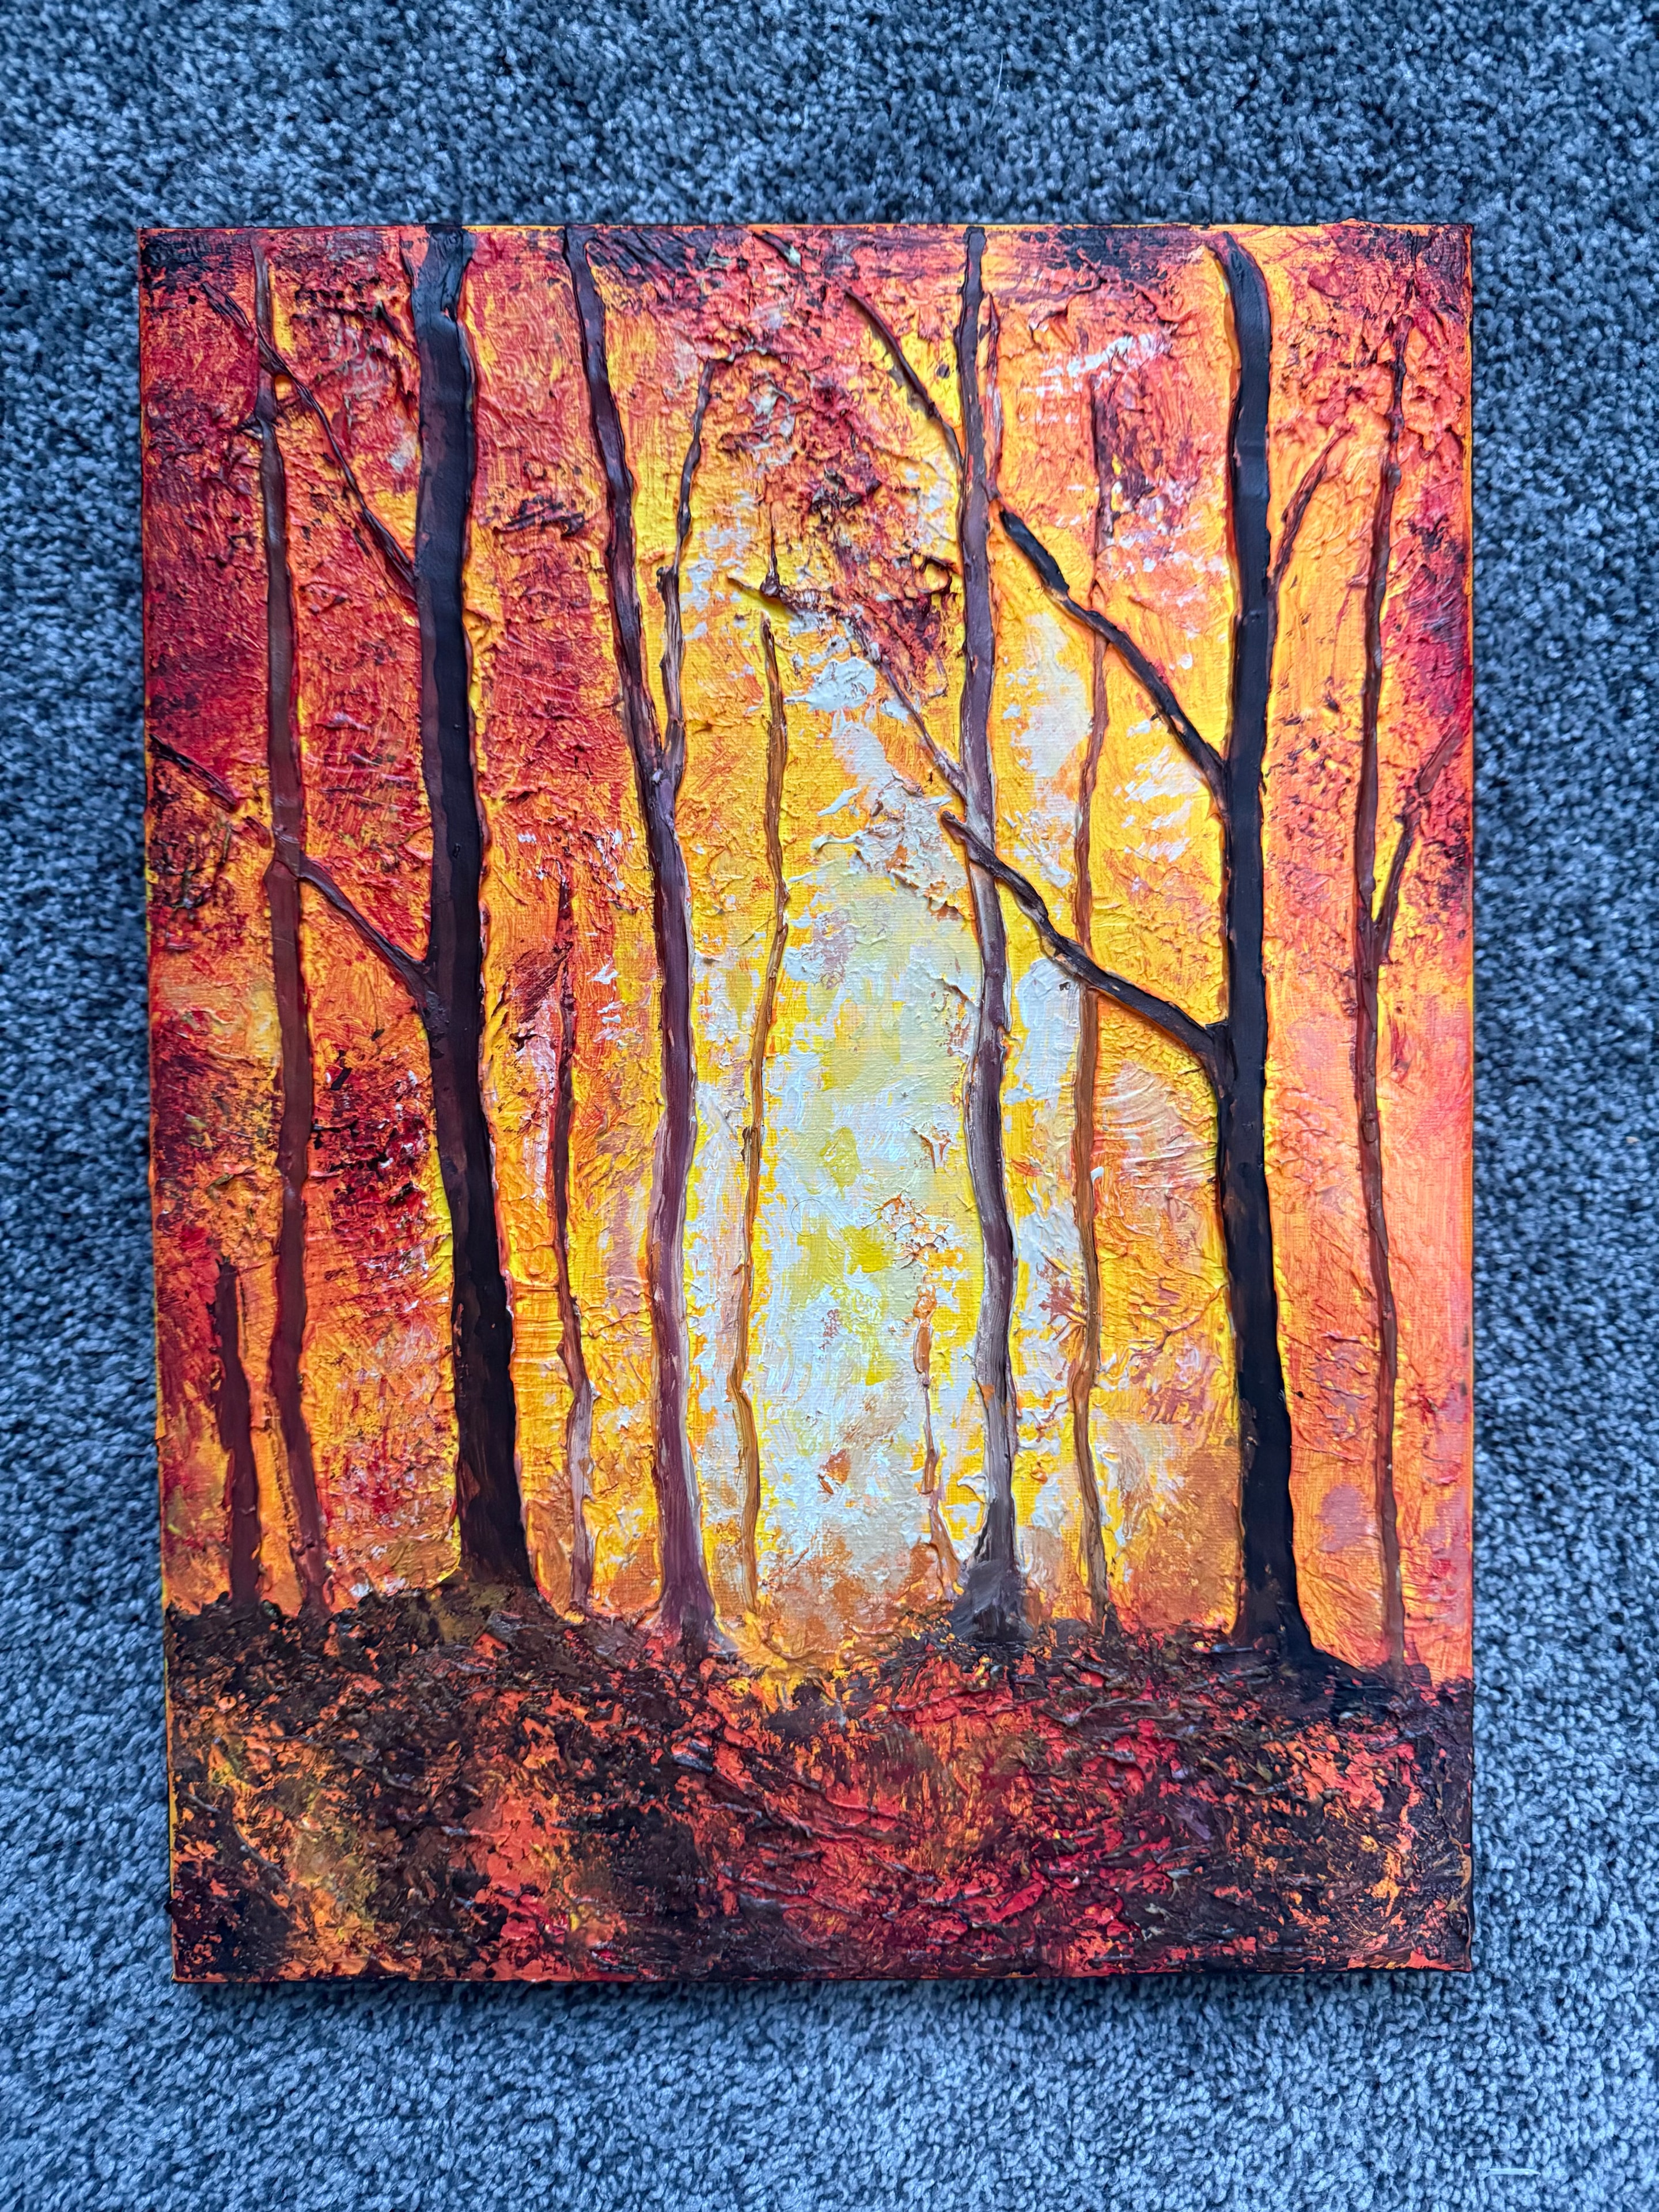
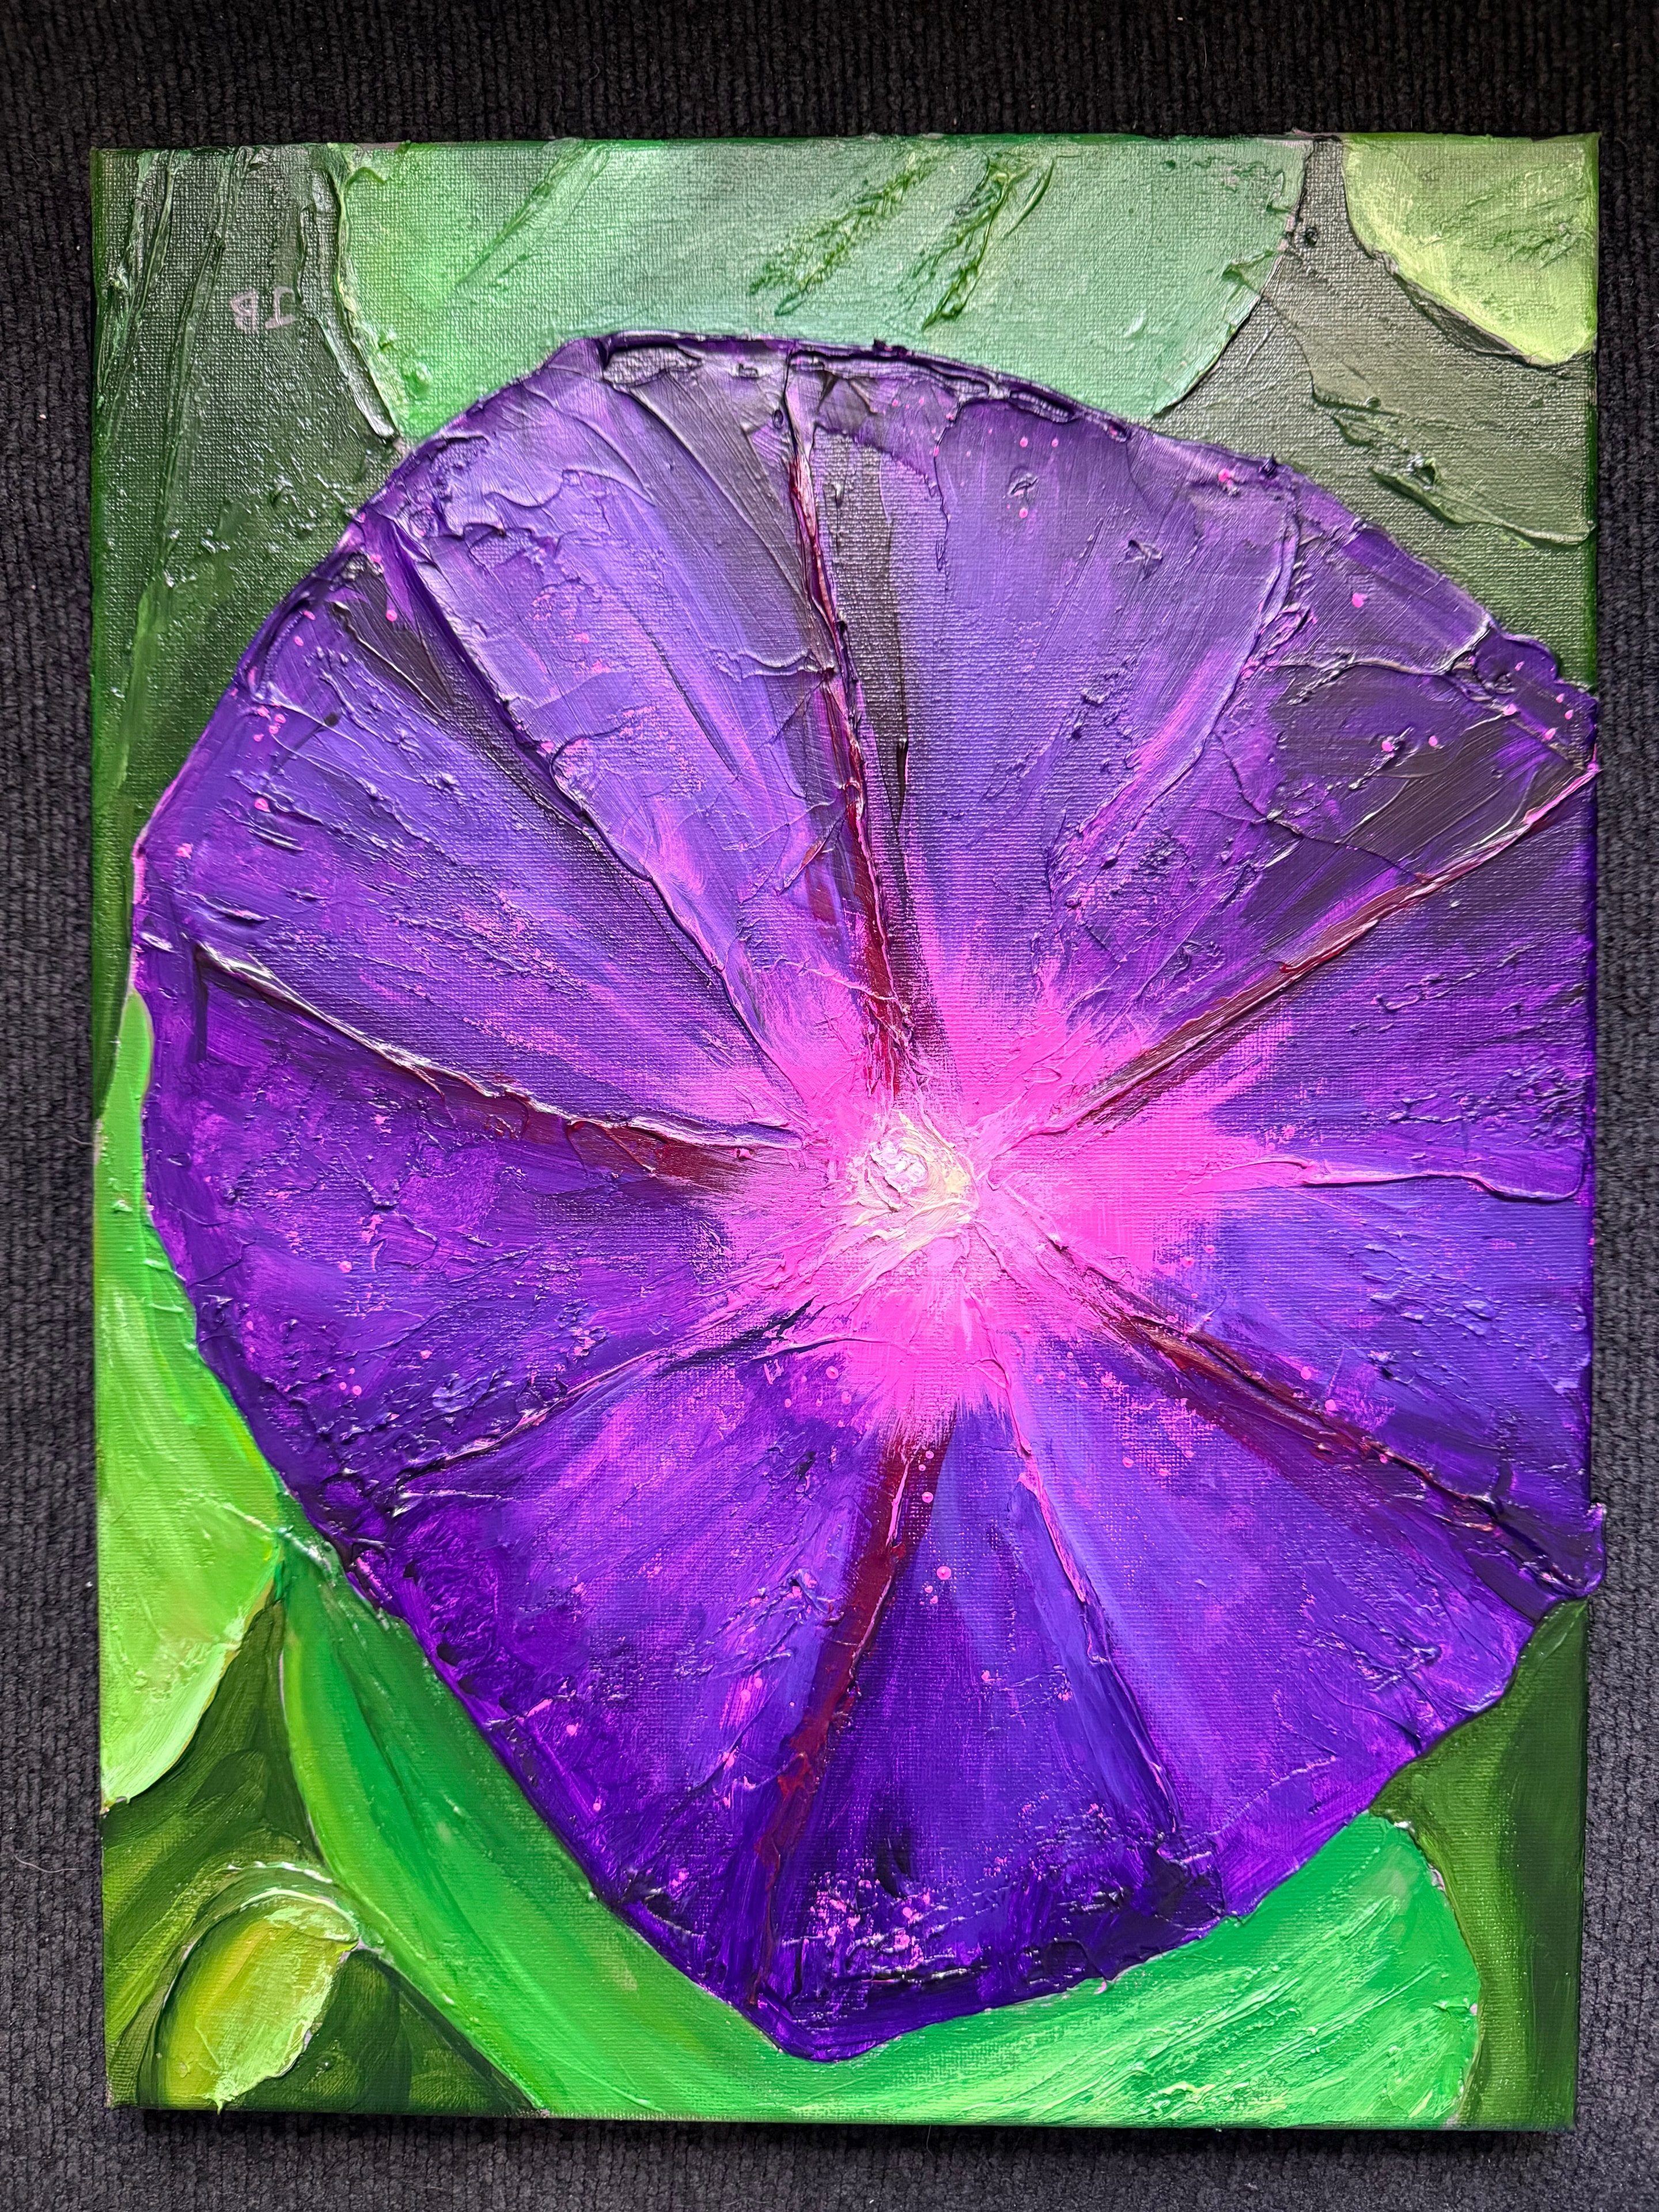
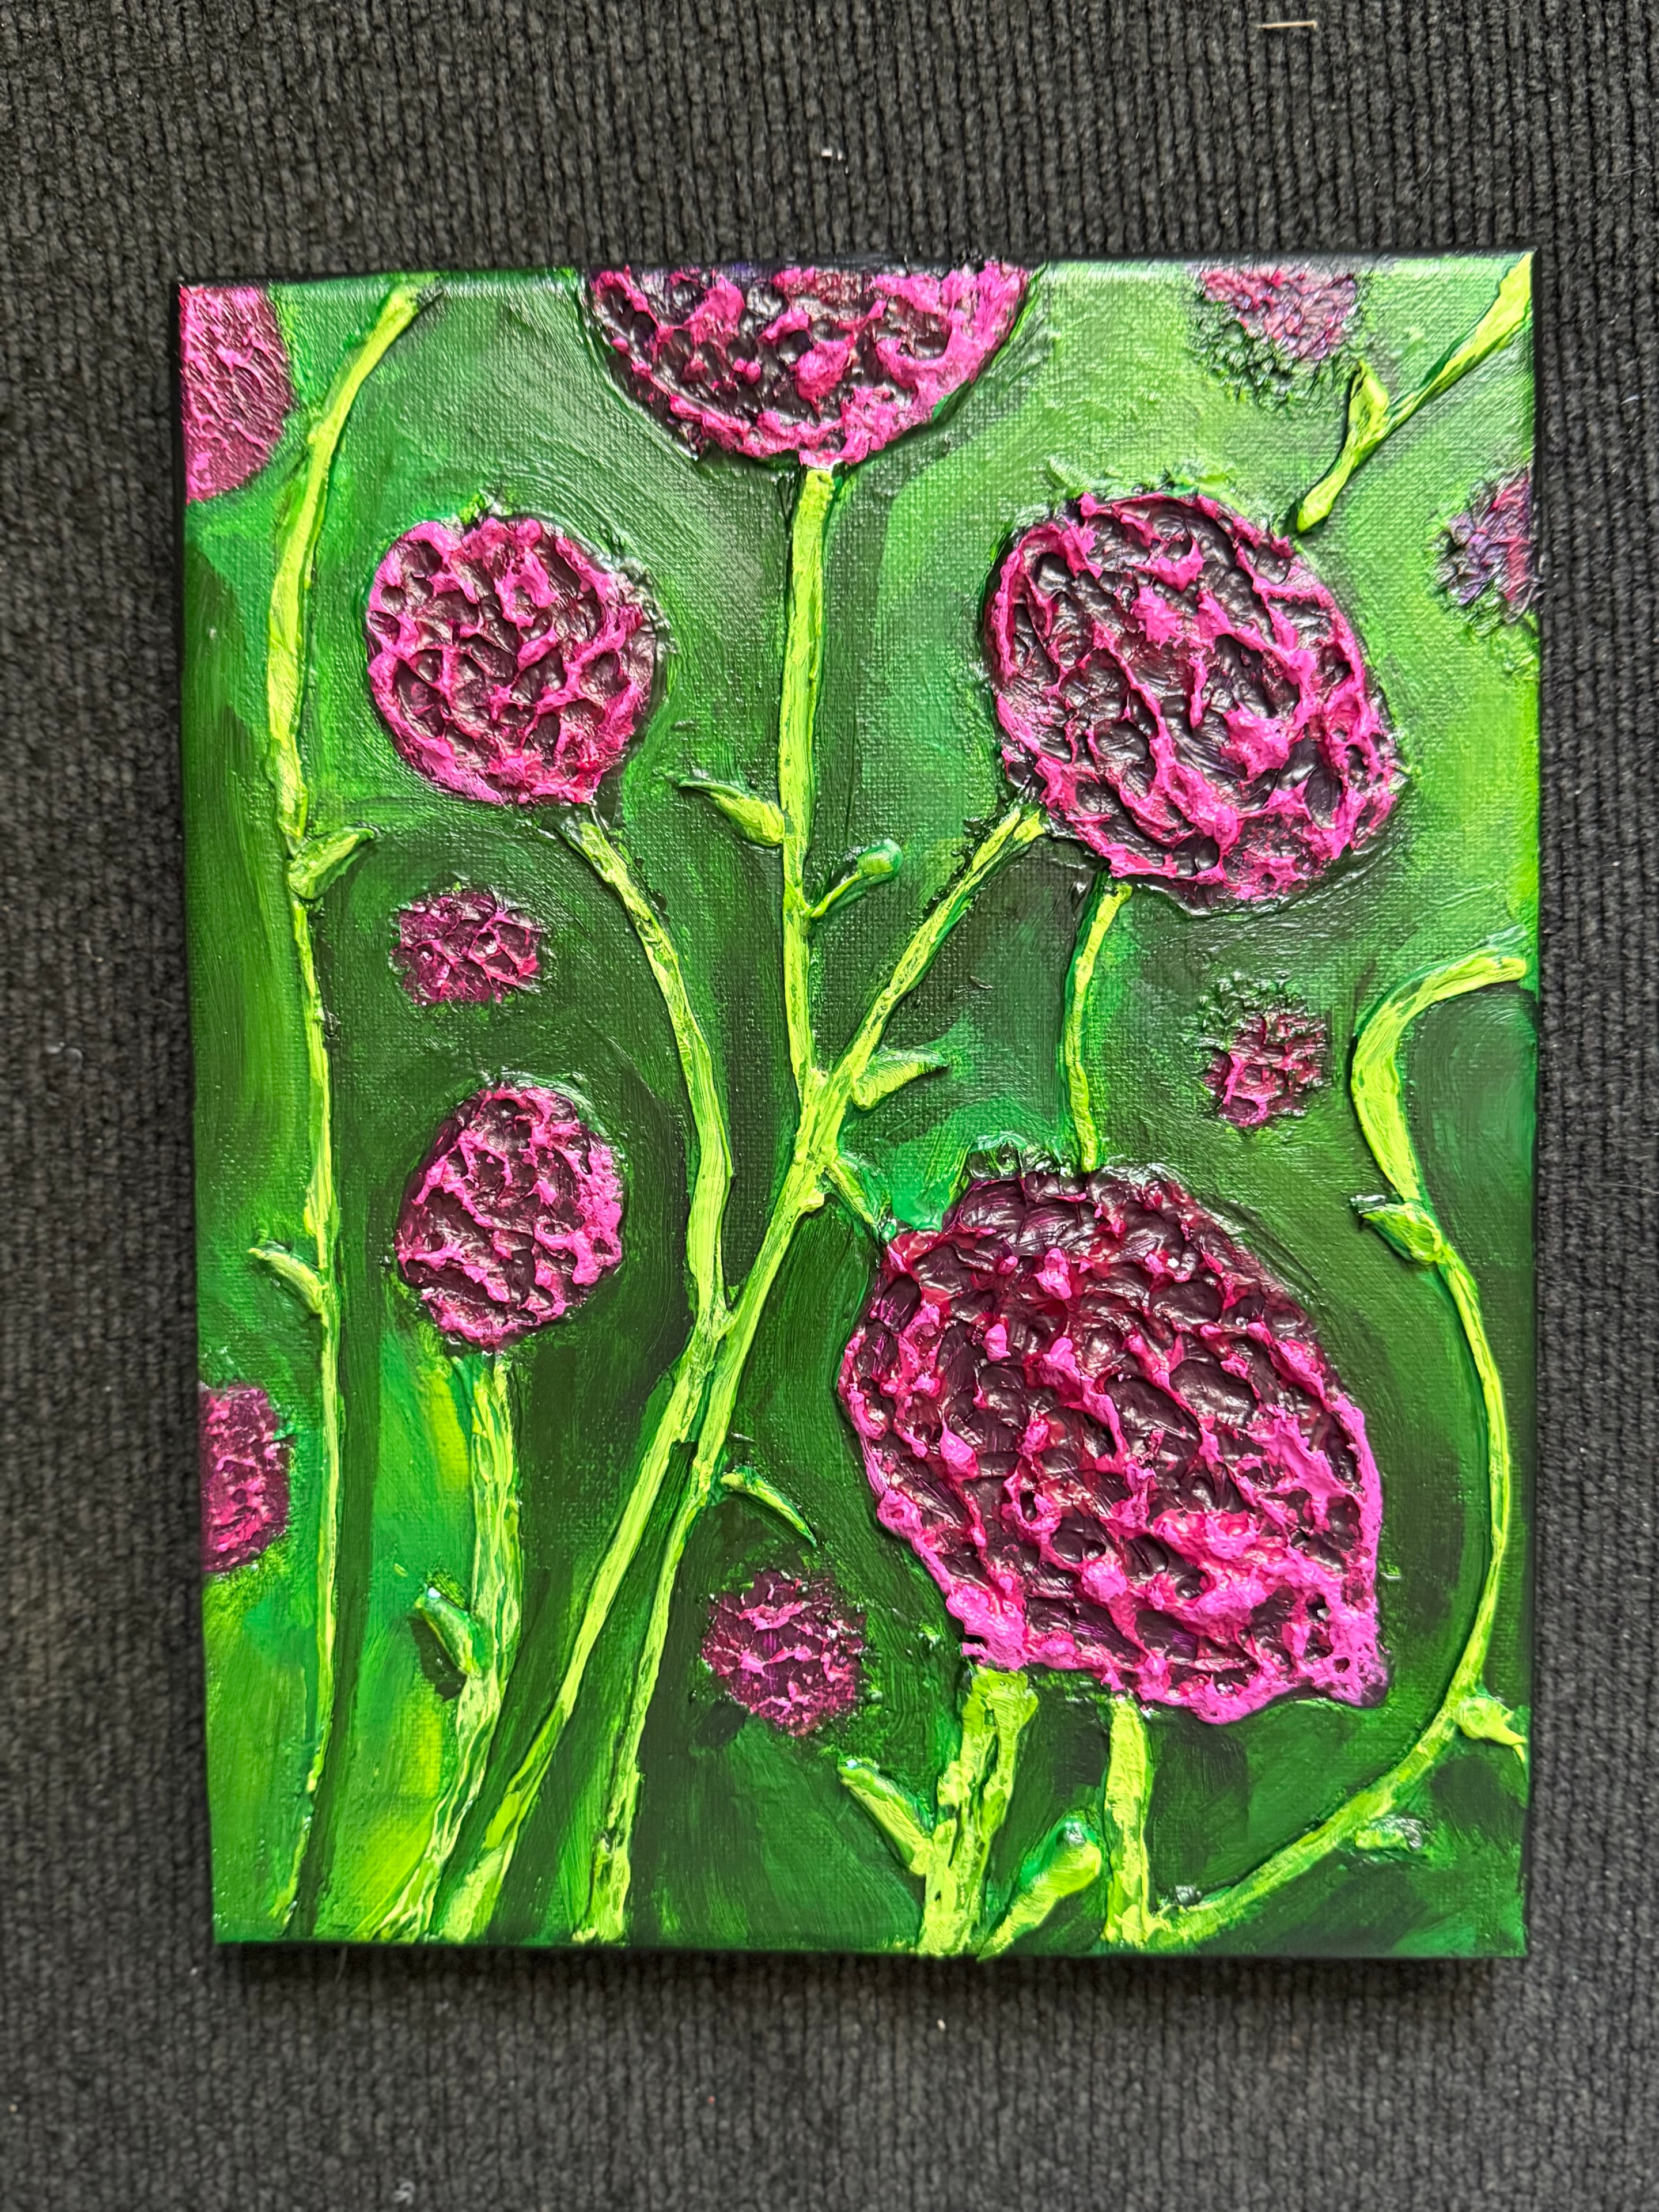
Jay's toolkit is straightforward: paintable acrylic latex caulk from the hardware store, a dripless caulk gun for cartridges, a set of palette knives in three sizes, and artist-grade acrylics for the painting stage. Every painting in his collection — from the large 14"×18" canvases to the tiny 2"×2" minis — is made with the same basic set of tools.
The technique is the differentiator, not the equipment.
Want to see what's possible with these tools? Browse Jay the Painter's full collection of original caulk texture paintings at jaythepainter.com/artwork. Every piece is 100% original — no prints, ever.
Text Jay at 330-285-3136 to ask about his technique or inquire about a specific painting.
Browse the gallery → | Learn more about caulk texture painting → | The complete caulk art guide →
Explore Topics
Written by
Jay the Painter
Content creator and writer sharing insights and stories.