How to Seal and Finish a Caulk Texture Painting
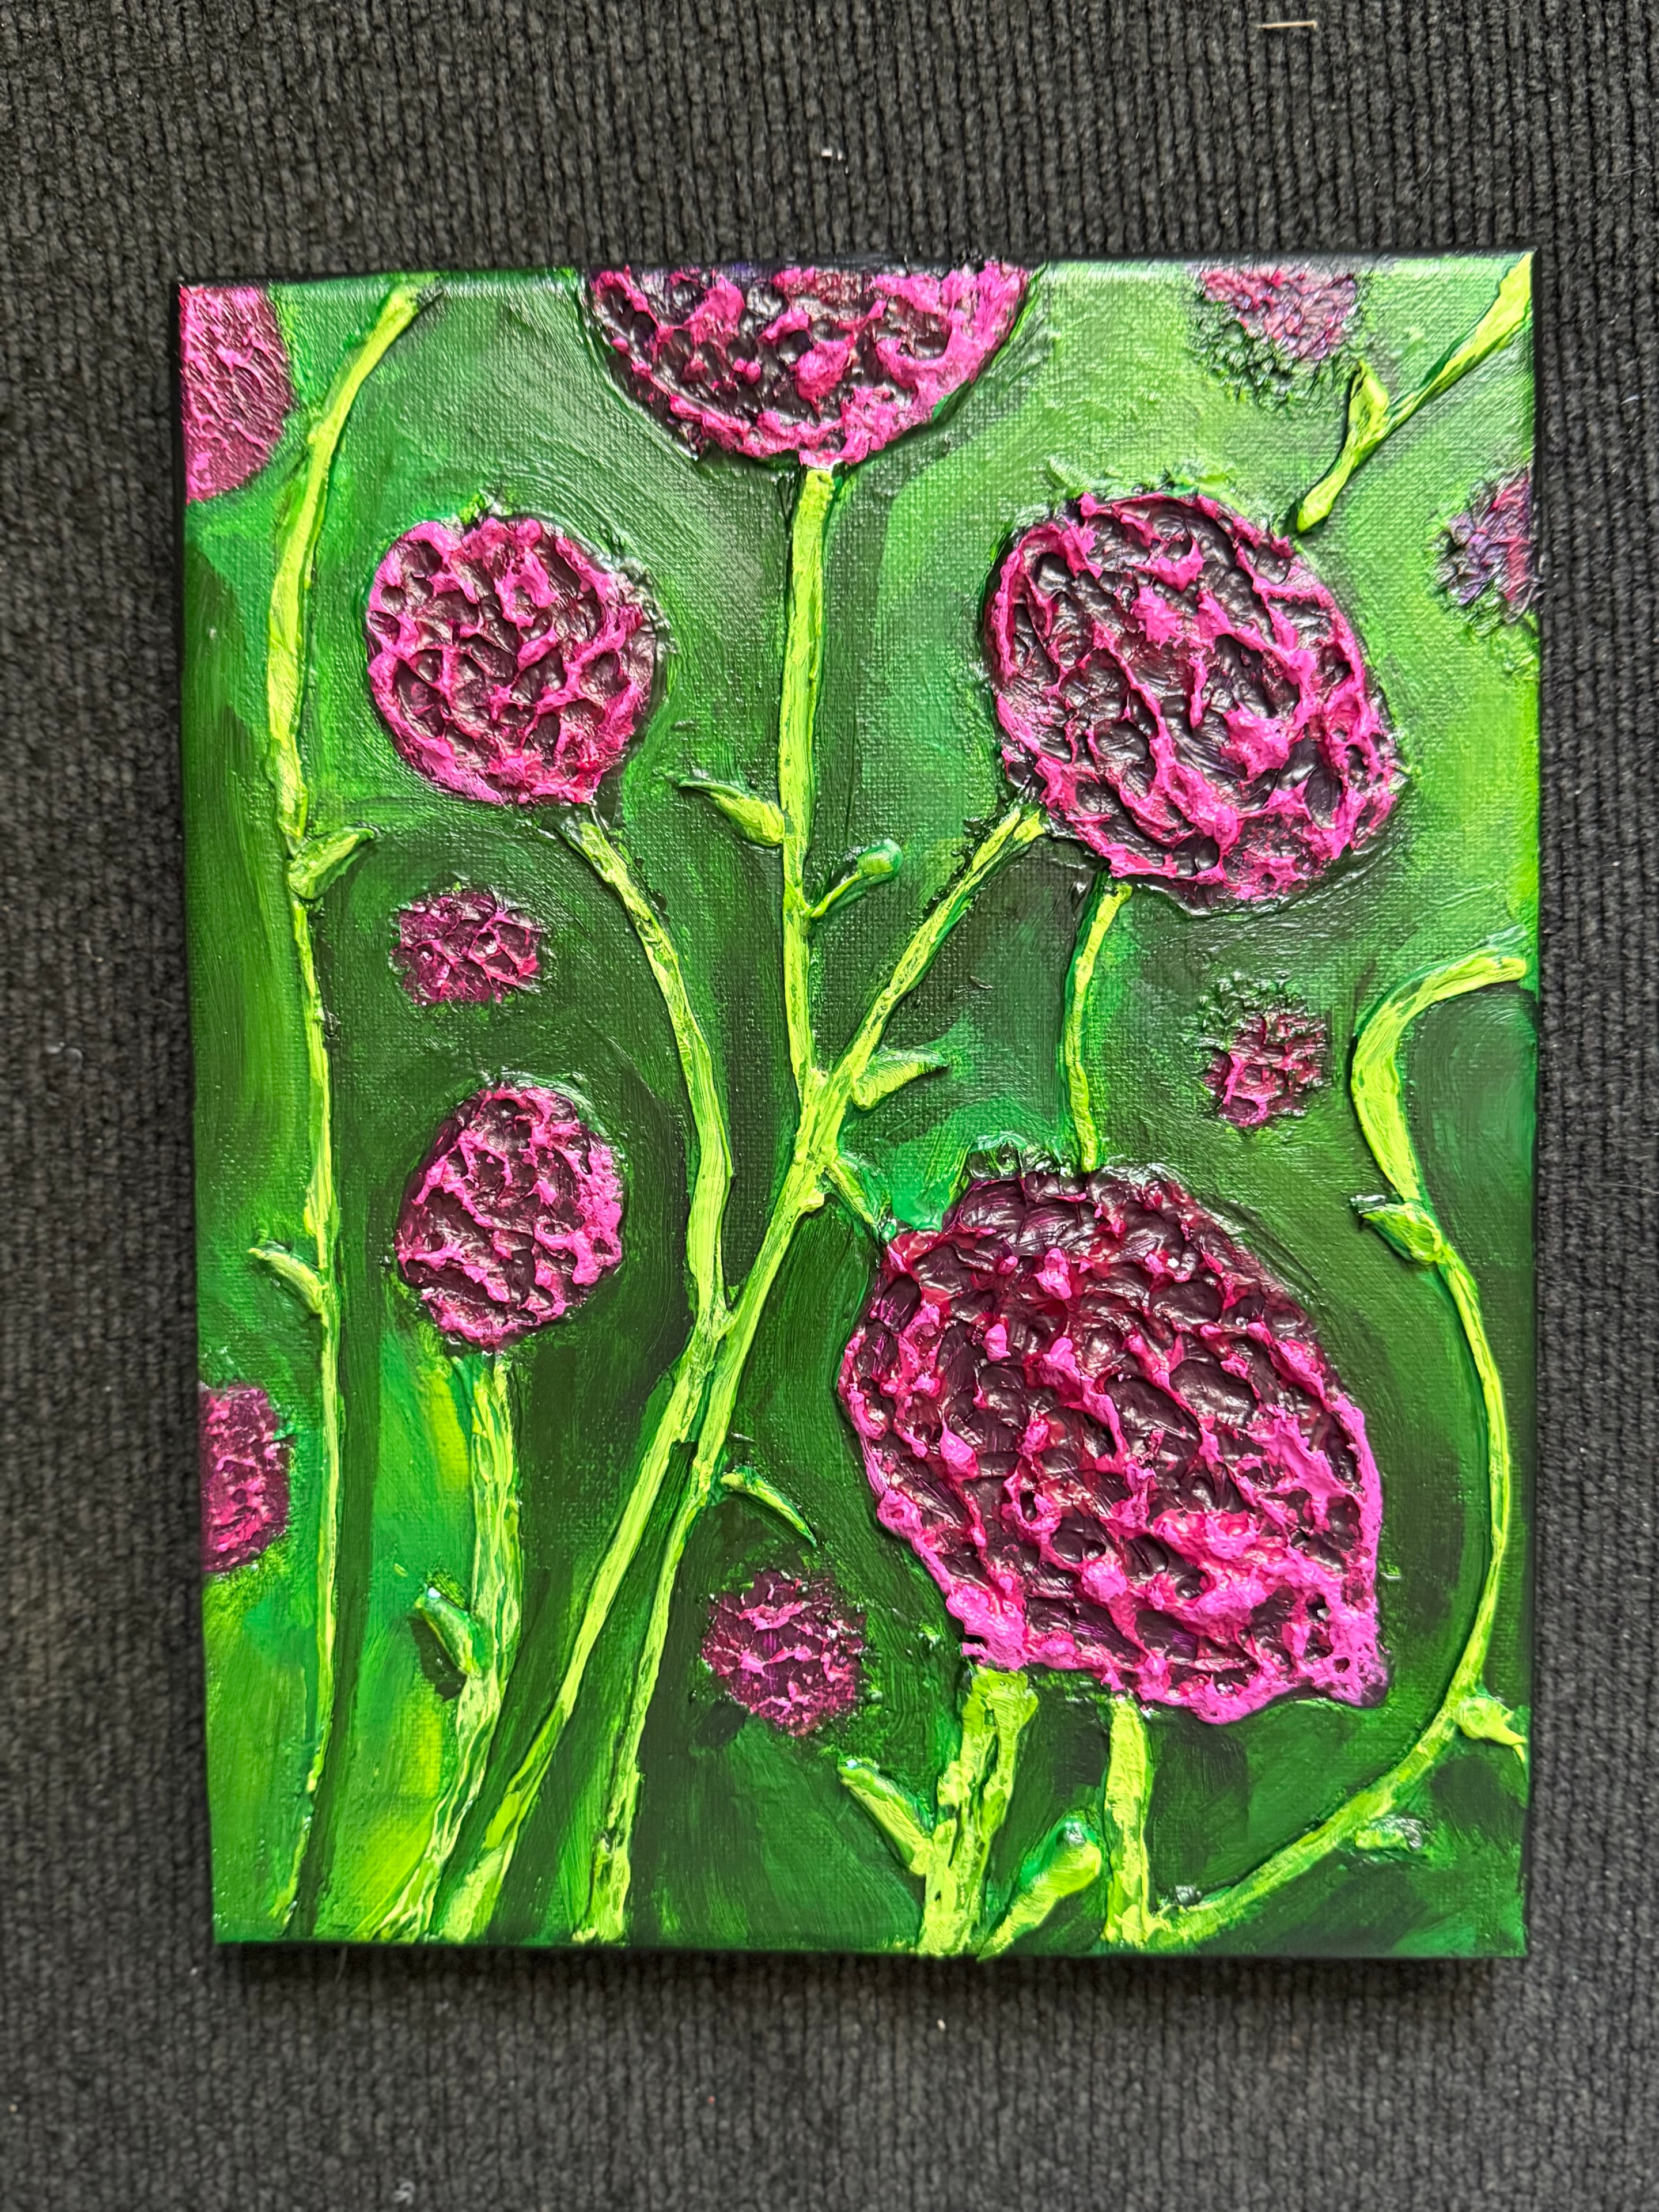
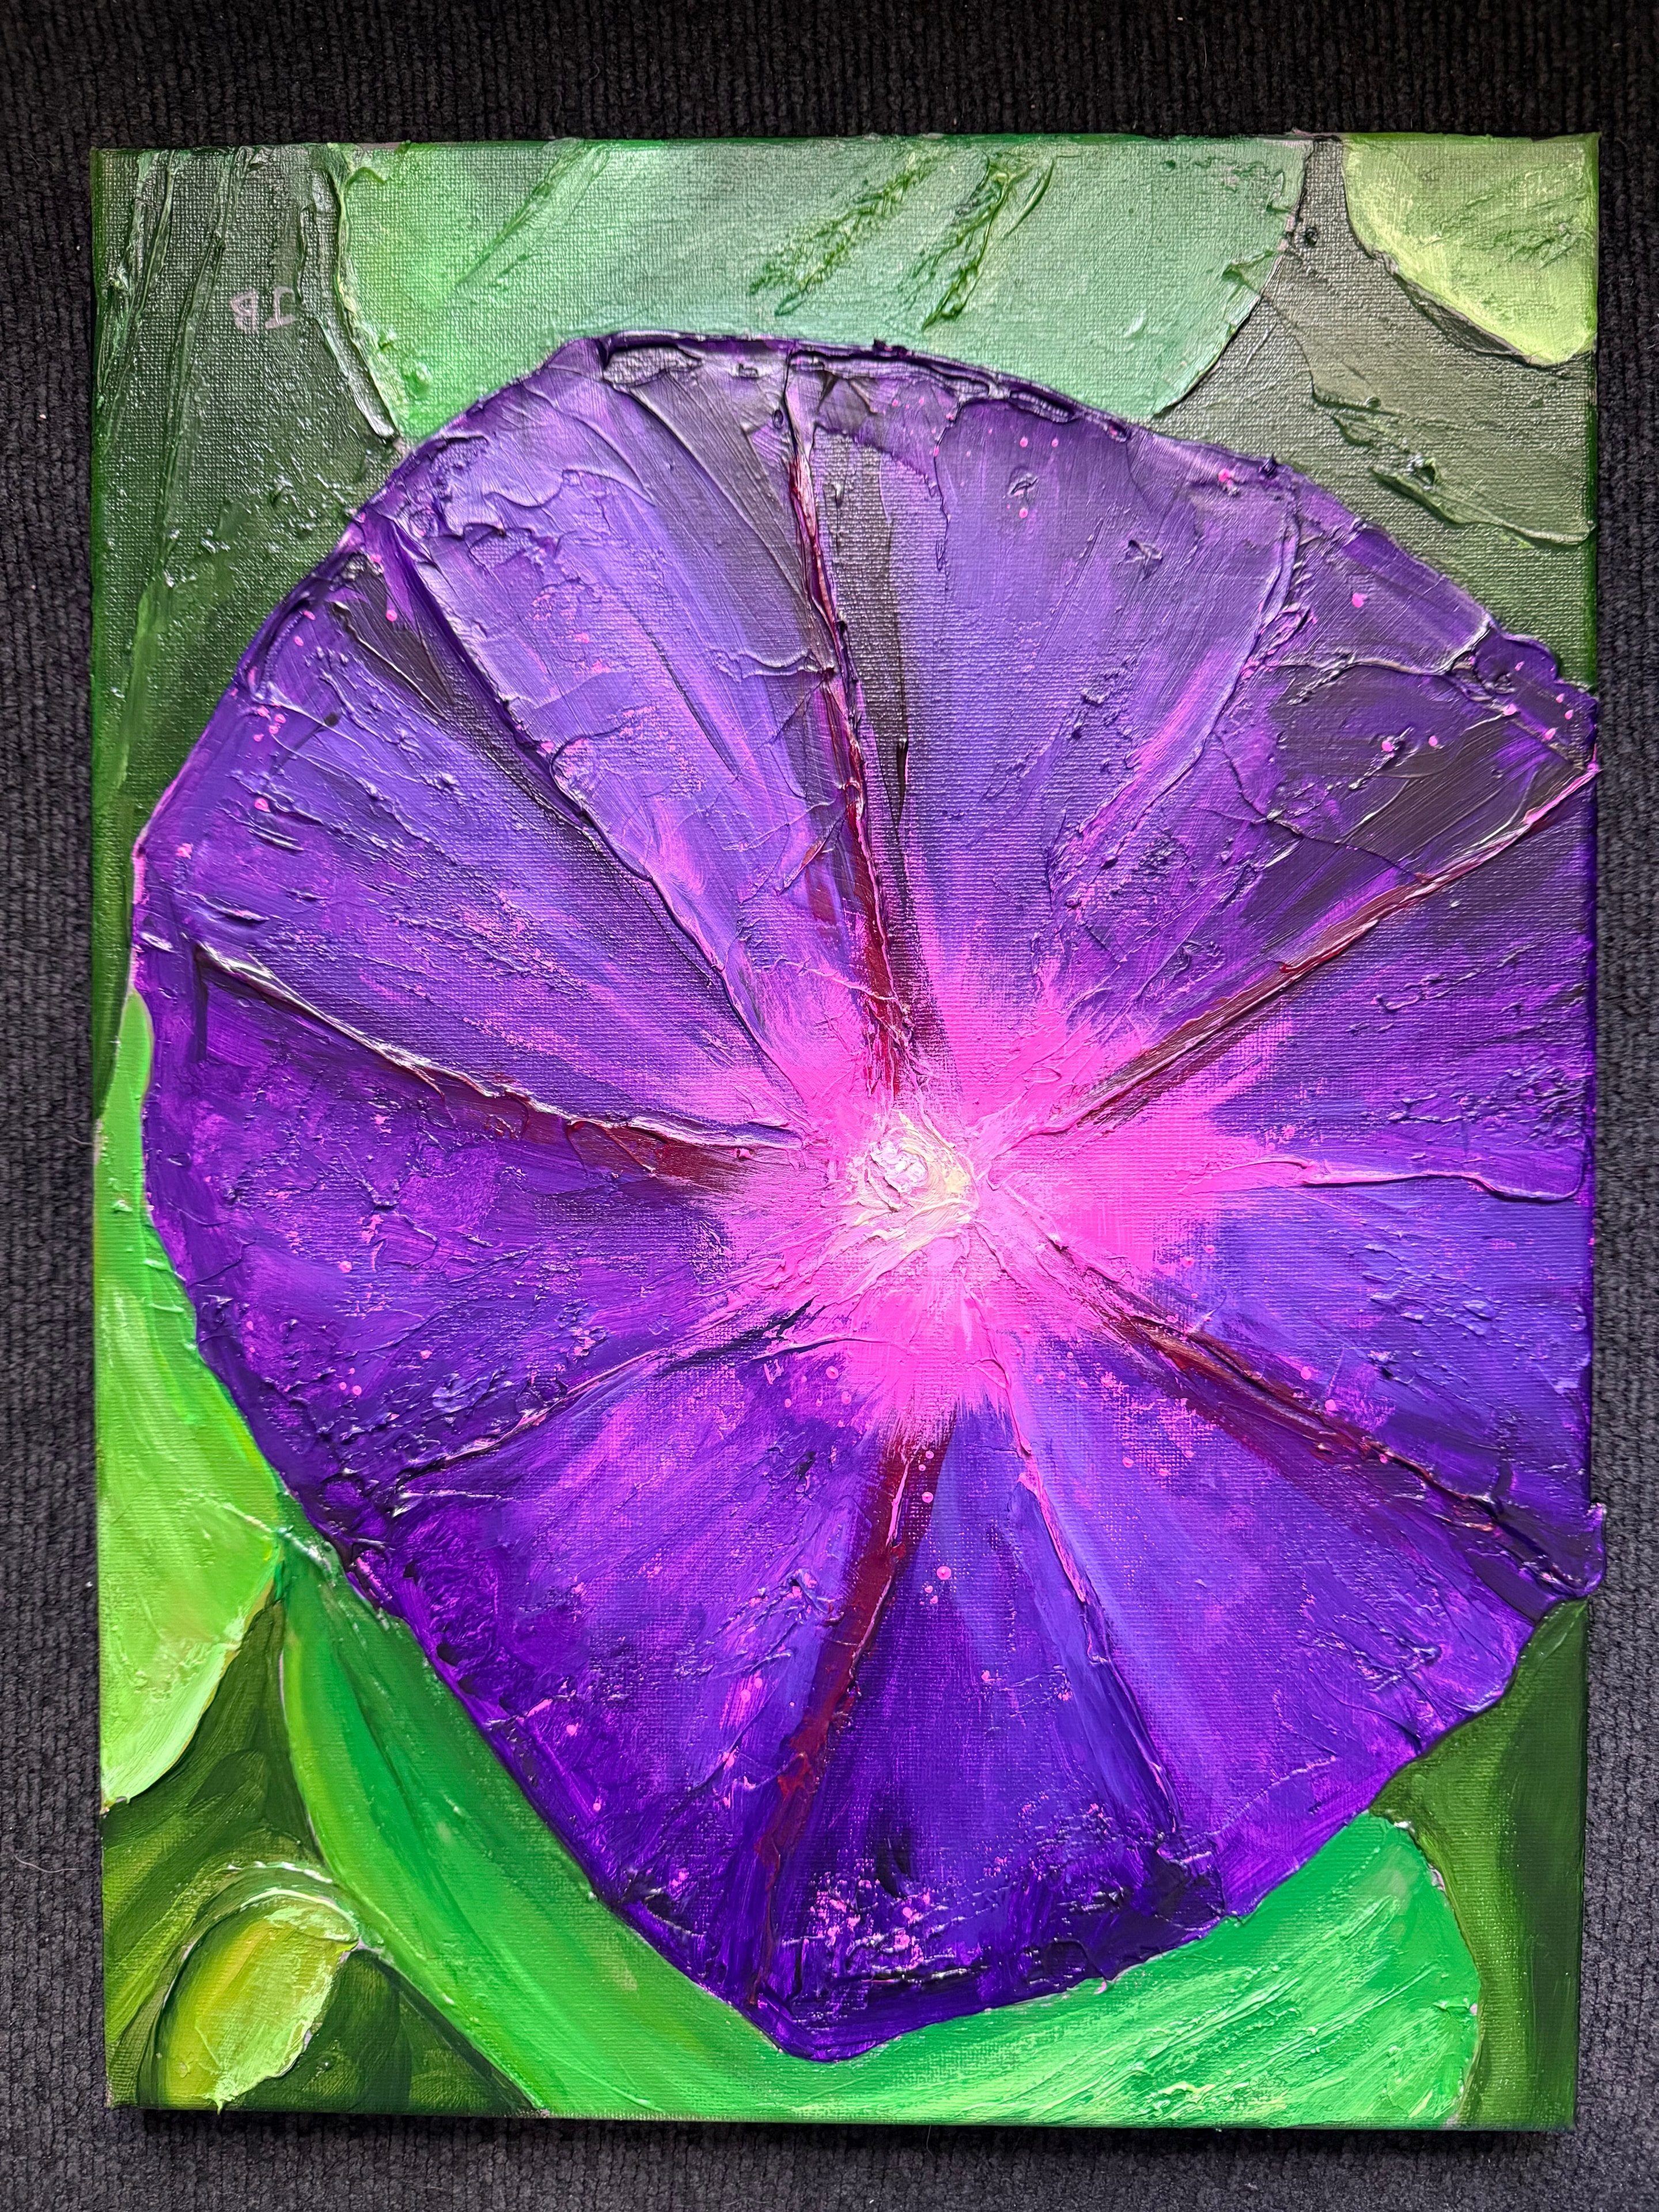
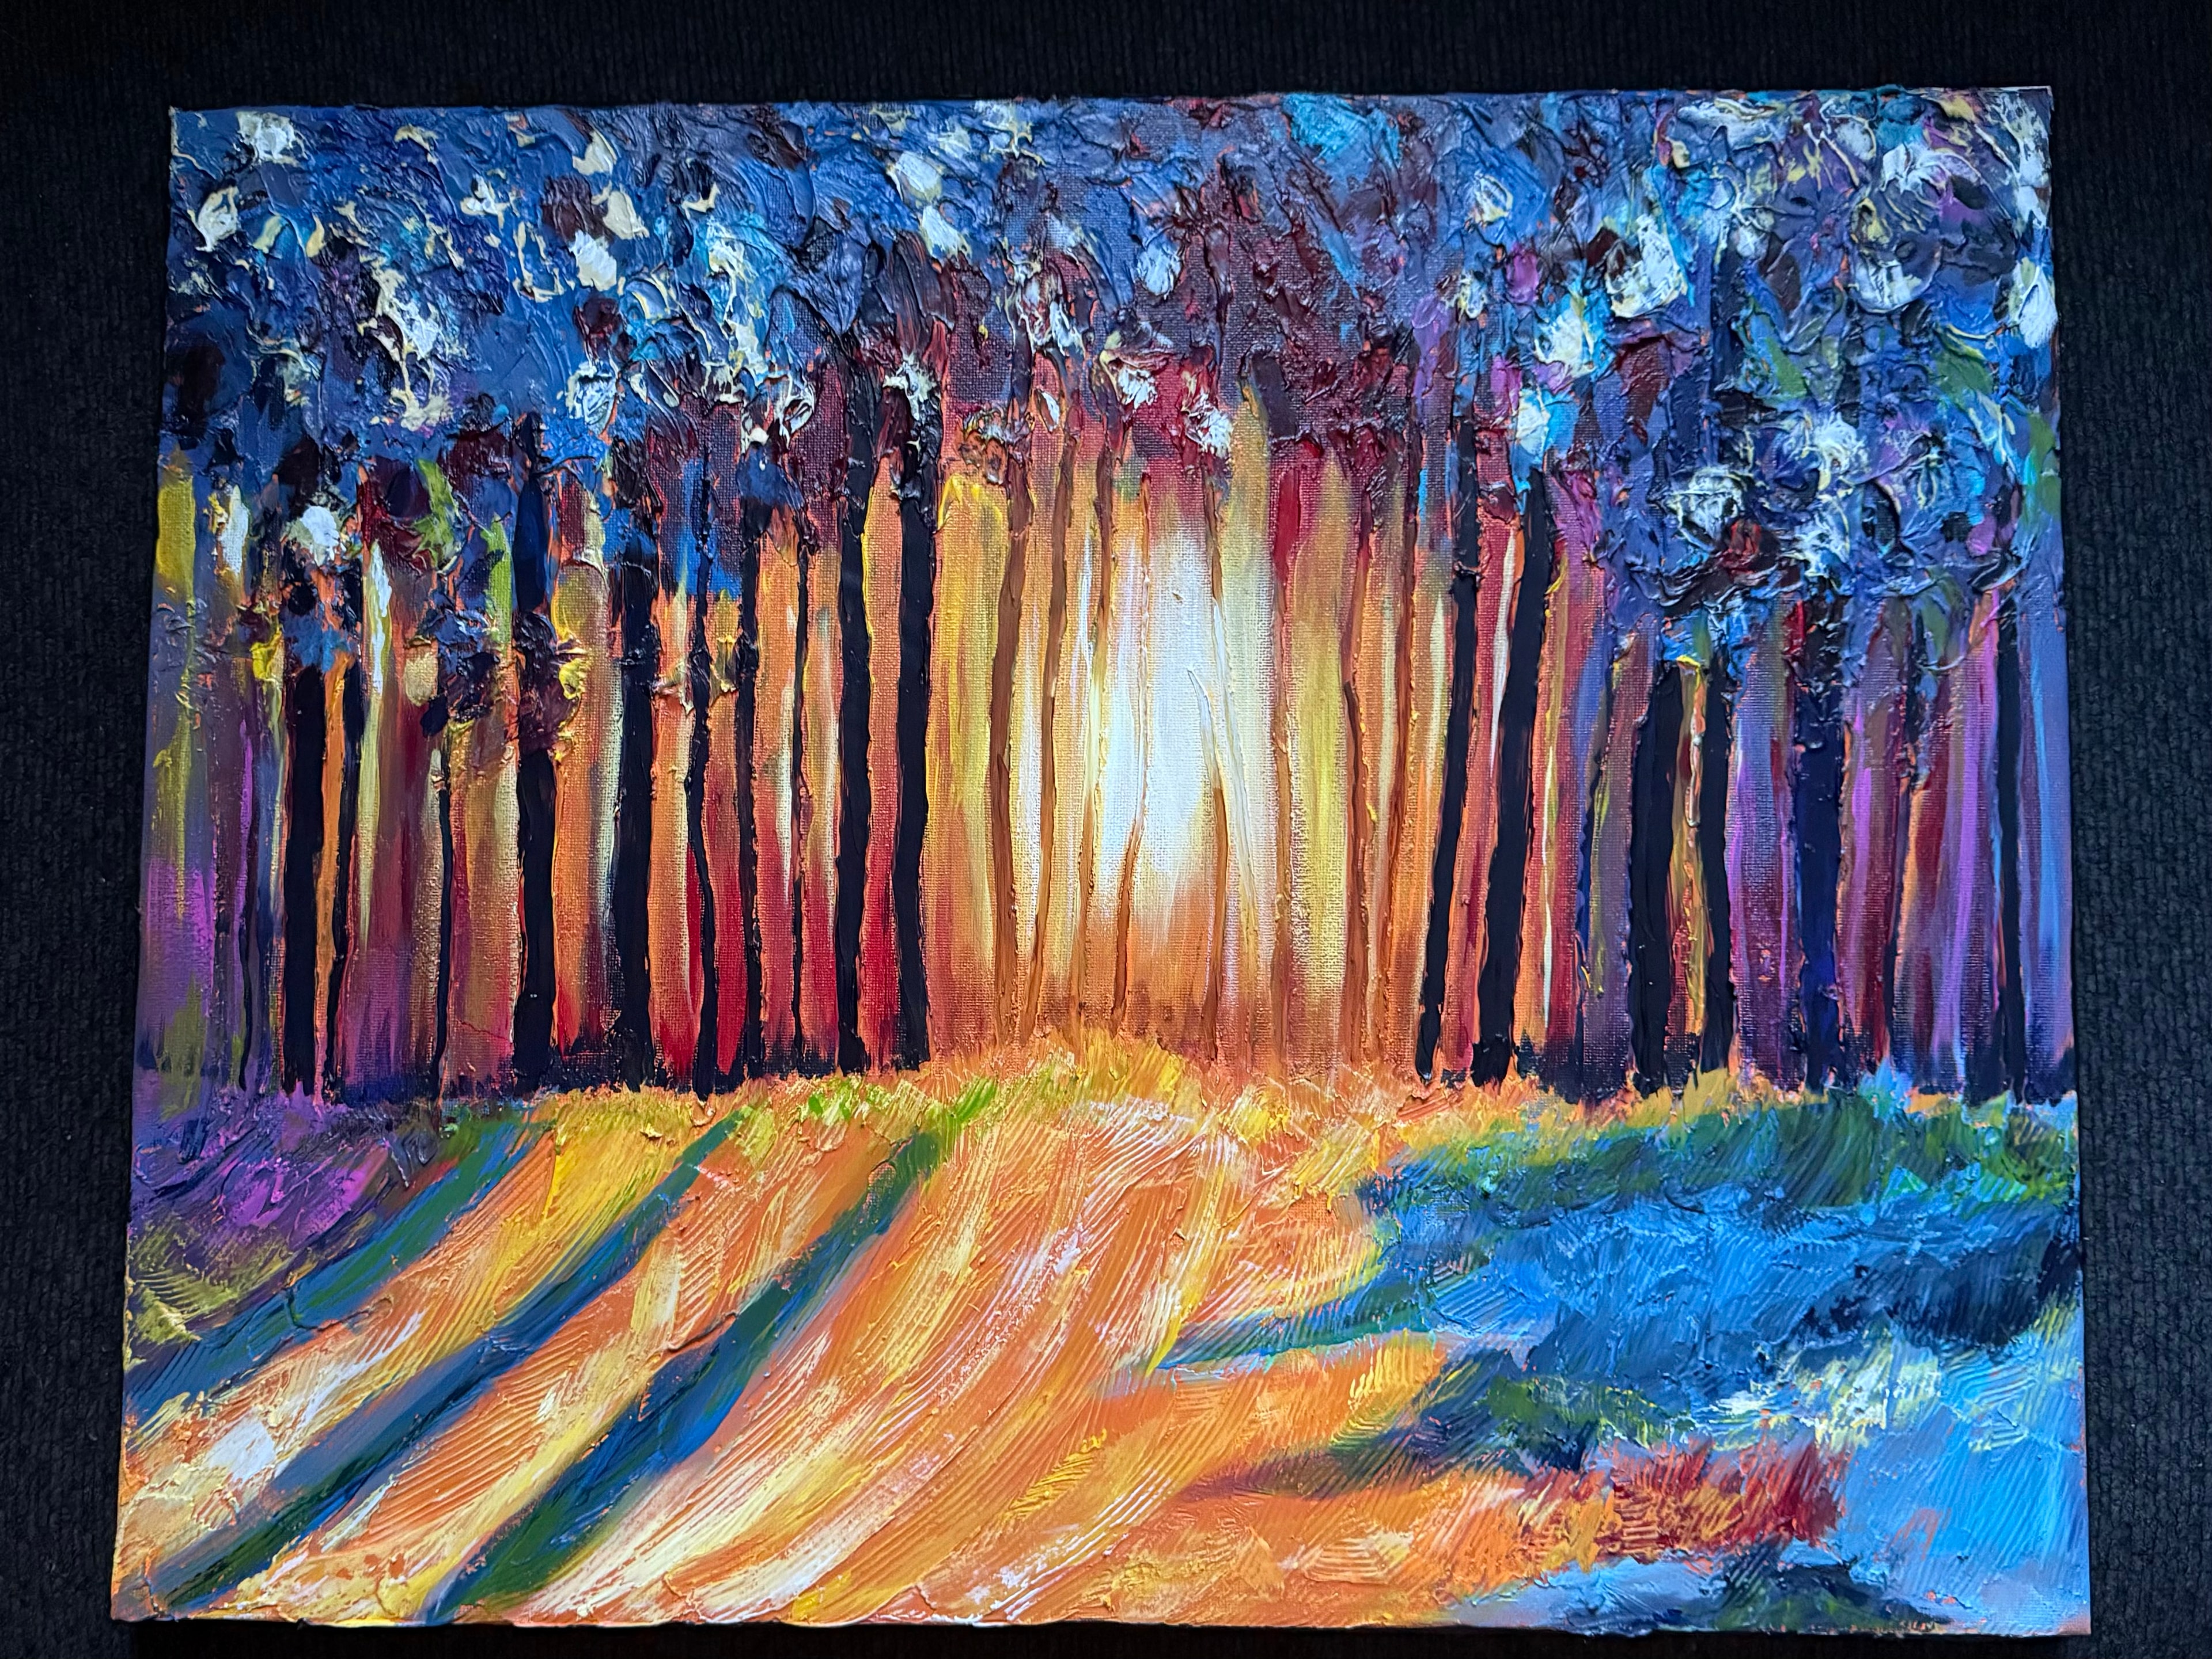
Sealing a caulk texture painting isn't the same as sealing a flat painting. Here's how to protect the 3D surface without flattening the texture or trapping dust in the grooves.
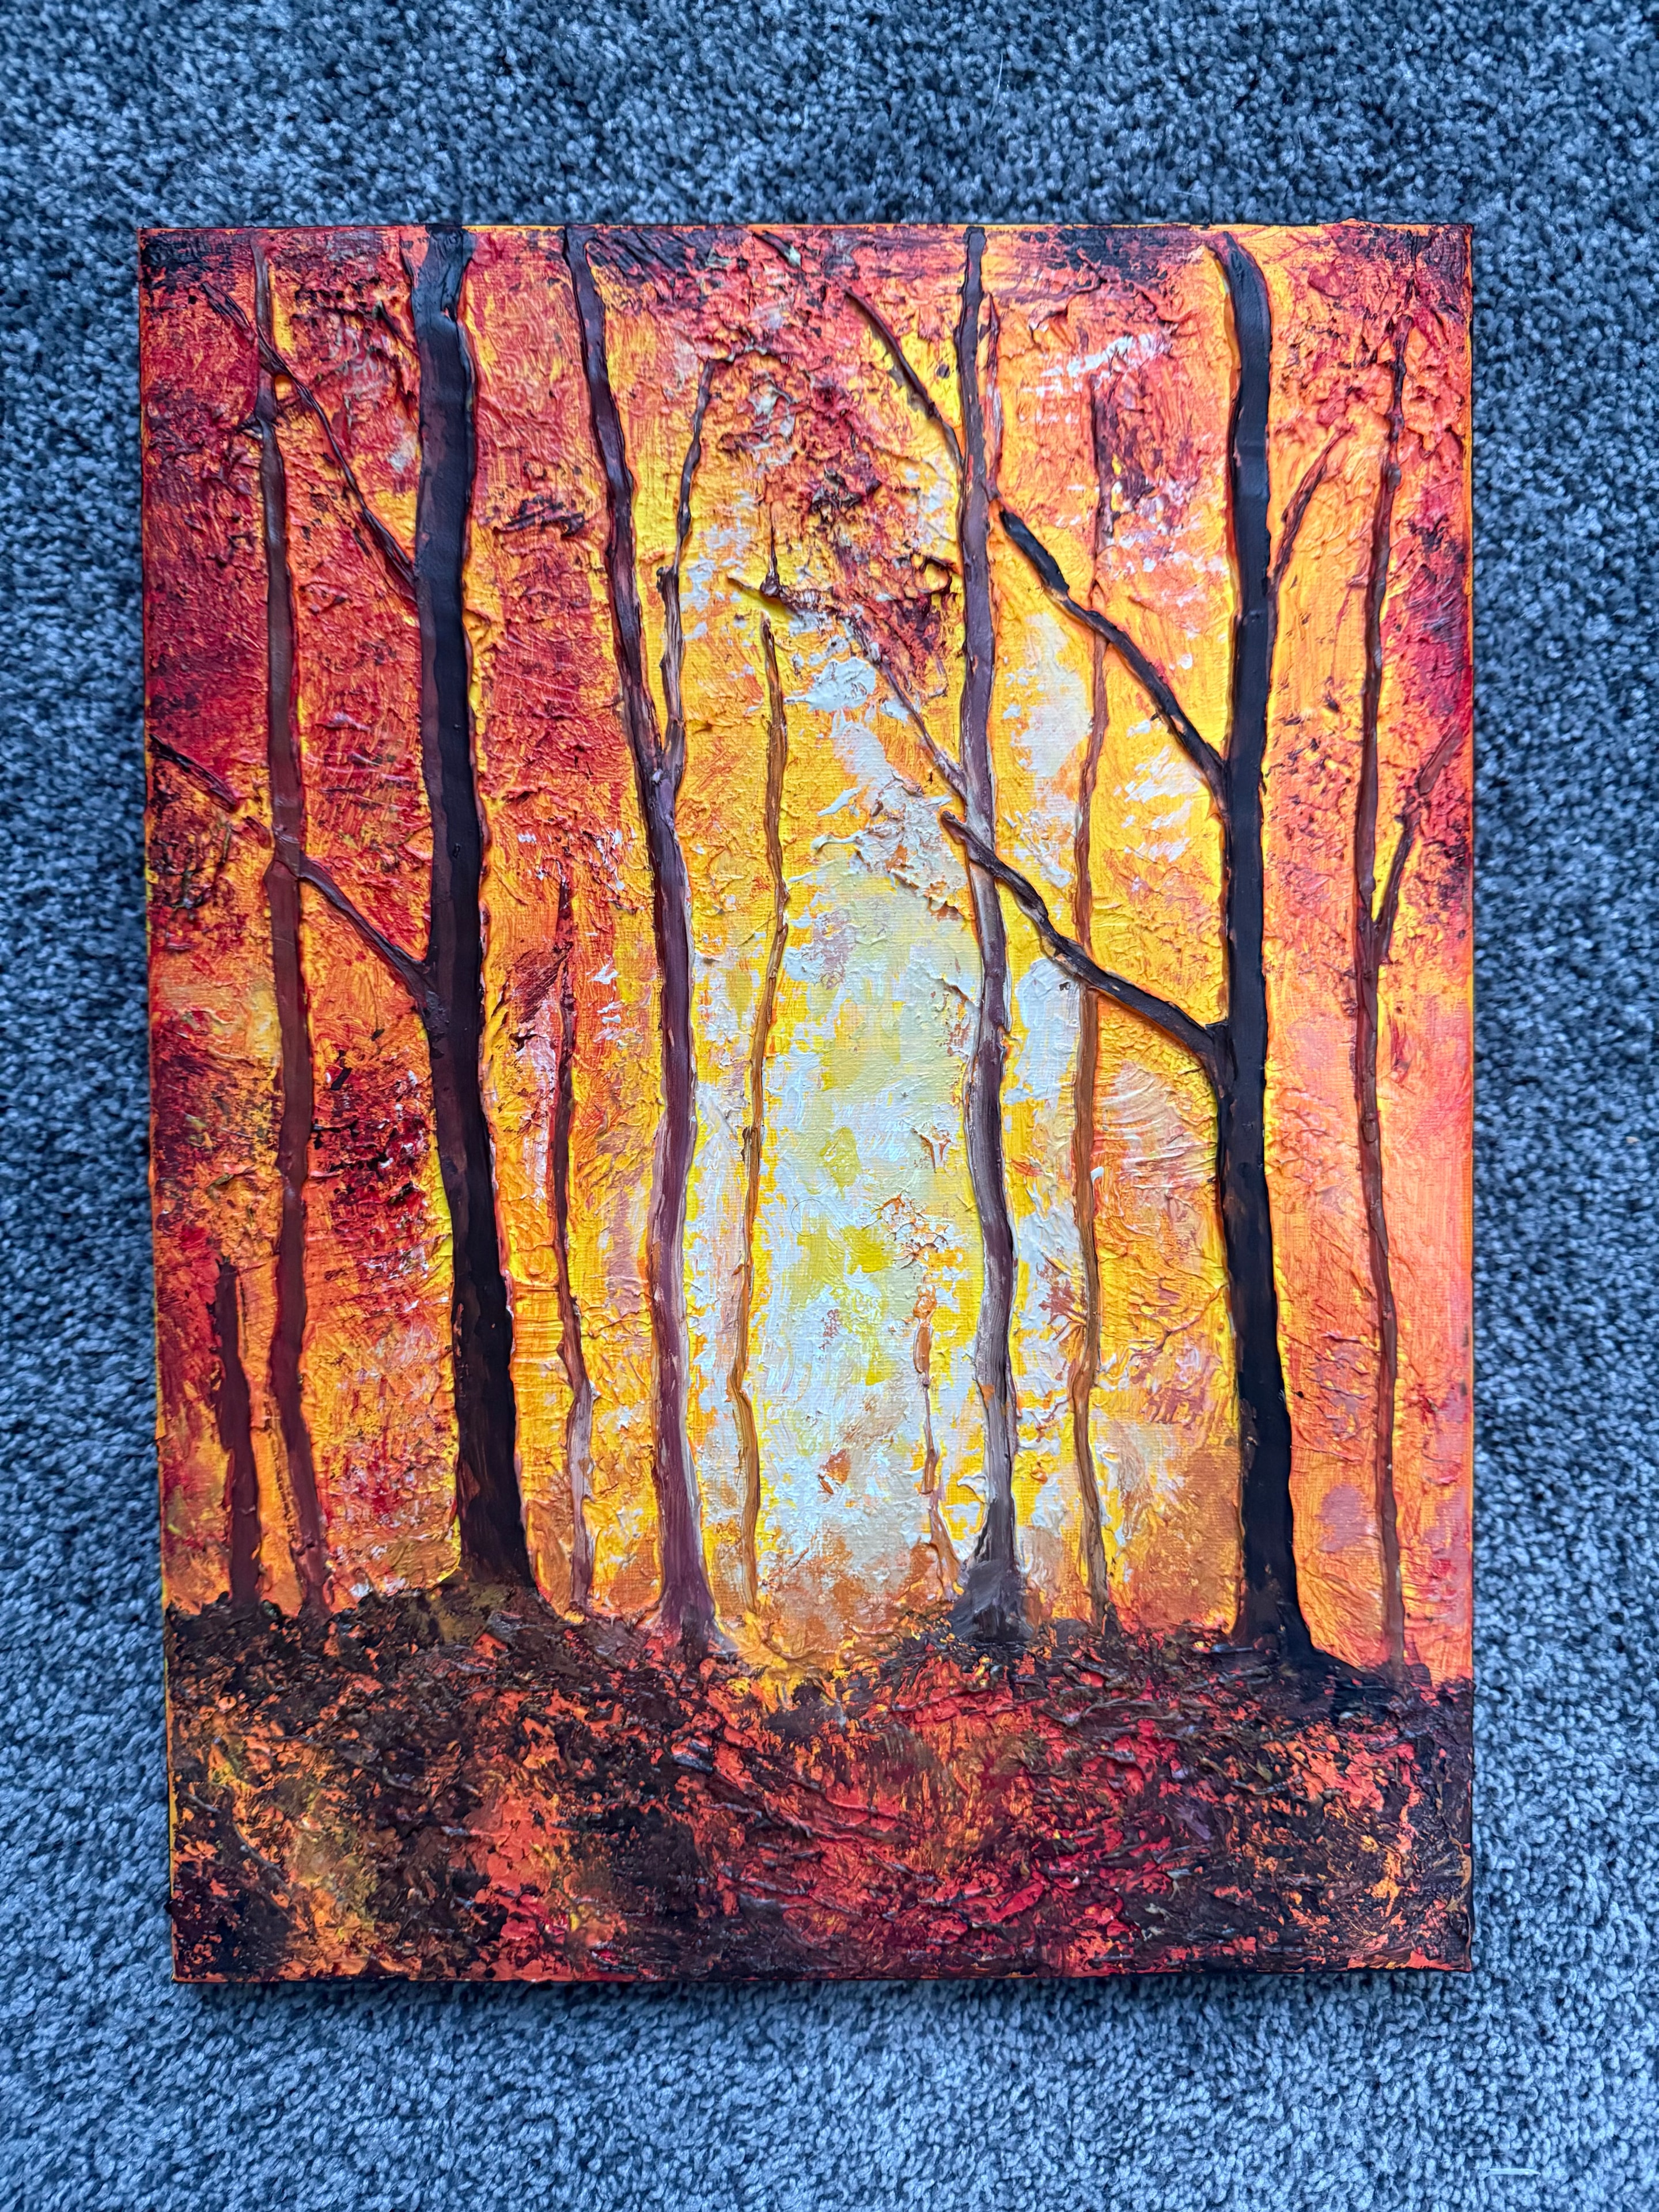
Finishing a caulk texture painting is one of the most important steps in the entire process — and one of the most commonly skipped.
Artists who are new to caulk texture work often treat the sealing step as optional, or they apply the same finishing approach they'd use on a flat painting. Both mistakes lead to problems: dust accumulation in the texture grooves, paint that fades or yellows over time, and a surface that's vulnerable to moisture and handling damage.
Sealing a caulk texture painting correctly requires a slightly different approach than sealing flat work. Here's how to do it right.
Why Sealing Matters More for Textured Paintings
On a flat painting, the surface is smooth. Dust settles on it and can be wiped off. Moisture hits the surface and runs off. The paint layer is relatively uniform and easy to protect.
On a caulk texture painting, the surface has peaks, valleys, grooves, and undercuts. Dust doesn't just settle — it falls into the grooves and gets trapped. Moisture can pool in low spots. The paint layer varies in thickness across the surface, which means it can be vulnerable in different ways in different areas.
A proper seal addresses all of these issues at once. It:
- Creates a unified protective layer over the entire surface, including the grooves
- Prevents dust from penetrating into the texture
- Protects the paint from UV fading and yellowing
- Makes the surface easier to clean (a soft brush can remove surface dust without damaging the painting)
- Enhances or unifies the sheen of the finished work
When to Seal: Timing Is Everything
The most common mistake is sealing too soon.
The caulk must be fully cured before you seal. Caulk that looks dry on the surface may still be curing internally. If you seal over partially cured caulk, you trap moisture inside the texture layer, which can cause:
- Bubbling or blistering of the varnish
- Continued off-gassing that pushes through the varnish layer
- Uneven adhesion of the varnish
The paint must also be fully dry. Acrylic paint dries quickly on the surface but can remain slightly tacky or continue curing for 24–48 hours in thick applications.
Minimum wait time: 48–72 hours after the final paint layer before sealing. For pieces with very thick caulk applications, wait a full week to be safe.
You can test caulk cure by pressing gently on the thickest part of the texture with a fingernail. If it leaves an impression, it's not ready. Fully cured caulk should feel firm and rubbery — it will flex slightly but spring back without taking an impression.
Choosing the Right Varnish
Not all varnishes work equally well on textured surfaces. Here's what to consider:
Spray Varnish vs. Brush-On Varnish
Spray varnish is generally better for caulk texture paintings. Here's why:
The spray reaches into grooves and undercuts that a brush can't easily access. A brush tends to deposit more varnish on the peaks of the texture and less in the valleys, creating uneven coverage. Spray varnish distributes more evenly across complex three-dimensional surfaces.
Brush-on varnish can work, but requires more care. Use a soft, wide brush and work the varnish into the grooves with gentle stippling motions rather than broad strokes. Multiple thin coats are better than one thick coat.
Gloss, Matte, or Satin?
This is a matter of preference, but each finish has different effects on a textured painting:
Gloss varnish:
- Enhances color depth and saturation — colors look richer and more vibrant
- Makes the texture more visible by increasing the contrast between highlights and shadows
- Can look "plastic" if over-applied
- Best for bold, colorful work where you want maximum visual impact
Matte varnish:
- Creates a natural, non-reflective finish
- Softens the appearance of the texture slightly
- Can make colors look slightly duller than they do unvarnished
- Best for subtle, naturalistic work
Satin varnish:
- The middle ground — some sheen without the full gloss effect
- Works well for most subjects
- The most forgiving choice if you're unsure
Jay the Painter uses a satin varnish on most of his work. It protects the surface without making the paintings look artificially shiny, and it enhances the texture without overwhelming it.
The Sealing Process: Step by Step
Step 1: Clean the Surface
Before sealing, make sure the surface is clean and dust-free. Use a soft, dry brush (a wide watercolor wash brush works well) to gently sweep dust out of the texture grooves. Work from top to bottom so dust falls away from the painting.
Don't use a damp cloth — moisture on an unsealed painting can cause problems.
Step 2: Apply an Isolation Coat (Optional but Recommended)
An isolation coat is a thin layer of soft gel medium or GAC 500 (a specialty acrylic medium) applied before the varnish. It creates a barrier between the paint layer and the varnish, which means you can remove and replace the varnish later without disturbing the paint.
This step is optional for paintings you don't expect to ever re-varnish. But for pieces that will be sold or displayed long-term, it's good practice.
Apply the isolation coat thinly with a soft brush, working it into the grooves. Let it dry completely (at least 24 hours) before applying varnish.
Step 3: First Varnish Coat
For spray varnish:
- Hold the can 12–18 inches from the surface
- Use light, even passes — don't try to achieve full coverage in one coat
- Work in overlapping passes, moving the can continuously
- Pay special attention to the grooves and undercuts — angle the spray slightly to reach them
- Let dry completely before the next coat (follow the manufacturer's instructions — usually 30–60 minutes)
For brush-on varnish:
- Dilute slightly with water if the varnish is very thick (check the manufacturer's recommendation)
- Use a soft, wide brush
- Apply with stippling motions to work varnish into the grooves
- Avoid heavy brush strokes across the peaks — this can leave brush marks
- Let dry completely before the next coat
Step 4: Second and Third Coats
Two to three thin coats are better than one thick coat. Each coat:
- Builds up the protective layer
- Fills in any areas the previous coat missed
- Creates a more uniform finish
Let each coat dry completely before applying the next. Rushing this step causes cloudiness and uneven sheen.
Step 5: Final Inspection
Once the final coat is dry, examine the painting in raking light (light coming from the side at a low angle). This will reveal any areas with uneven coverage, missed spots, or varnish buildup on the peaks.
If you see issues, a final light coat of spray varnish usually evens things out.
Caring for a Sealed Caulk Texture Painting
Once sealed, a caulk texture painting is durable and easy to maintain:
- Dust removal: Use a soft, dry brush or a can of compressed air to remove dust from the grooves. Never use a damp cloth on the texture.
- Avoid direct sunlight: Even UV-resistant varnish doesn't provide complete protection from prolonged direct sun exposure.
- Handling: Hold the painting by the edges or the back — avoid touching the textured surface.
- Cleaning: If the surface gets dirty, a very slightly damp soft cloth on the peaks (not in the grooves) is usually safe. When in doubt, don't.
The Bottom Line
Sealing a caulk texture painting correctly takes a little more care than sealing flat work, but it's not complicated. The key points:
- Wait until the caulk is fully cured and the paint is fully dry
- Use spray varnish for the most even coverage on complex surfaces
- Apply multiple thin coats rather than one thick coat
- Work the varnish into the grooves — don't just coat the peaks
A properly sealed caulk texture painting will maintain its surface quality for decades. It's worth taking the time to do it right.
Every painting in Jay the Painter's collection is properly sealed and finished before it ships. Browse the full collection of original caulk texture paintings at jaythepainter.com/artwork. No prints, ever — only 100% original work.
Text Jay at 330-285-3136 with questions about his finishing process or to inquire about a specific painting.
Browse the gallery → | Learn more about caulk texture painting → | The complete caulk art guide →
Explore Topics
Written by
Jay the Painter
Content creator and writer sharing insights and stories.