How Texture Painters Use Caulk to Create Dimensional Art
Most people think of caulk as a bathroom sealant. Jay the Painter uses it to build three-dimensional surfaces on canvas that last for decades. Here's exactly how texture painters use caulk — the tools, the process, and why it produces results that thick paint never can.
When people first hear that Jay the Painter uses caulk to create his dimensional paintings, the reaction is almost always the same: caulk? Like the stuff you use to seal a bathtub?
Yes. Exactly like that.
And it turns out that the same properties that make caulk excellent for sealing gaps in construction — its flexibility, its workability, its durability — also make it the ideal material for building three-dimensional surfaces on canvas.
Here's exactly how texture painters use caulk, from the first squeeze of the gun to the final brushstroke.
Why Caulk? The Case Against Thick Paint
Before getting into the process, it's worth understanding why a texture painter would reach for a construction material instead of the obvious alternative: thick paint.
The traditional approach to dimensional painting is impasto — applying thick oil or acrylic paint with a palette knife to create raised surfaces. Van Gogh used it. Monet used it. It's been part of painting for centuries.
So why does Jay use caulk instead?
Durability. Thick paint shrinks as it dries. The more paint you pile on, the more it shrinks — and the more stress that creates in the dried surface. Over time, heavily impastoed paintings develop hairline cracks, especially in homes with seasonal temperature and humidity changes. A painting that looks perfect when it leaves the studio can show cracking within years.
Flexible caulk doesn't crack. It moves with the canvas as the temperature and humidity change. A properly sealed caulk texture painting will hold its three-dimensional structure for decades without cracking.
Organic form. Palette knife impasto creates sharp, angular ridges — the marks of the knife are visible in the texture. This is beautiful in its own way, but it's not the right texture for every subject.
Caulk can be shaped into softer, more organic forms. The gentle curve of a flower petal. The rough, irregular surface of tree bark. The rolling contour of a hillside. These forms are difficult or impossible to achieve with a palette knife and thick paint.
Working time. Thick paint starts drying immediately. The working window for impasto is limited by how fast the paint dries — and in warm, dry conditions, that can be very fast.
Caulk has a longer, more predictable working window. A texture painter can work across a larger canvas, building up the three-dimensional structure section by section, without racing against the paint drying.
The Tools of a Caulk Texture Painter
Jay's caulk texture process uses a specific set of tools:
Caulk gun — the primary application tool. The caulk gun controls the flow of caulk from the tube, allowing the texture painter to apply it in lines, dots, blobs, or continuous flows depending on the subject.
Palette knives — used to shape and sculpt the caulk after it's been applied. Different knife shapes create different textures: a flat knife smooths and spreads, a pointed knife creates fine detail, a rounded knife creates organic curves.
Brushes — used to blend and soften edges in the caulk before it sets. A stiff brush can create fine texture in the surface of the caulk itself — the roughness of bark, the grain of wood, the texture of stone.
Toothpicks and skewers — for fine detail work in the caulk: the veins of a leaf, the individual petals of a small flower, the texture of feathers.
The canvas — Jay works on stretched canvas, which provides the right combination of flexibility and stability for caulk texture work.
The Caulk Texture Process: Step by Step
Step 1: Planning the Composition
Before any caulk touches the canvas, Jay plans the composition carefully. The three-dimensional structure of the painting is permanent — once the caulk sets, it can't be changed. Every decision about where the raised surfaces will be, how high they'll be, and what forms they'll take has to be made before the process begins.
This is fundamentally different from flat painting, where the composition can be adjusted as the work develops. A texture painter has to think in three dimensions from the start.
Step 2: Applying the Caulk
With the composition planned, Jay begins applying caulk to the canvas using the caulk gun. The application varies by subject:
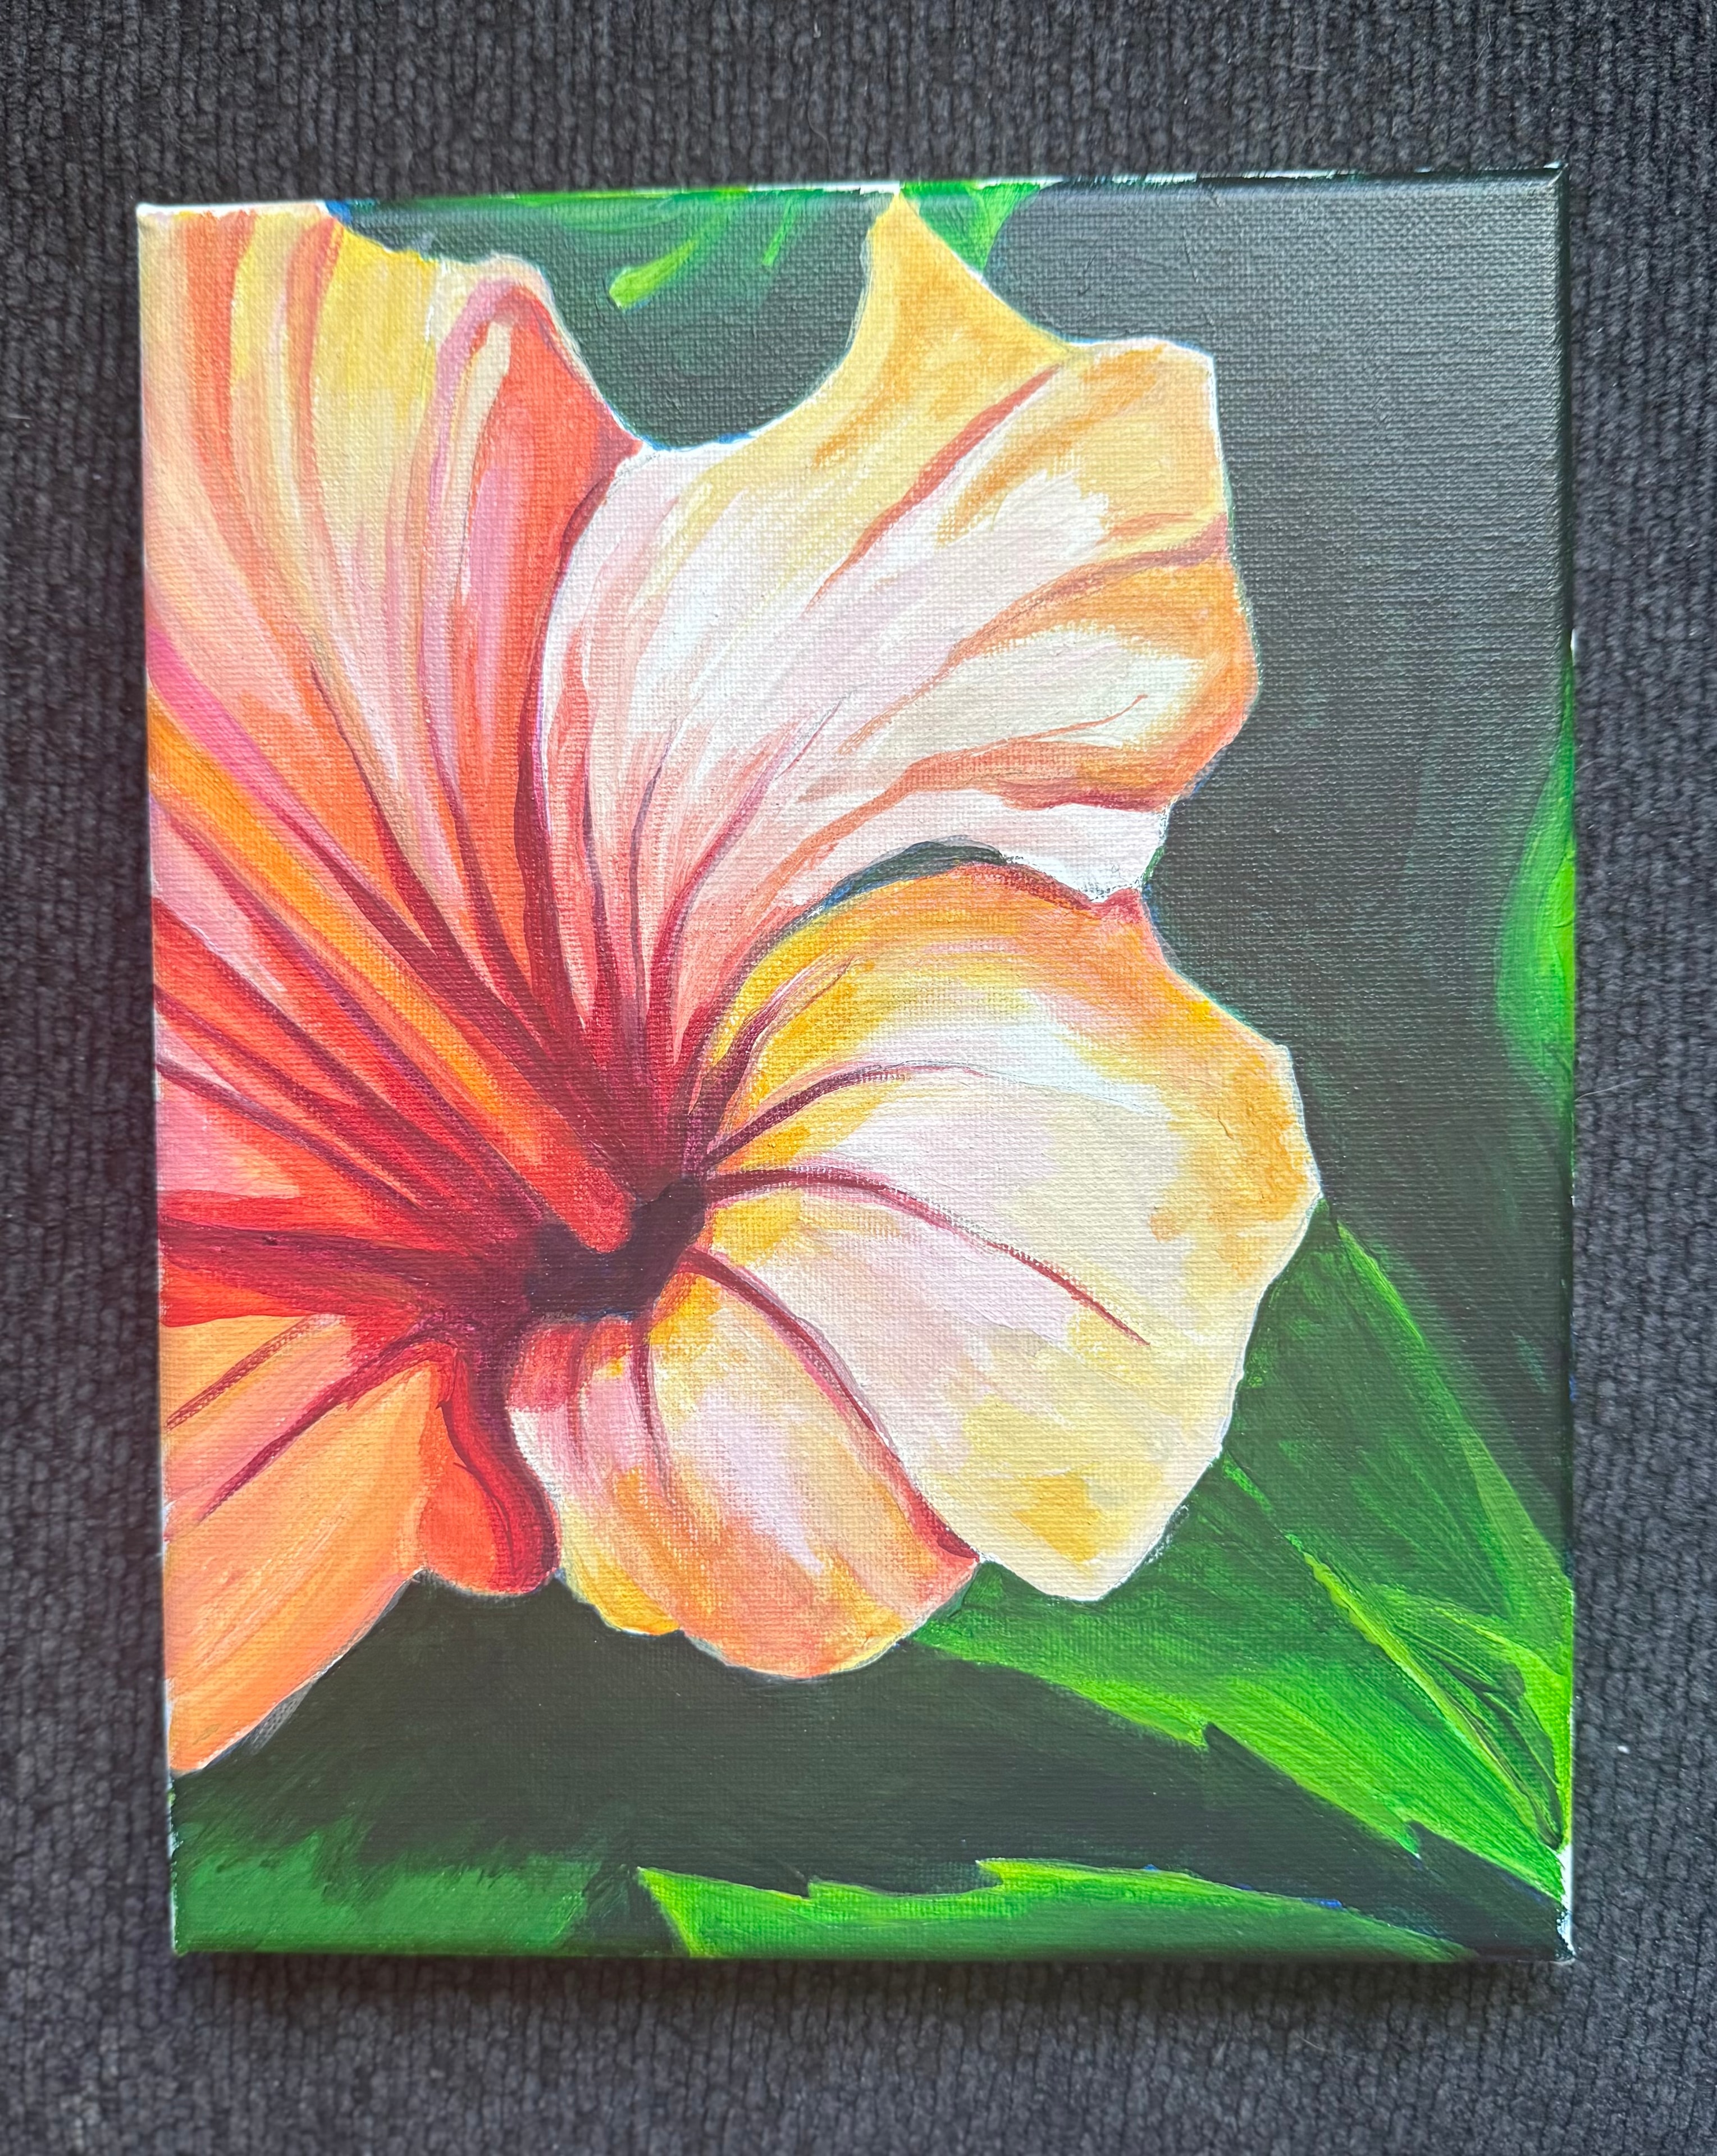
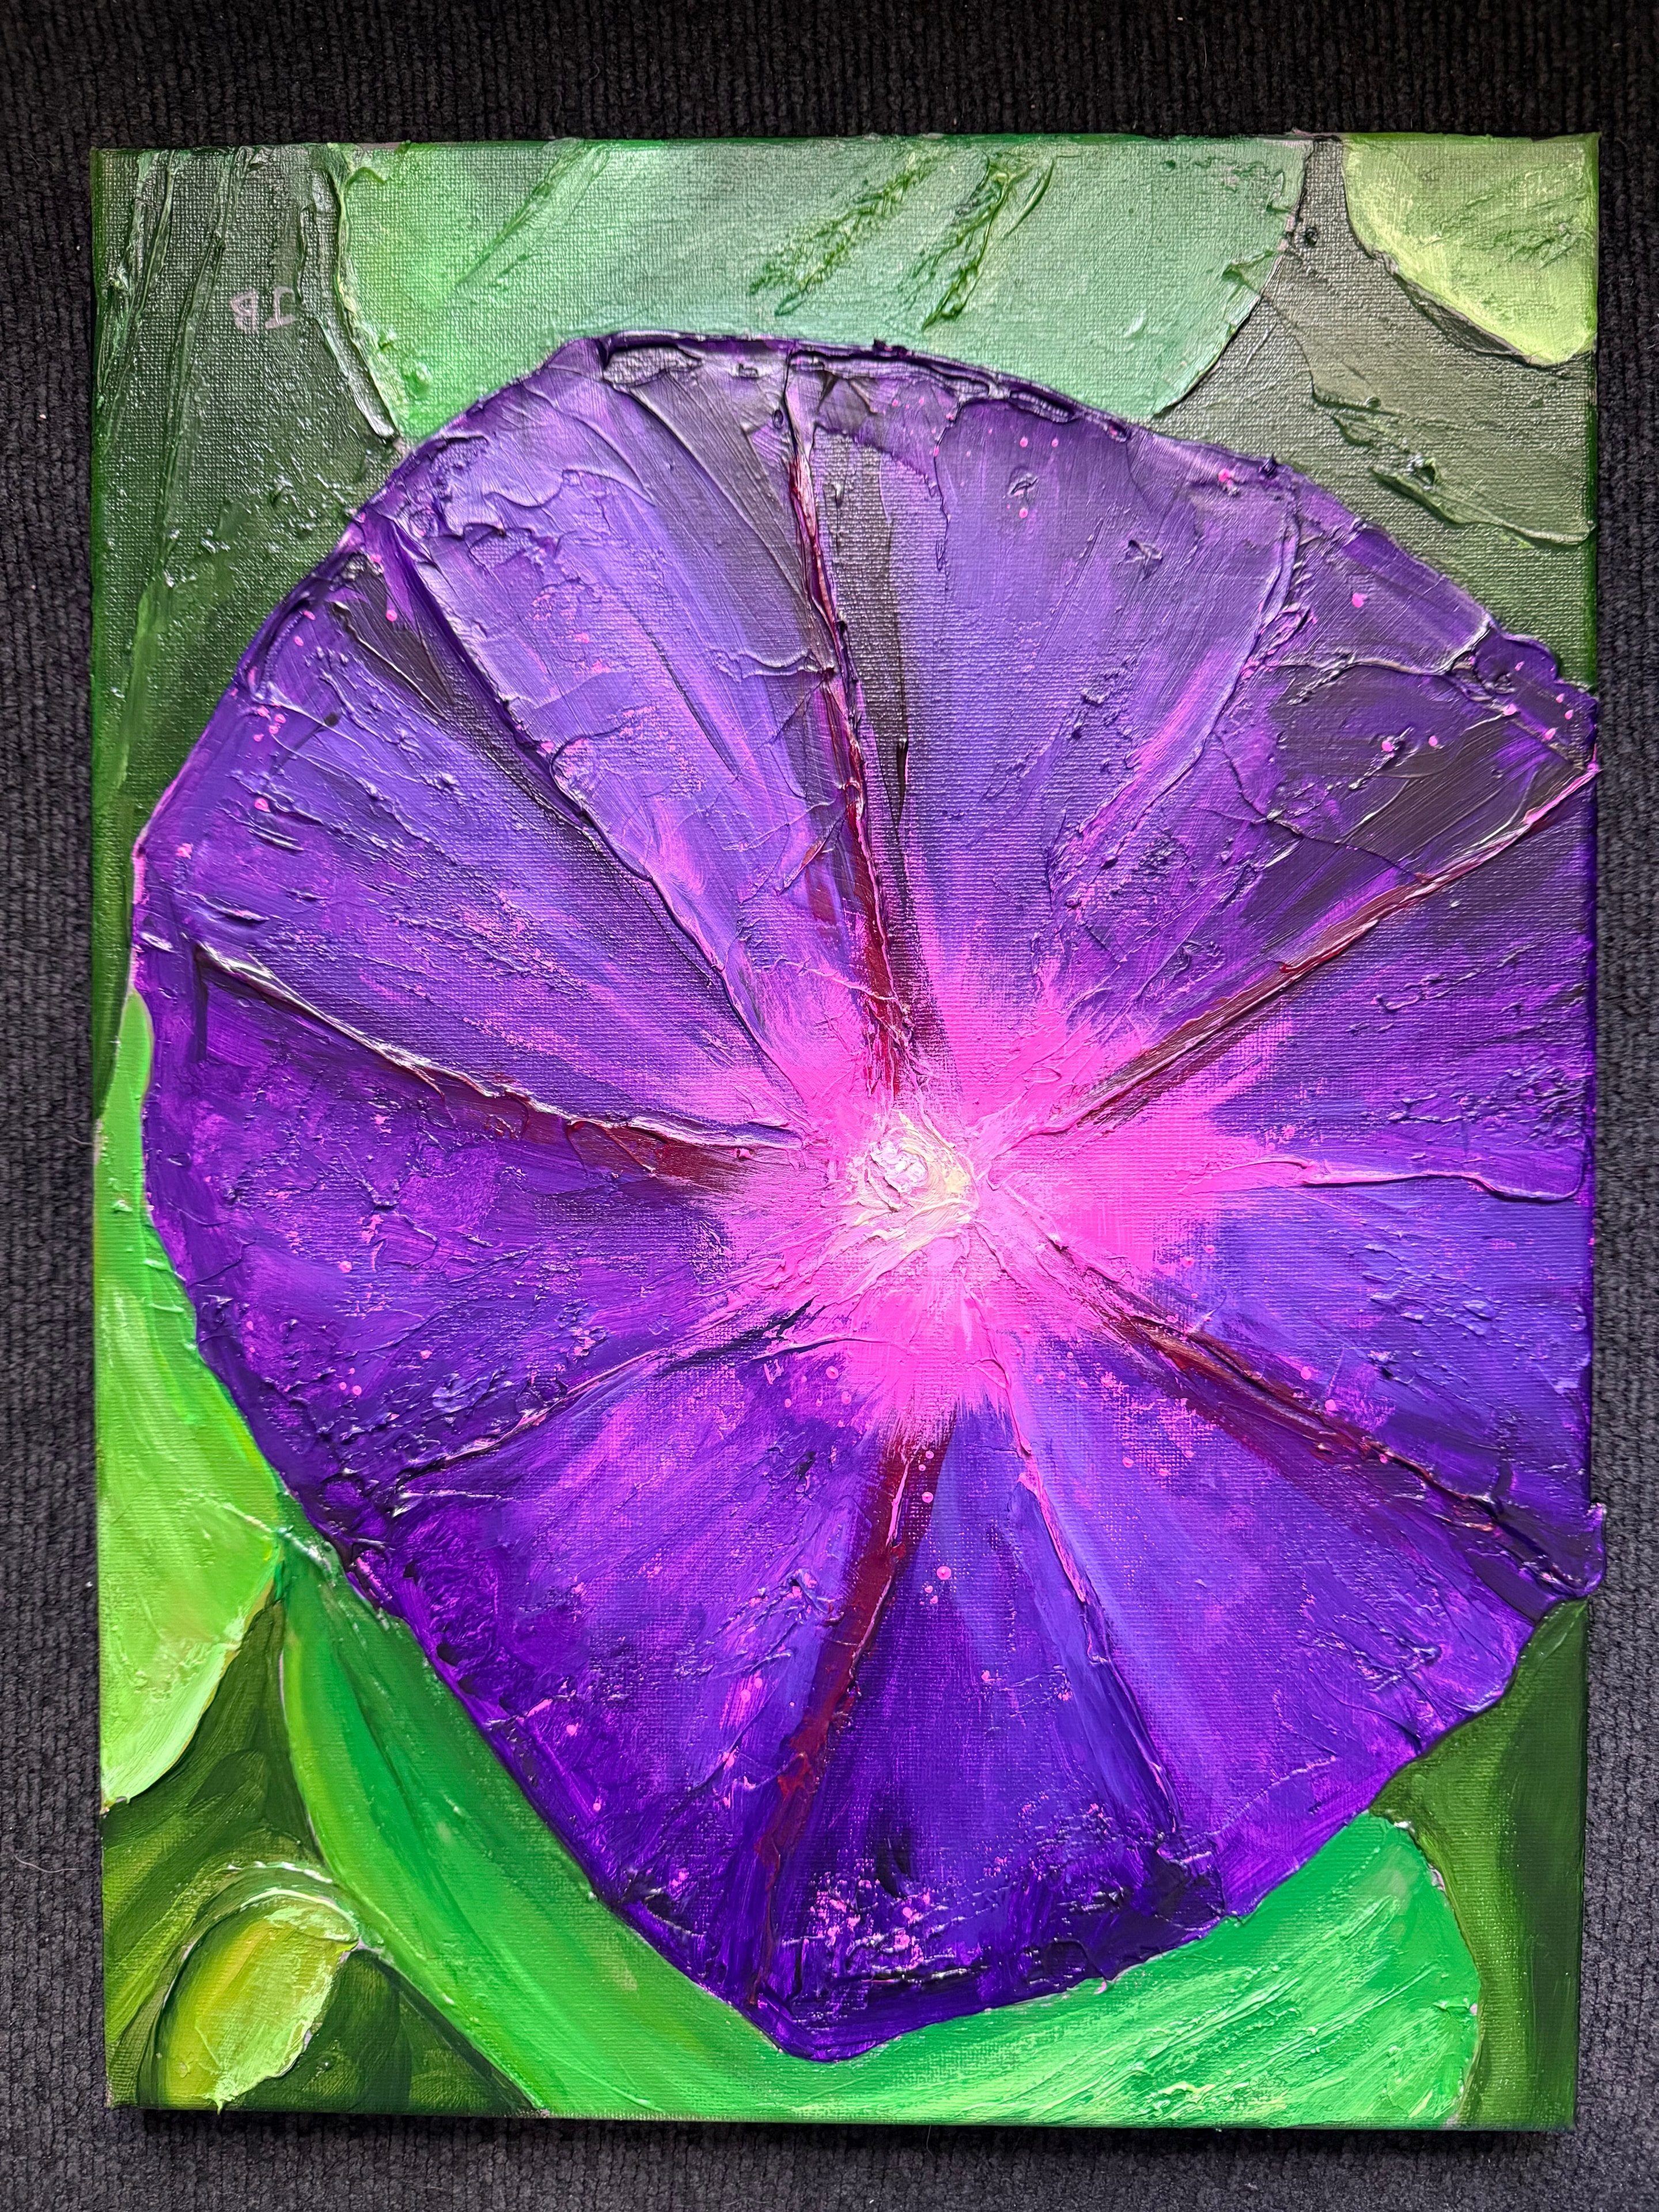
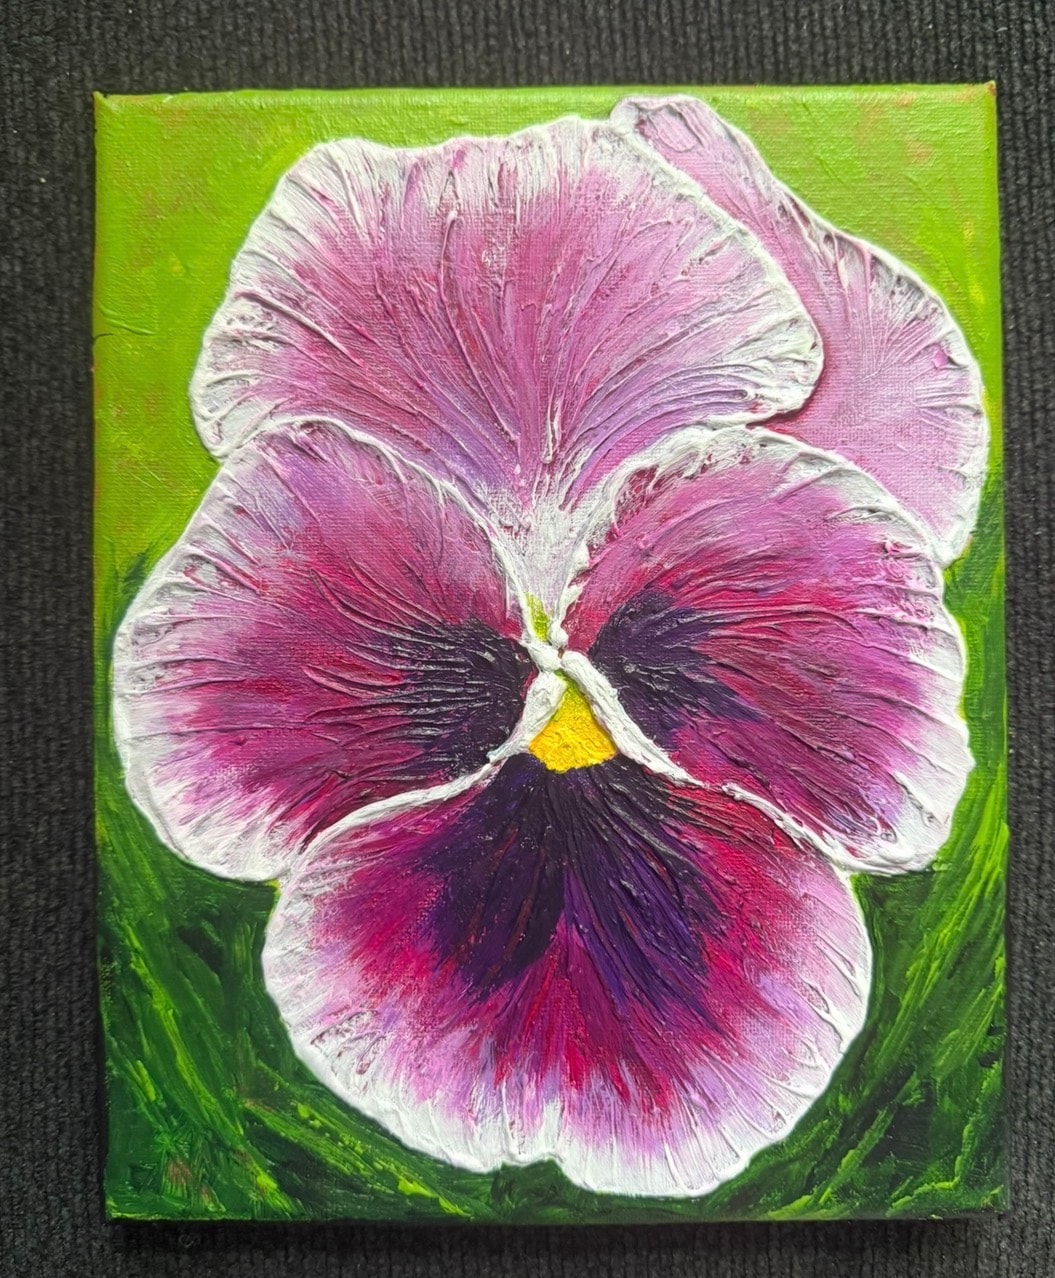
For flowers, the caulk is applied in the shapes of petals — each petal built up to the height and curve that will create the right shadow and highlight when paint is applied. The center of the flower may be built up higher, the outer petals lower, to create the natural depth of a bloom.
For landscapes, the caulk is applied to create the texture of the foreground — the roughness of grass, the texture of soil, the forms of rocks. The middle ground gets less texture, and the background may be nearly flat, creating the natural recession of depth in a landscape.
For abstract work, the caulk is applied more freely — building up ridges, swirls, and geometric forms that will become the visual subject of the painting.
Step 3: Sculpting and Shaping
Once the caulk is on the canvas, Jay has a limited working window to shape it. This is the most demanding part of the process — the caulk is workable for a specific period, and every decision is permanent.
Using palette knives, brushes, and fine tools, Jay sculpts the caulk into the precise forms he wants. Petals are curved. Bark is roughened. Grass is given directional texture. Abstract forms are refined.
The timing is critical. Work too slowly and the caulk begins to set before the sculpting is complete. Work too quickly and the forms lose their precision. A texture painter develops an instinct for the material — knowing exactly how much time is available and how to use it.
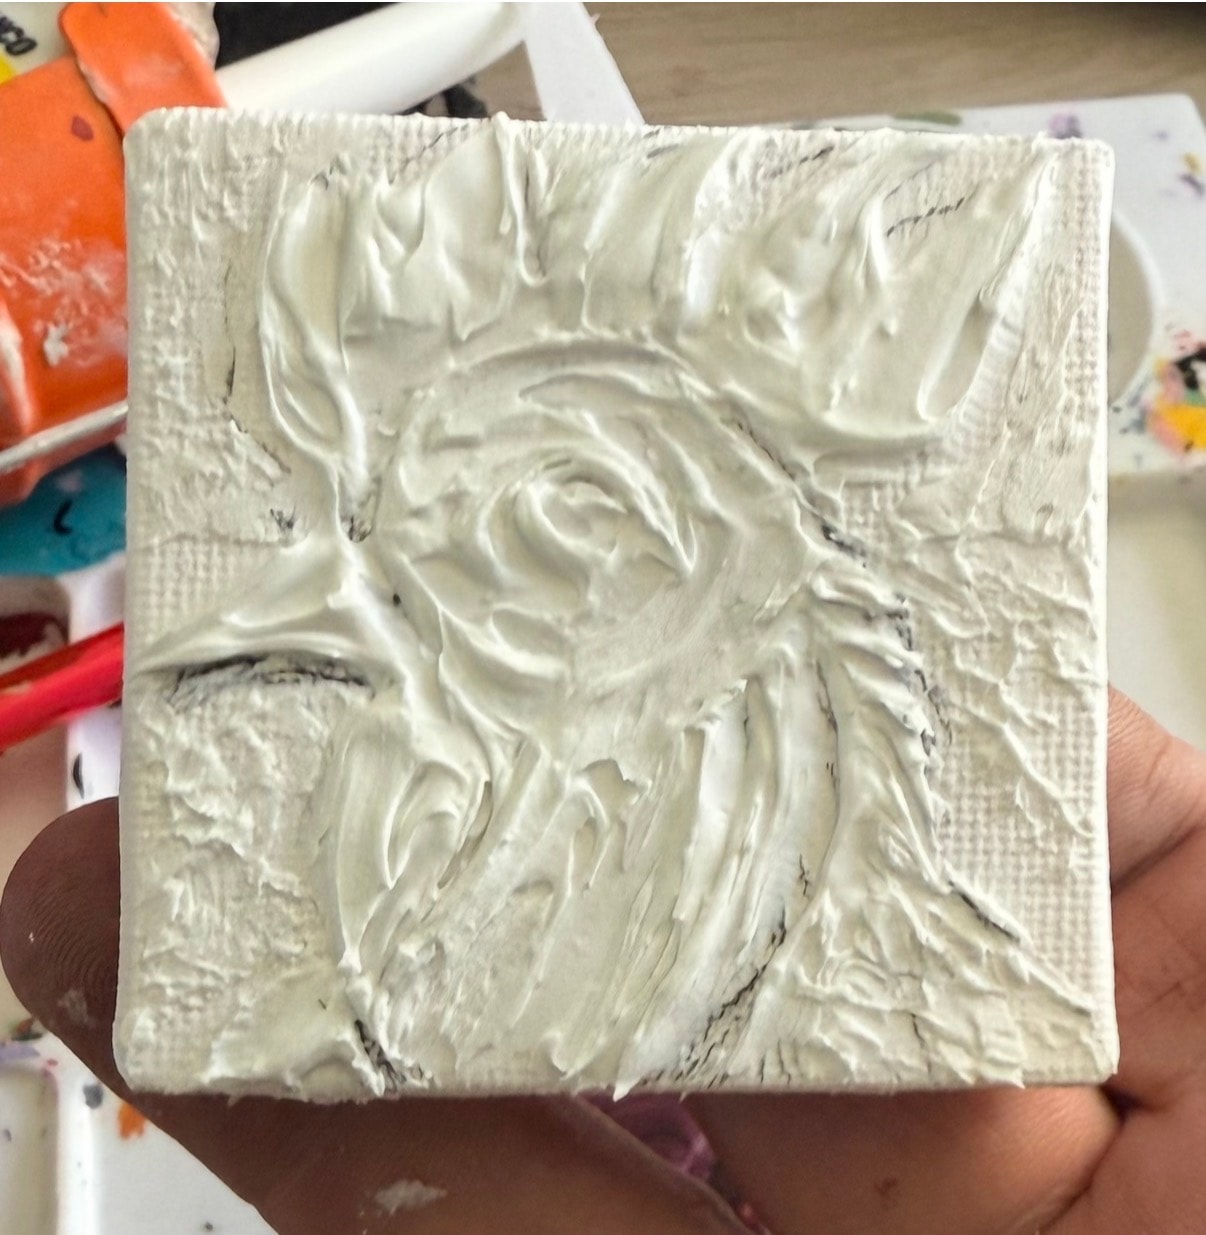
Step 4: Curing
Once the caulk has been shaped, the painting has to wait. Caulk cures from the outside in — the surface sets first, but the interior takes longer. Rushing this step would mean painting over caulk that hasn't fully cured, which can cause problems with adhesion and surface stability.
Jay lets the caulk cure completely before any paint is applied. This is non-negotiable.
Step 5: Painting the Three-Dimensional Surface
With the caulk fully cured, the painting phase begins. This is where the caulk texture painter's skill diverges most dramatically from a flat painter's.
Paint behaves differently on a three-dimensional surface. It pools in the valleys between ridges. It sits on the peaks. The texture painter has to think about how color will look on different parts of the three-dimensional form — the top of a ridge will catch more light than the valley beside it, so the same color will look different in different parts of the texture.
Jay applies paint in layers, building up color and depth across the three-dimensional surface. Dry-brushing — dragging a nearly-dry brush lightly across the raised texture — creates highlights that look natural because they are natural: the light is actually catching the raised surface.
Step 6: Sealing
The finished painting is sealed with protective varnish. The varnish locks in the colors, protects the surface from dust and UV light, and adds a final layer of protection to the caulk texture.
A properly sealed caulk texture painting is remarkably durable. The flexible caulk won't crack. The varnish protects the paint. The canvas provides a stable foundation. These paintings are built to last.
What the Caulk Technique Makes Possible
The caulk texture technique opens up possibilities that flat painting simply can't achieve:
Real shadows. The raised surfaces of a caulk texture painting cast actual shadows on the canvas beneath them. These aren't painted shadows — they're real shadows created by real three-dimensional forms. The painting looks different at different times of day as the light source changes.
Tactile quality. You can feel a caulk texture painting with your hand. The petals of a flower curve up off the canvas. The bark of a tree has real roughness. This tactile quality creates a connection between the viewer and the painting that flat work can't replicate.
Angle-dependent appearance. Move around a caulk texture painting and the highlights and shadows shift. The painting looks different from the left than from the right, different from above than from below. It has the visual behavior of a three-dimensional object, not a flat image.
Photographic limitation. No photograph fully captures a caulk texture painting. The three-dimensional quality — the way the surface catches light, the depth of the shadows, the tactile presence — is lost in reproduction. This is a feature, not a bug: it means the original painting has something that no print or reproduction can replicate.
See the Technique in Action
The best way to understand what caulk texture painting looks like is to see the finished work — and to compare it to what you'd expect from a flat painting of the same subject.
Browse Jay's full gallery of original caulk texture paintings: View the Gallery →
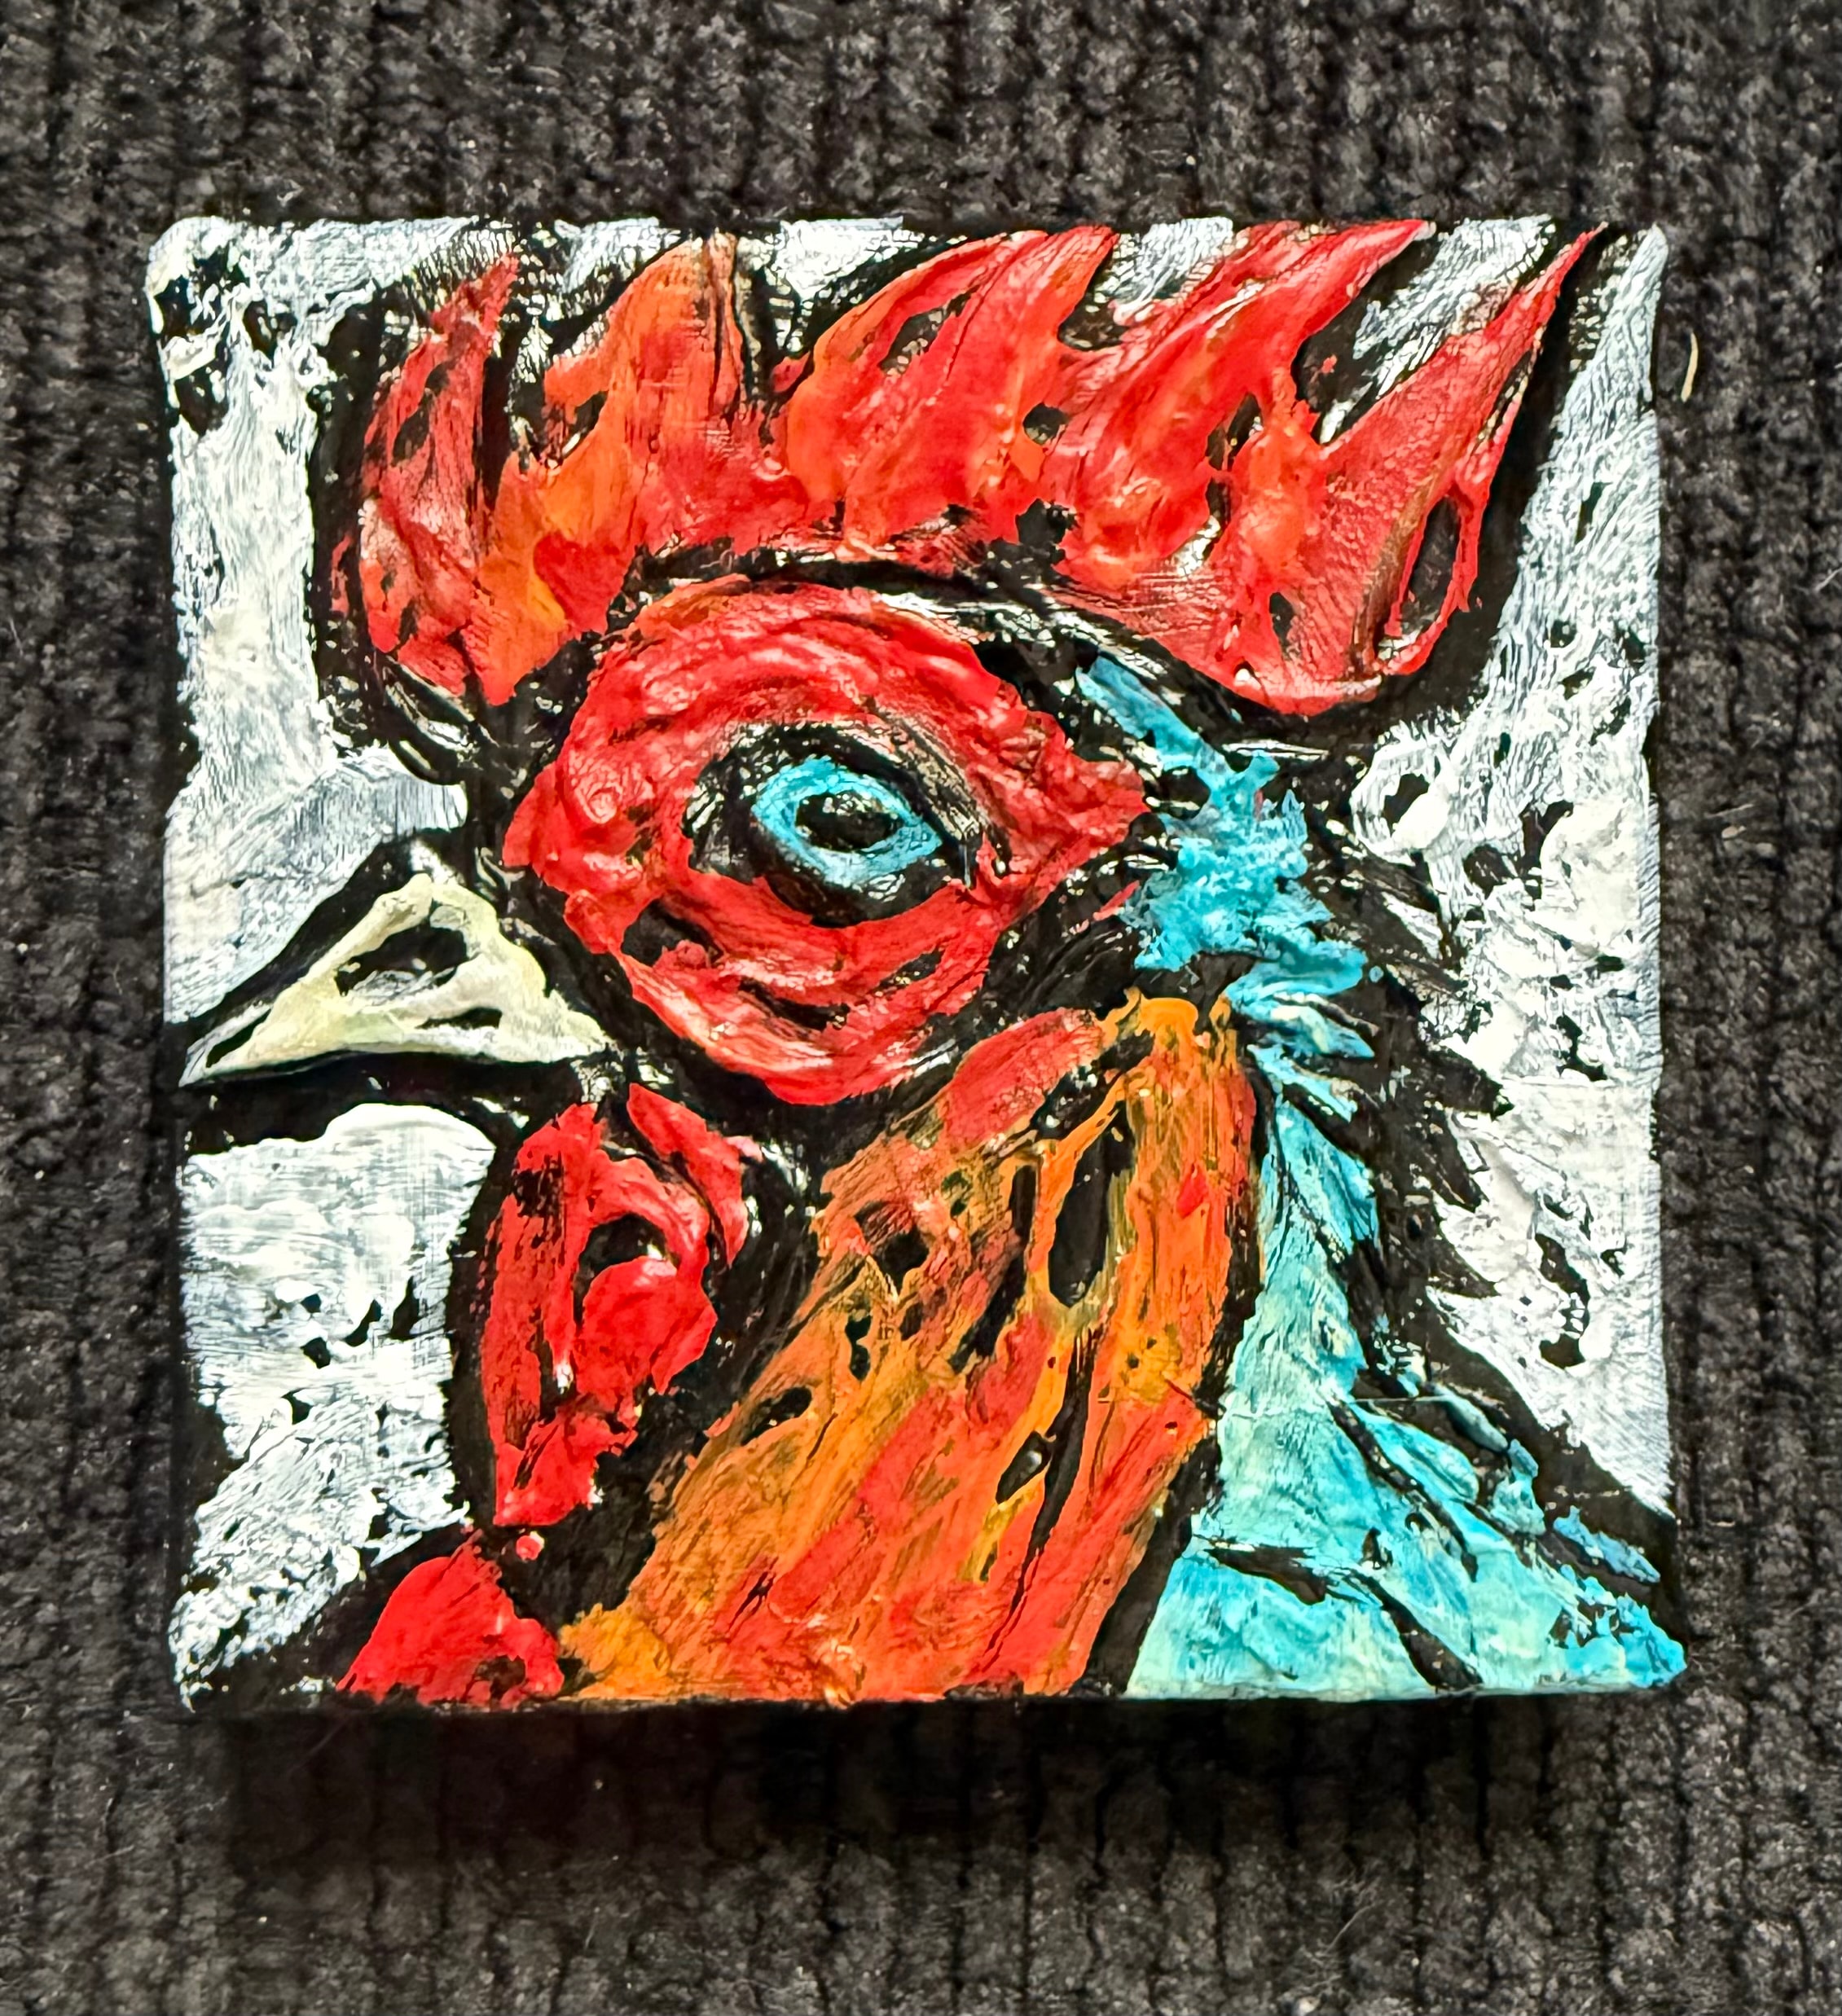
See the miniature caulk texture paintings — the full technique applied at a 2.44-inch scale: Mini Paintings Gallery →
Learn more about the history and context of caulk art: What Is Caulk Art? →
See the before-and-after process photos: Caulk Art Process →
Questions about the technique? Call or text Jay directly at 330-285-3136 — he's happy to talk through the process with anyone who's curious.
Jay the Painter is an independent texture painter based in Akron, Ohio. He creates original caulk texture paintings and sells directly to collectors nationwide.
Explore Topics
Written by
Jay the Painter
Content creator and writer sharing insights and stories.