Before and After: How a Caulk Sculpture Becomes a Butterfly Painting
Two photos. One white caulk sculpture. One finished painting. See exactly how Jay the Painter transforms raw caulk into a butterfly with real three-dimensional wing texture — before a single drop of paint is applied.
Before and After: How a Caulk Sculpture Becomes a Butterfly Painting
Two photos. Same painting. Completely different worlds.
The first photo shows a butterfly sculpted entirely in white caulk — every wing vein, every body segment, every detail built up in raised relief before a single drop of paint has touched the canvas.
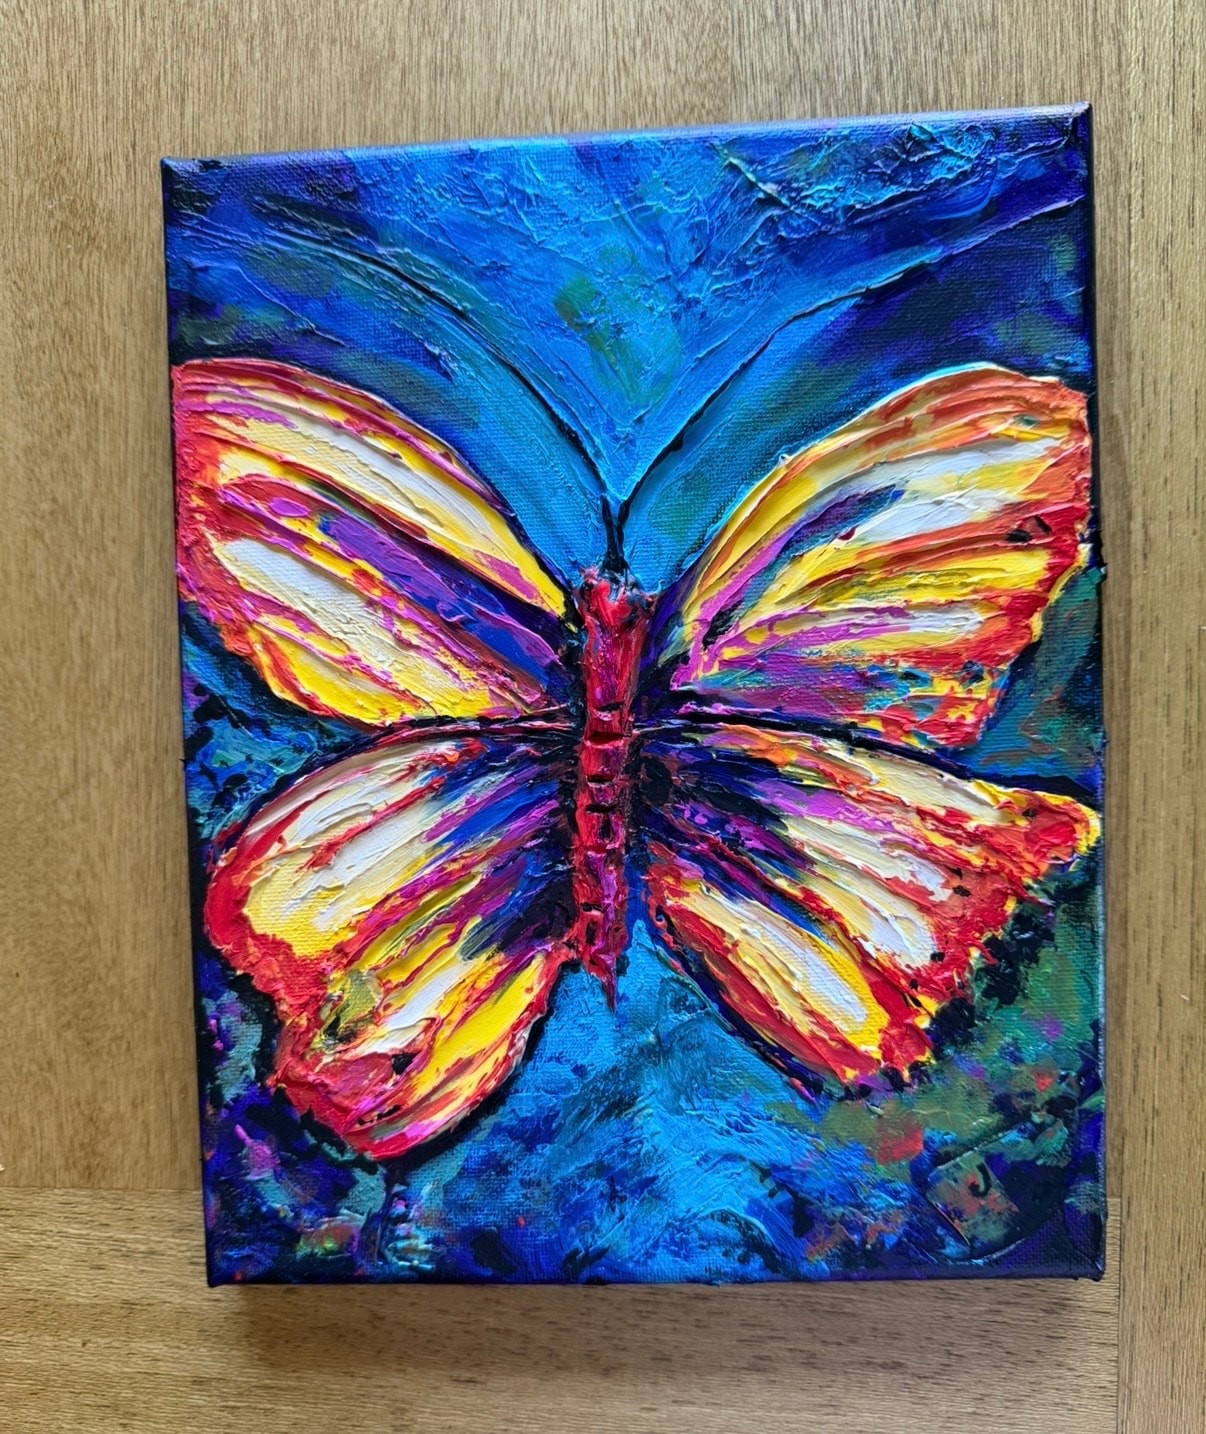
The second photo shows the finished painting — those same caulk ridges now alive with color, the wings catching light and falling into shadow exactly the way real butterfly wings do.
The transformation is dramatic. But what makes it remarkable is understanding what you are actually looking at.
The Caulk Stage: Sculpture Before Painting
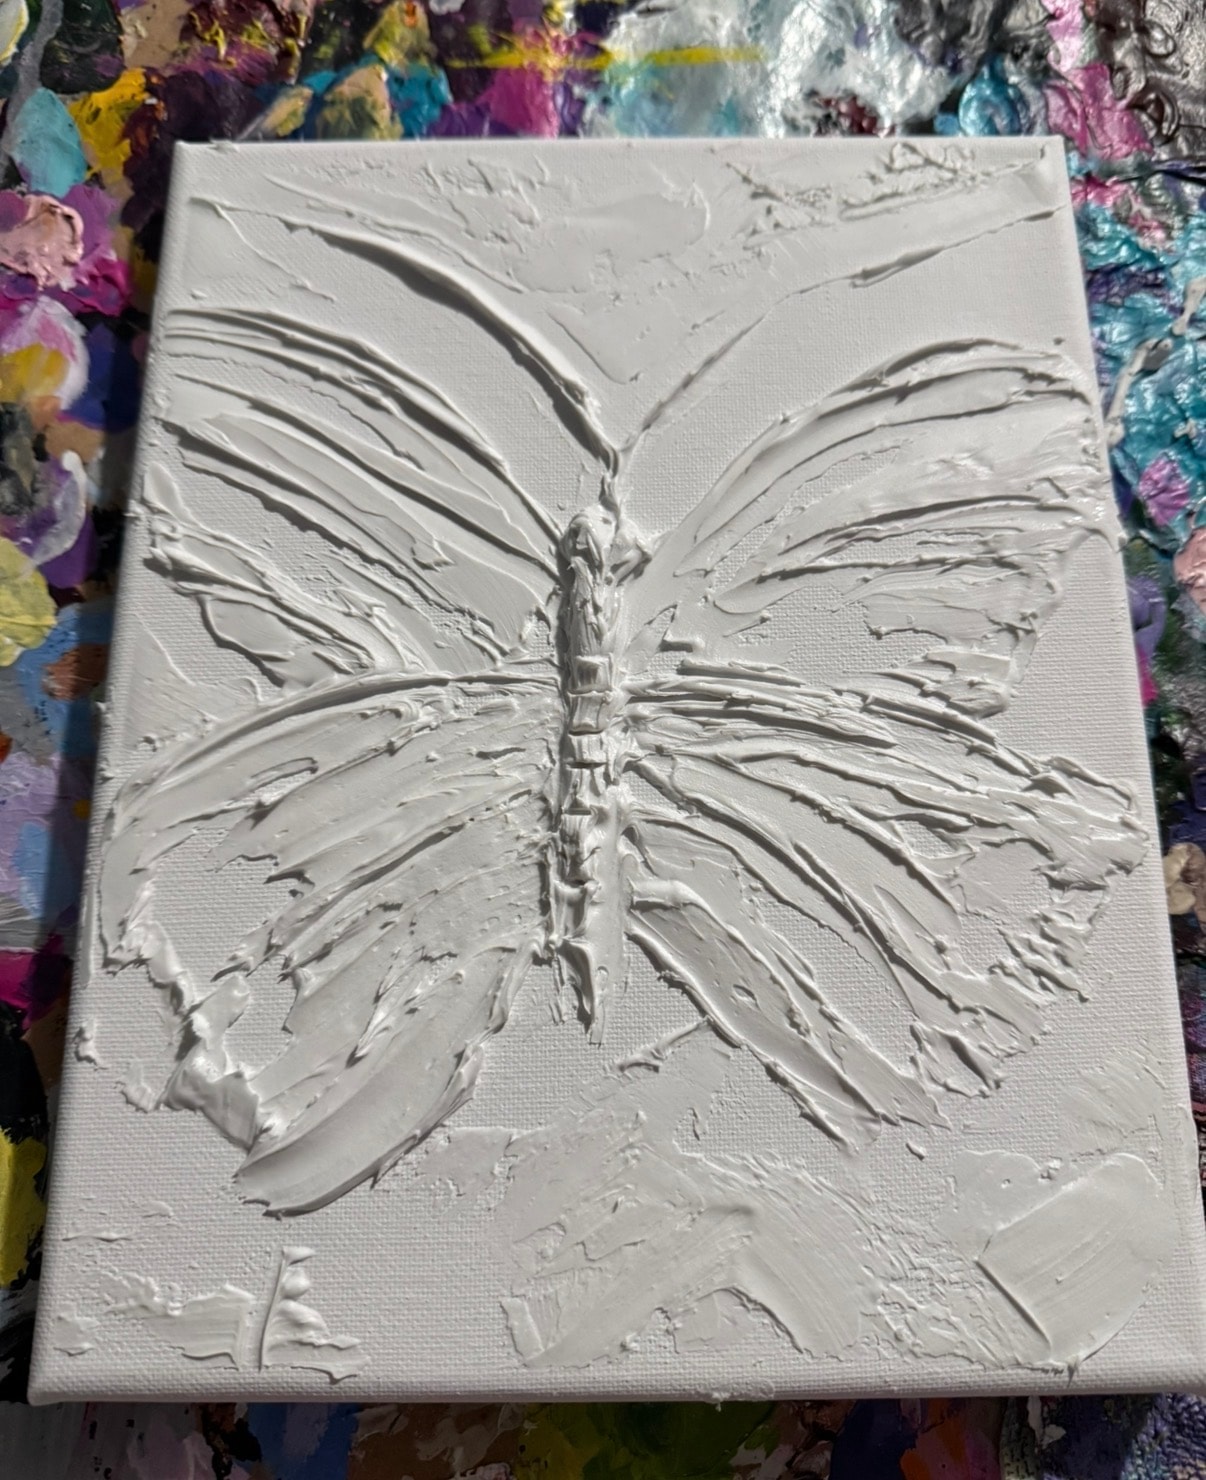
The butterfly fully sculpted in white caulk. Every wing vein, body segment, and detail is built up in raised relief. No paint has been applied yet.
This is what most people never see.
Before Jay the Painter picks up a brush, the painting is already finished — as a sculpture.
Every element of the butterfly is built in caulk:
- The wings — each one shaped with the natural curve of a real butterfly wing, the outer edges slightly raised, the inner surfaces textured to catch light differently than the edges
- The wing veins — individual raised lines running through each wing, creating the delicate network of structure that makes butterfly wings so distinctive
- The body — segmented, with each segment slightly raised above the last, creating genuine three-dimensional form
- The antennae — thin raised lines extending from the head, each one a single careful stroke of caulk
The detail at this stage is extraordinary. You can see every element clearly in the white caulk — the composition is complete, the forms are defined, the texture is built. The painting is waiting for color.
Why does this matter?
Because when you look at the finished painting and wonder how the wings have such incredible texture — how they seem to have real depth, real dimension, real physical presence — the answer is: they do. The texture is not painted. It is not an illusion created with brushwork. It is a physical structure built in caulk, and the paint is just the color on top of it.
The Finished Painting: Color Reveals the Sculpture
The finished butterfly painting. The caulk sculpture is now painted in bold blues, reds, yellows, and purples. The raised caulk ridges catch light and shadow exactly like real butterfly wings.
Once the caulk is fully cured — firm, stable, and completely dry — Jay begins to paint.
The paint follows the caulk. It pools in the valleys between the wing veins and sits on the peaks of the raised ridges. When light hits the painting, the wing veins cast actual shadows. The body segments have real depth. The wings have genuine three-dimensional form.
The color choices amplify the texture. The bold blues, reds, yellows, and purples are applied in a way that works with the caulk structure — darker tones in the recessed areas, lighter tones on the raised surfaces — so the texture reads as clearly as possible.
What you are seeing in the finished painting:
- Wing veins that cast real shadows, not painted shadows
- Body segments with genuine depth, not trompe l'oeil shading
- Wing surfaces that catch light differently depending on their angle
- A painting that looks different from every viewing angle as the light changes
This is what separates a caulk texture painting from any other kind of painting. The dimension is not an illusion. It is real.
The Technique That Makes It Possible
Jay the Painter has been developing his caulk texture technique for years. The butterfly painting demonstrates several key aspects of the approach:
Caulk is applied in stages. You cannot build up the detail you see in the butterfly's wings in a single pass. The caulk is applied in layers, each one allowed to cure before the next is added. This is what creates the depth — multiple layers of caulk, each one adding height and definition.
The caulk must be fully cured before painting. If you paint over wet or partially cured caulk, the paint can lift, crack, or not adhere properly. Jay waits until the caulk is completely firm and stable before picking up a brush. This patience is part of the technique.
The paint is thin. This surprises people. The paint on a caulk texture painting is not thick impasto paint — it is regular acrylic paint applied in relatively thin layers. The texture you see is entirely the caulk. The paint is just color.
Flexible caulk does not crack. Unlike thick impasto paint, which can crack as it ages and shrinks, flexible caulk moves with the canvas. It expands and contracts with temperature changes. A caulk texture painting will maintain its texture for decades.
No Print Can Capture This
A photograph of a caulk texture painting is a flat image. The wing veins are just lines. The body segments are just shapes. The dimension is gone.
When you own the original, you own the sculpture. You own the texture. You own the shadows that change as the light in your room changes throughout the day.
That is something no print can give you.
See More Process Photos
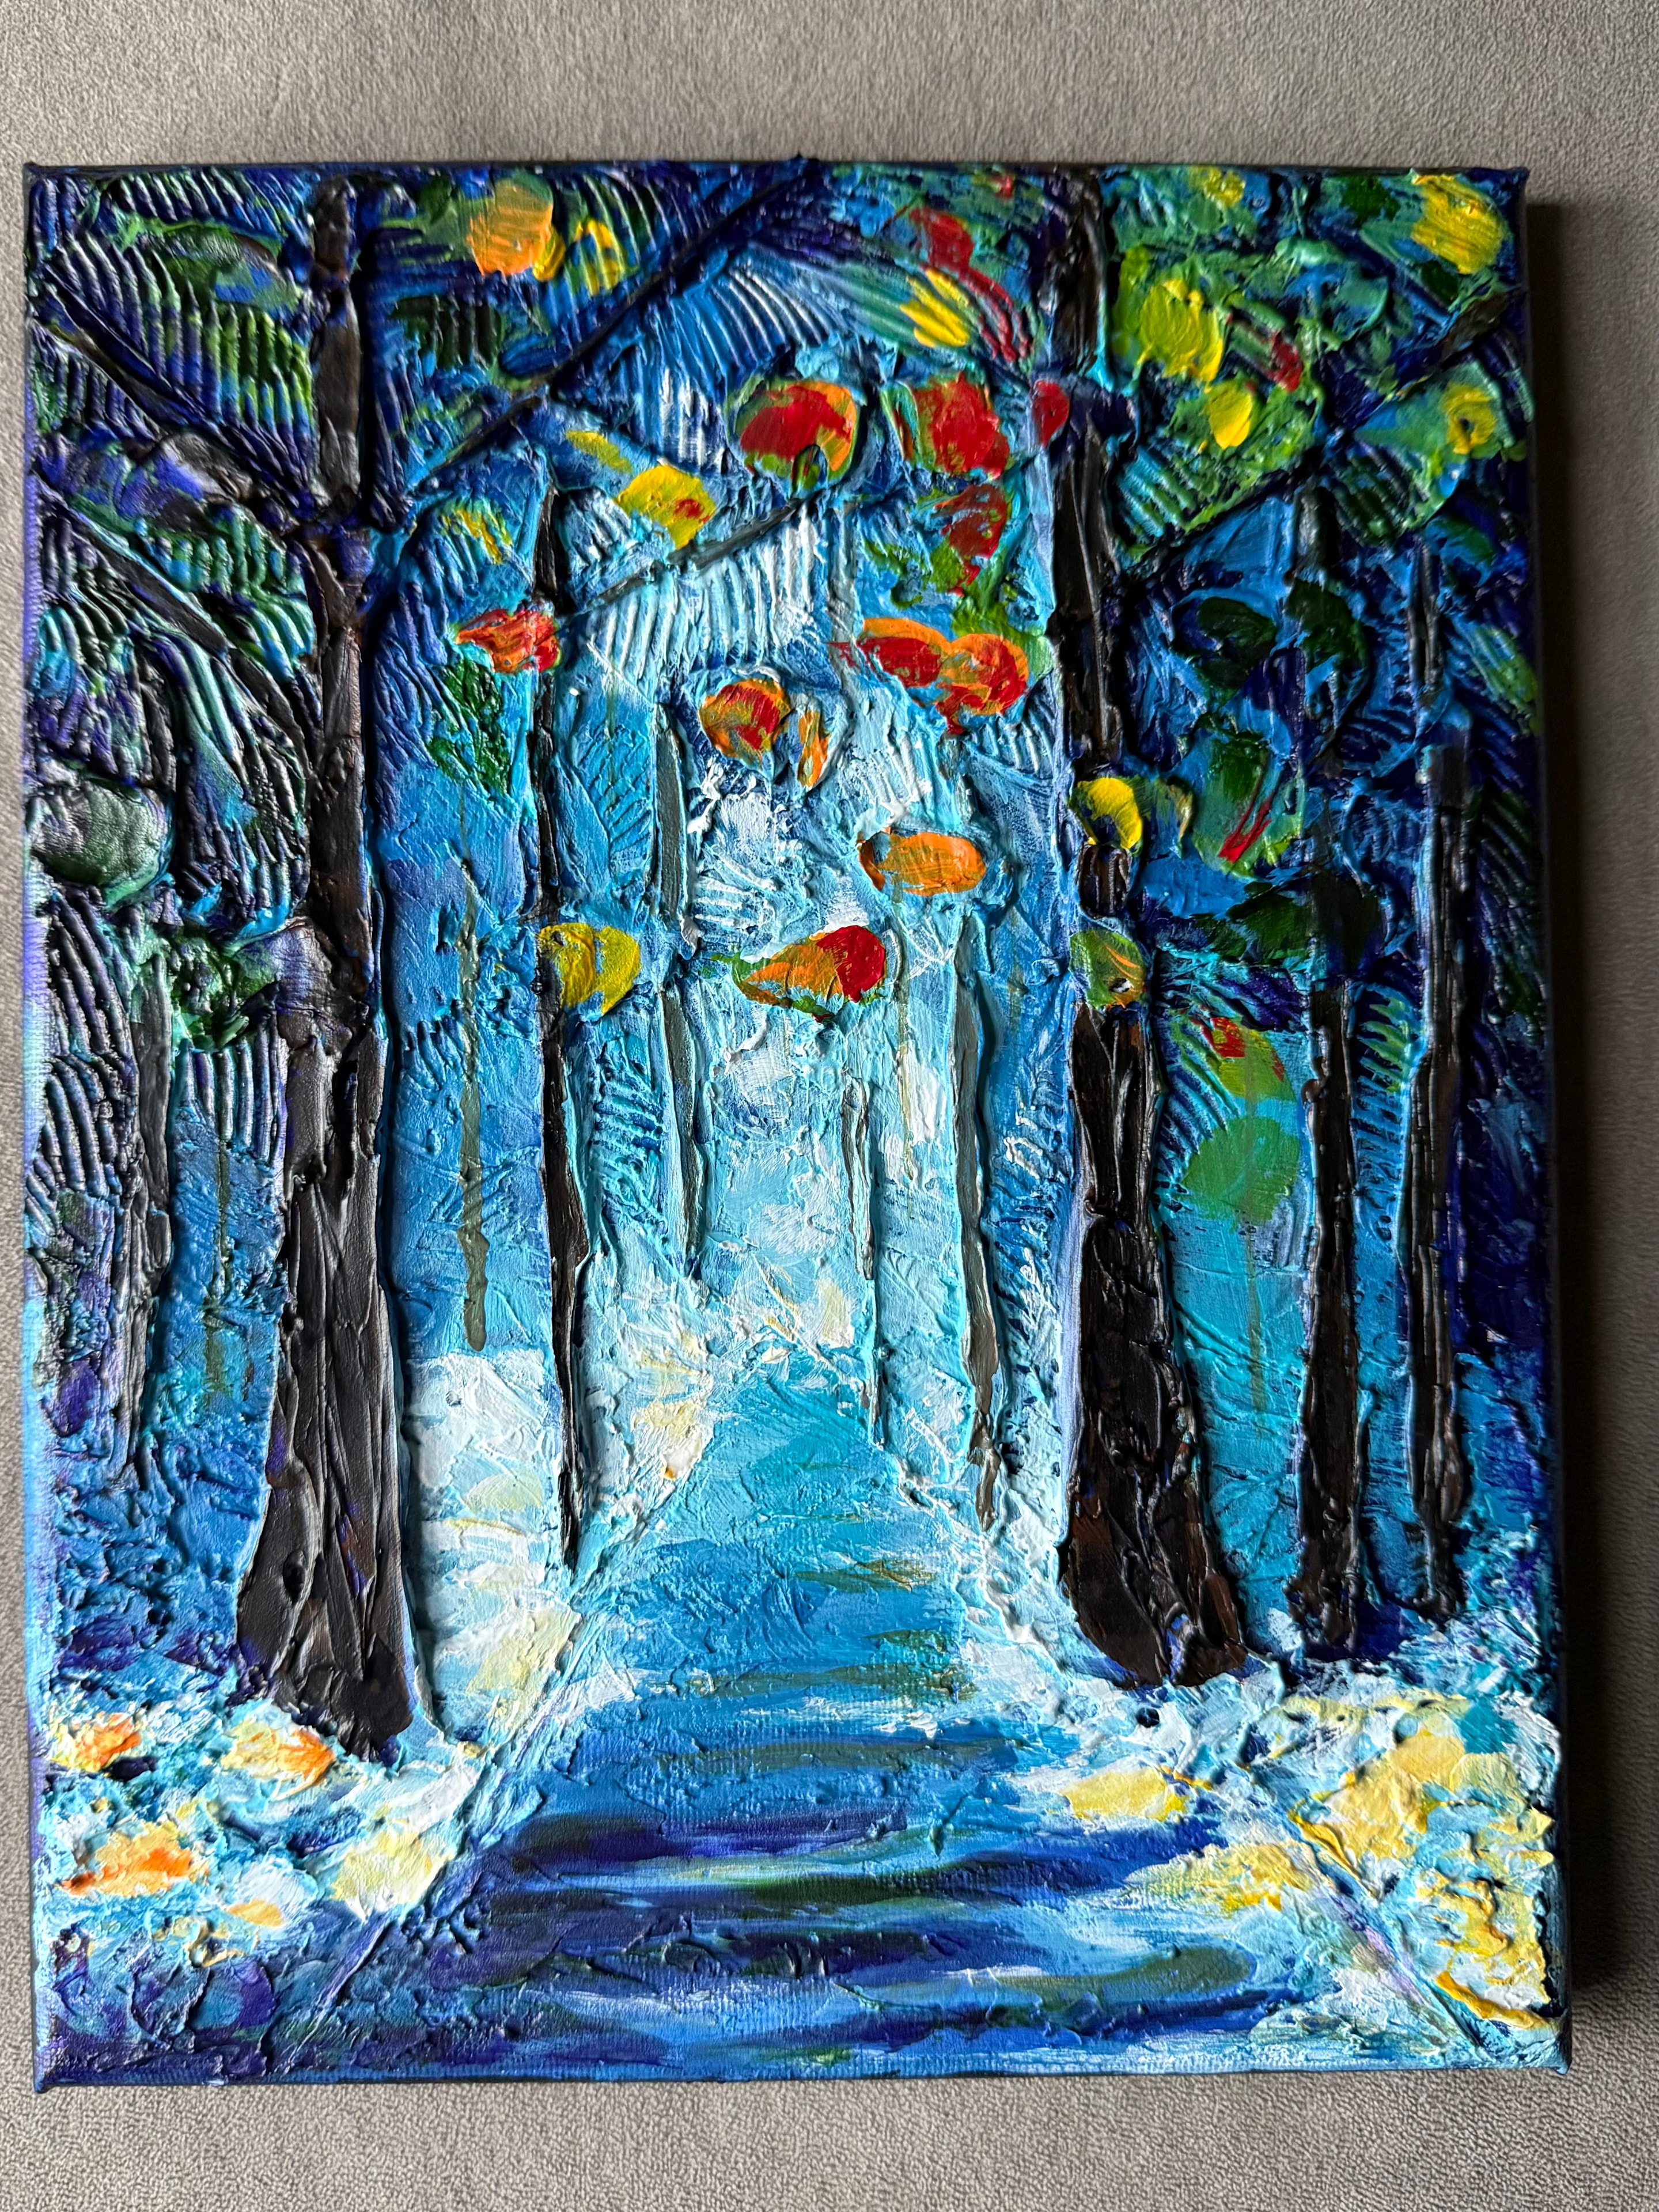
Want to see more of Jay's caulk texture process? Read the full step-by-step breakdown of Blue Forest Path — three photos showing the painting from first caulk layer to finished work:
How Jay Painted Blue Forest Path: Step by Step →
Or browse the full gallery to see every caulk texture painting available:
Text Jay at 330-285-3136 to ask about any painting. He ships nationwide.
Curious about the full technique? The complete caulk art guide → | Jay's step-by-step process →