How to Make 3D Wall Art: A Complete Guide to Dimensional Paintings
Want to make 3D wall art that actually looks professional? This complete guide covers the best materials, techniques, and approaches — including caulk texture painting, the most durable and flexible method for creating dimensional wall art.
How to Make 3D Wall Art: A Complete Guide to Dimensional Paintings
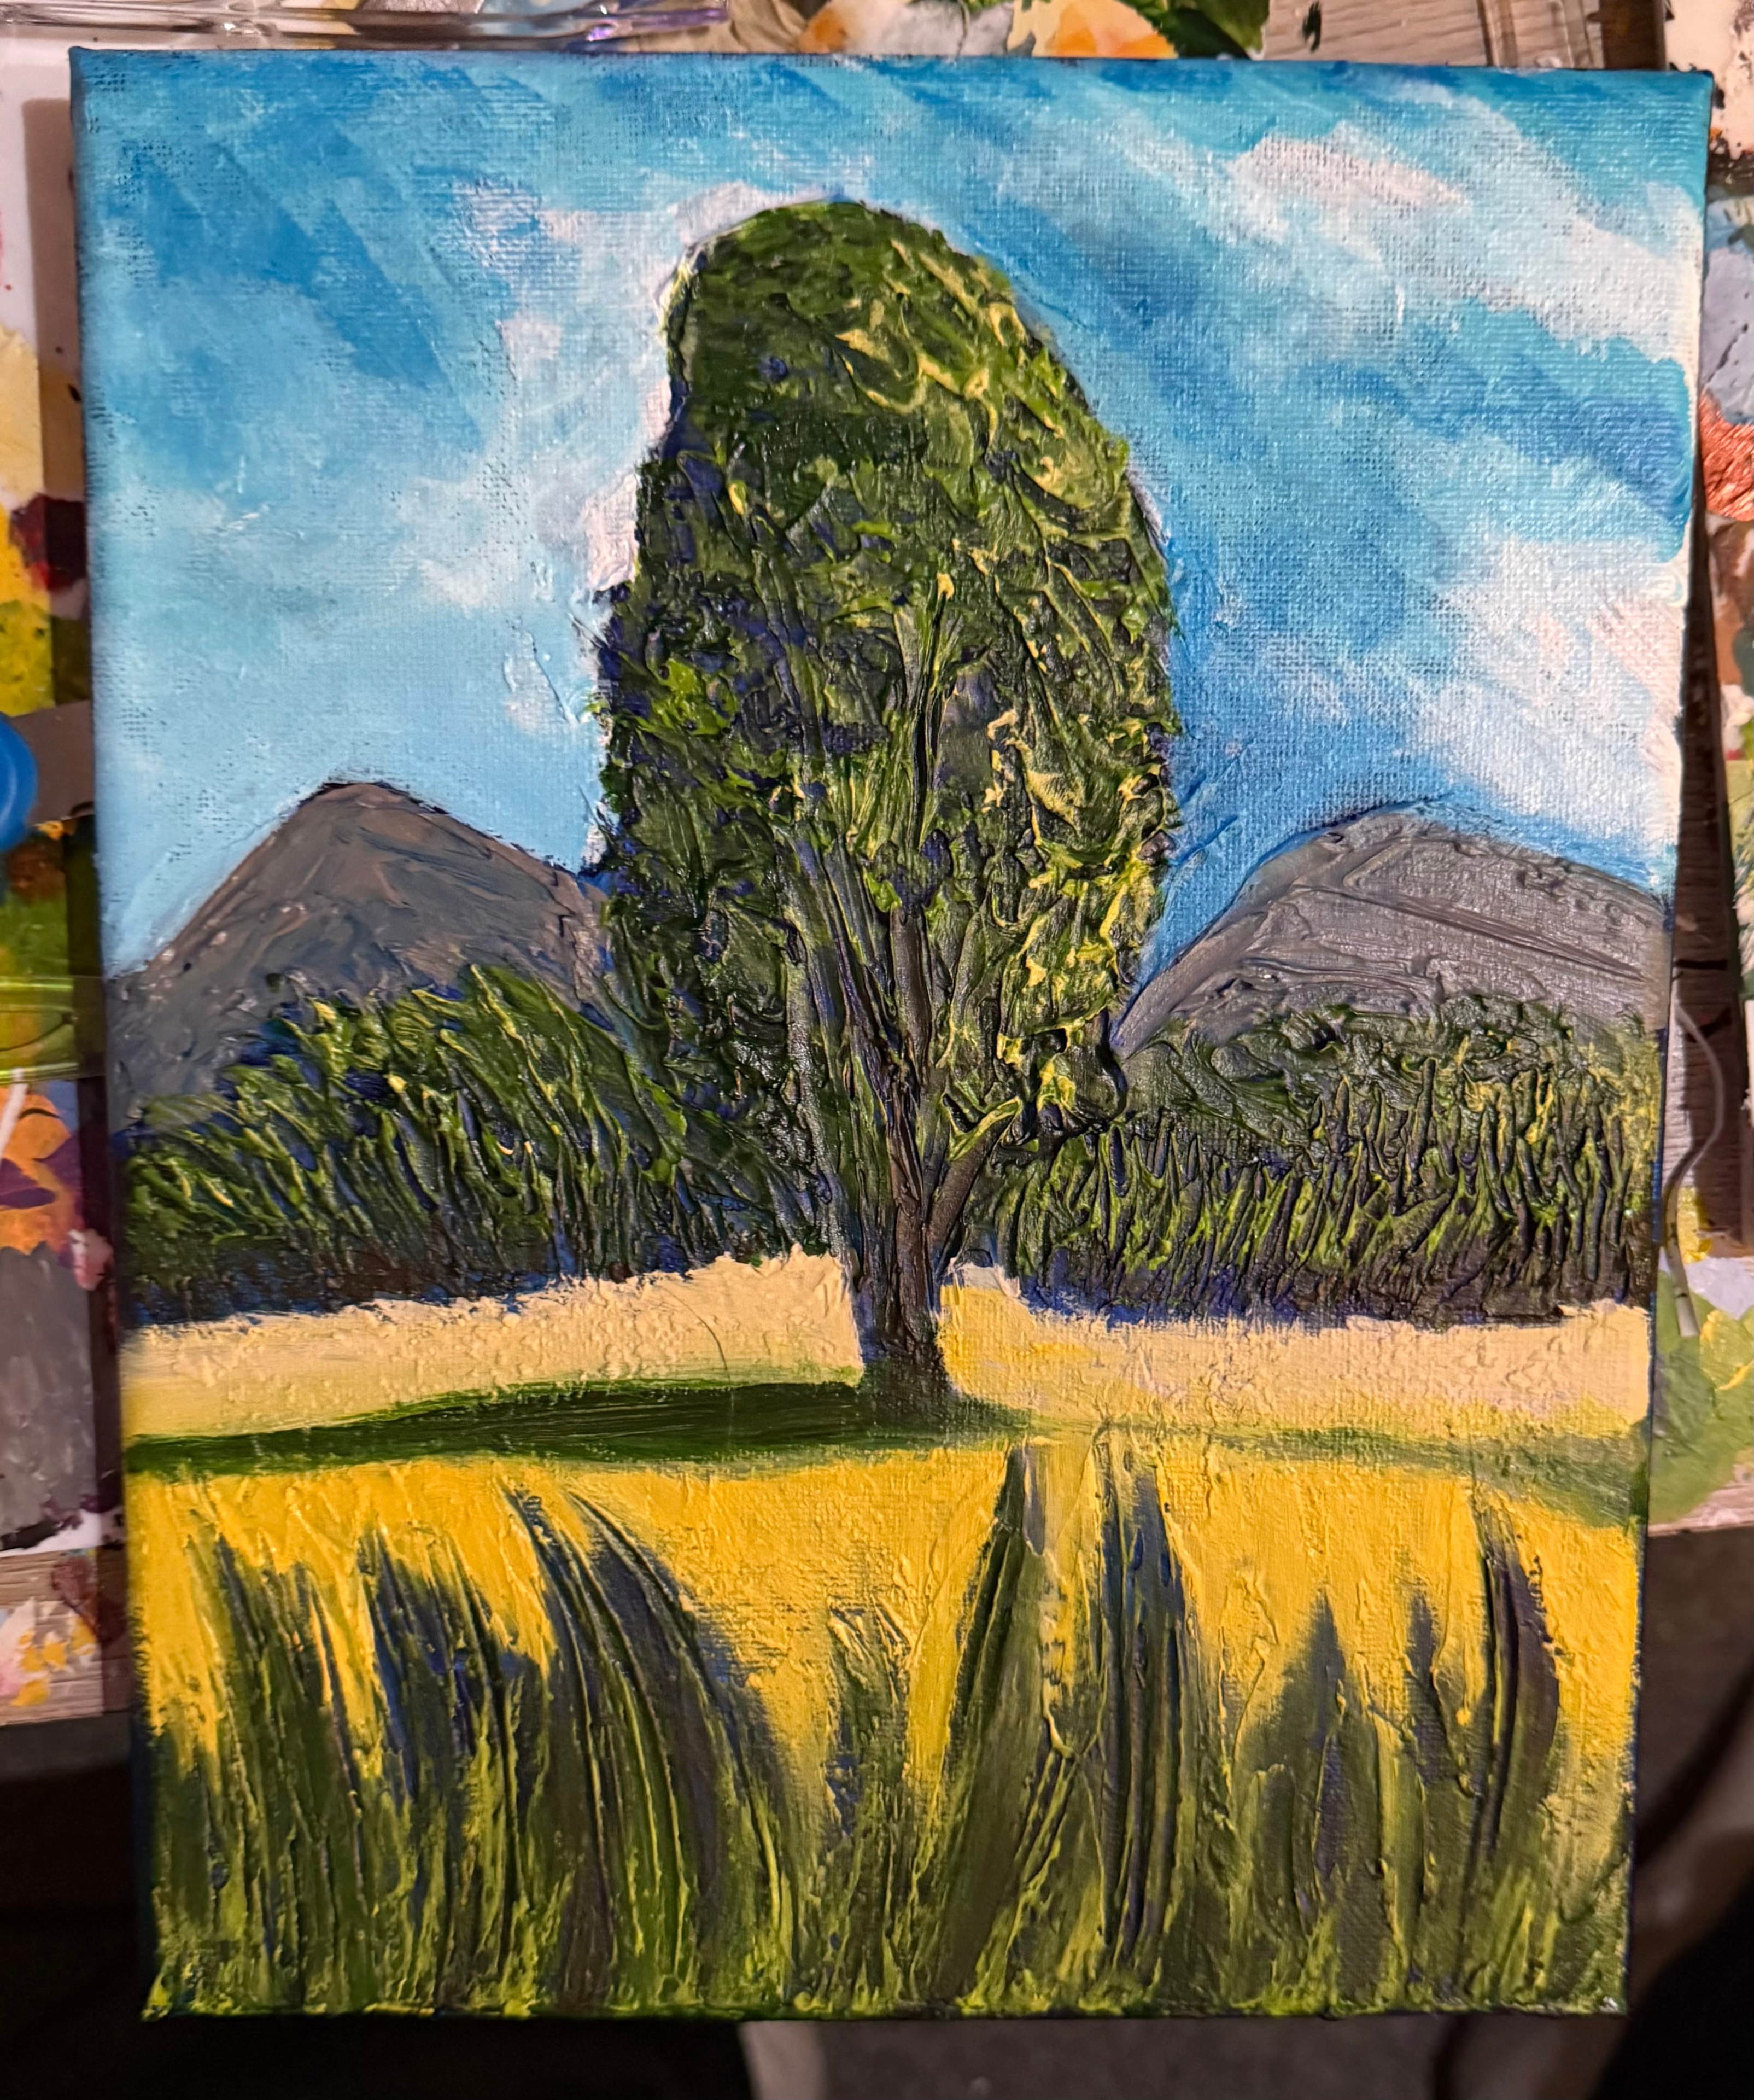
3D wall art — paintings and sculptures that extend off the wall surface — has become one of the most sought-after categories in home décor. The reason is simple: flat art decorates a wall. 3D art transforms it.
This guide covers the most effective methods for creating dimensional wall art, from beginner-friendly approaches to the professional techniques used by working artists.
What Makes Wall Art "3D"?
True 3D wall art has physical dimension — raised surfaces that extend off the canvas or backing and cast real shadows. This is different from art that merely depicts depth through perspective or shading. In 3D wall art, the depth is real and physical.
The most common approaches:
- Textured painting — raised surfaces built up with paint, paste, or specialty mediums
- Relief sculpture — carved or built-up forms attached to a backing
- Mixed media assemblage — physical objects embedded in or attached to a surface
- Layered paper or fabric — dimensional collage techniques
This guide focuses primarily on textured painting — specifically the caulk texture method — because it produces the most durable, professional-looking results for wall-hung artwork.
Materials You'll Need
For Caulk Texture 3D Wall Art (Recommended)
- Stretched canvas — 12x16 or larger works well for beginners
- Paintable latex or acrylic caulk — available at any hardware store for under $5 a tube
- Caulk gun
- Palette knives — for shaping and spreading caulk
- Acrylic paint — student grade is fine for practice
- Brushes — a variety of sizes
- Varnish or sealant — to protect the finished painting
For Modeling Paste Texture
- Stretched canvas
- Acrylic modeling paste or texture paste
- Palette knives
- Acrylic paint
- Varnish
For Mixed Media 3D Wall Art
- Wood panel or thick canvas board
- Strong adhesive (PVA glue, E6000, or similar)
- Physical objects: buttons, fabric, wire, paper, natural materials
- Gesso for priming
- Paint and varnish
Method 1: Caulk Texture Painting (Best for Beginners and Professionals)
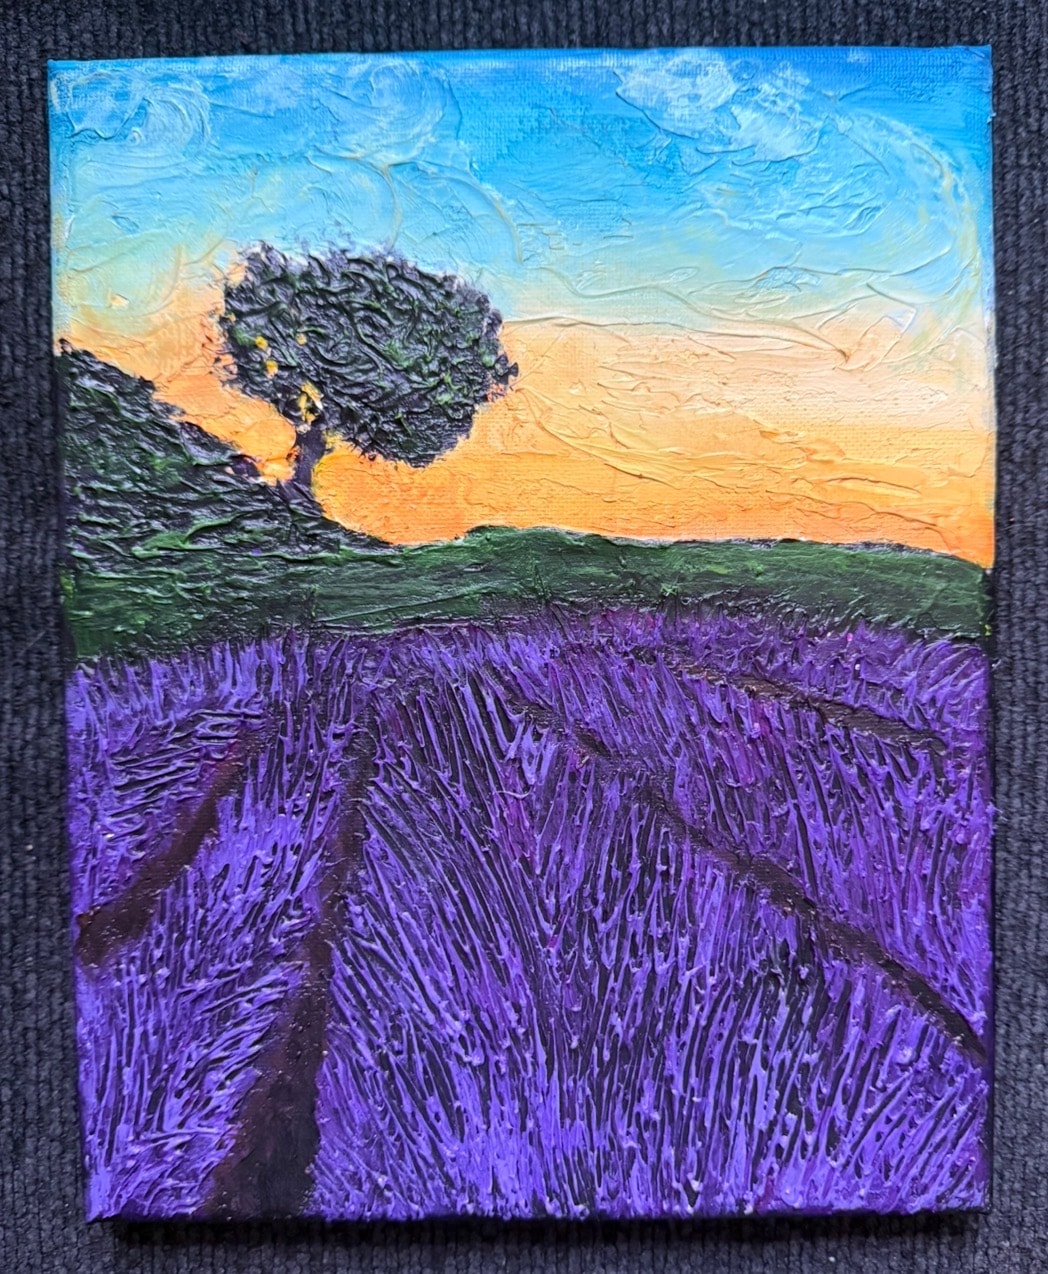
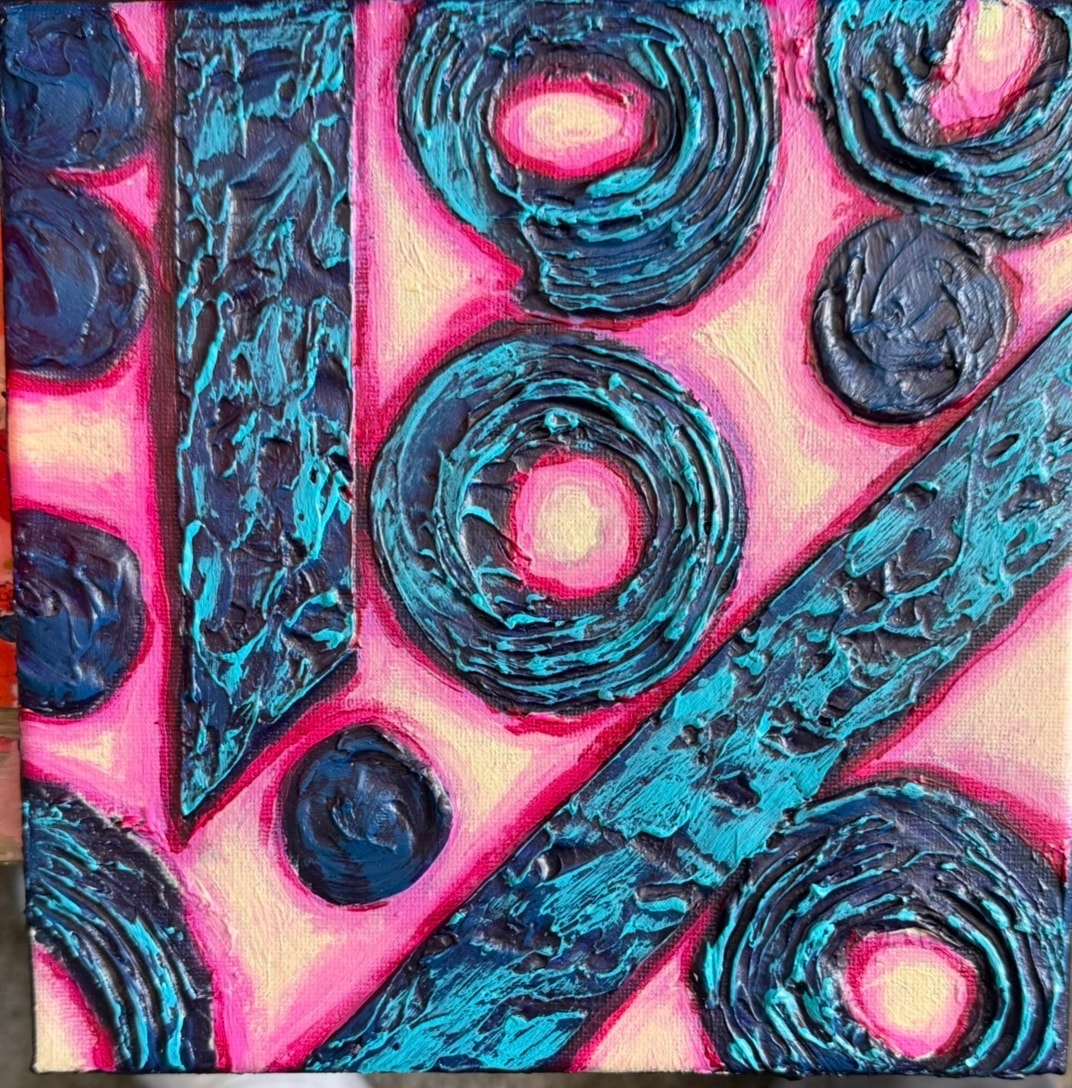
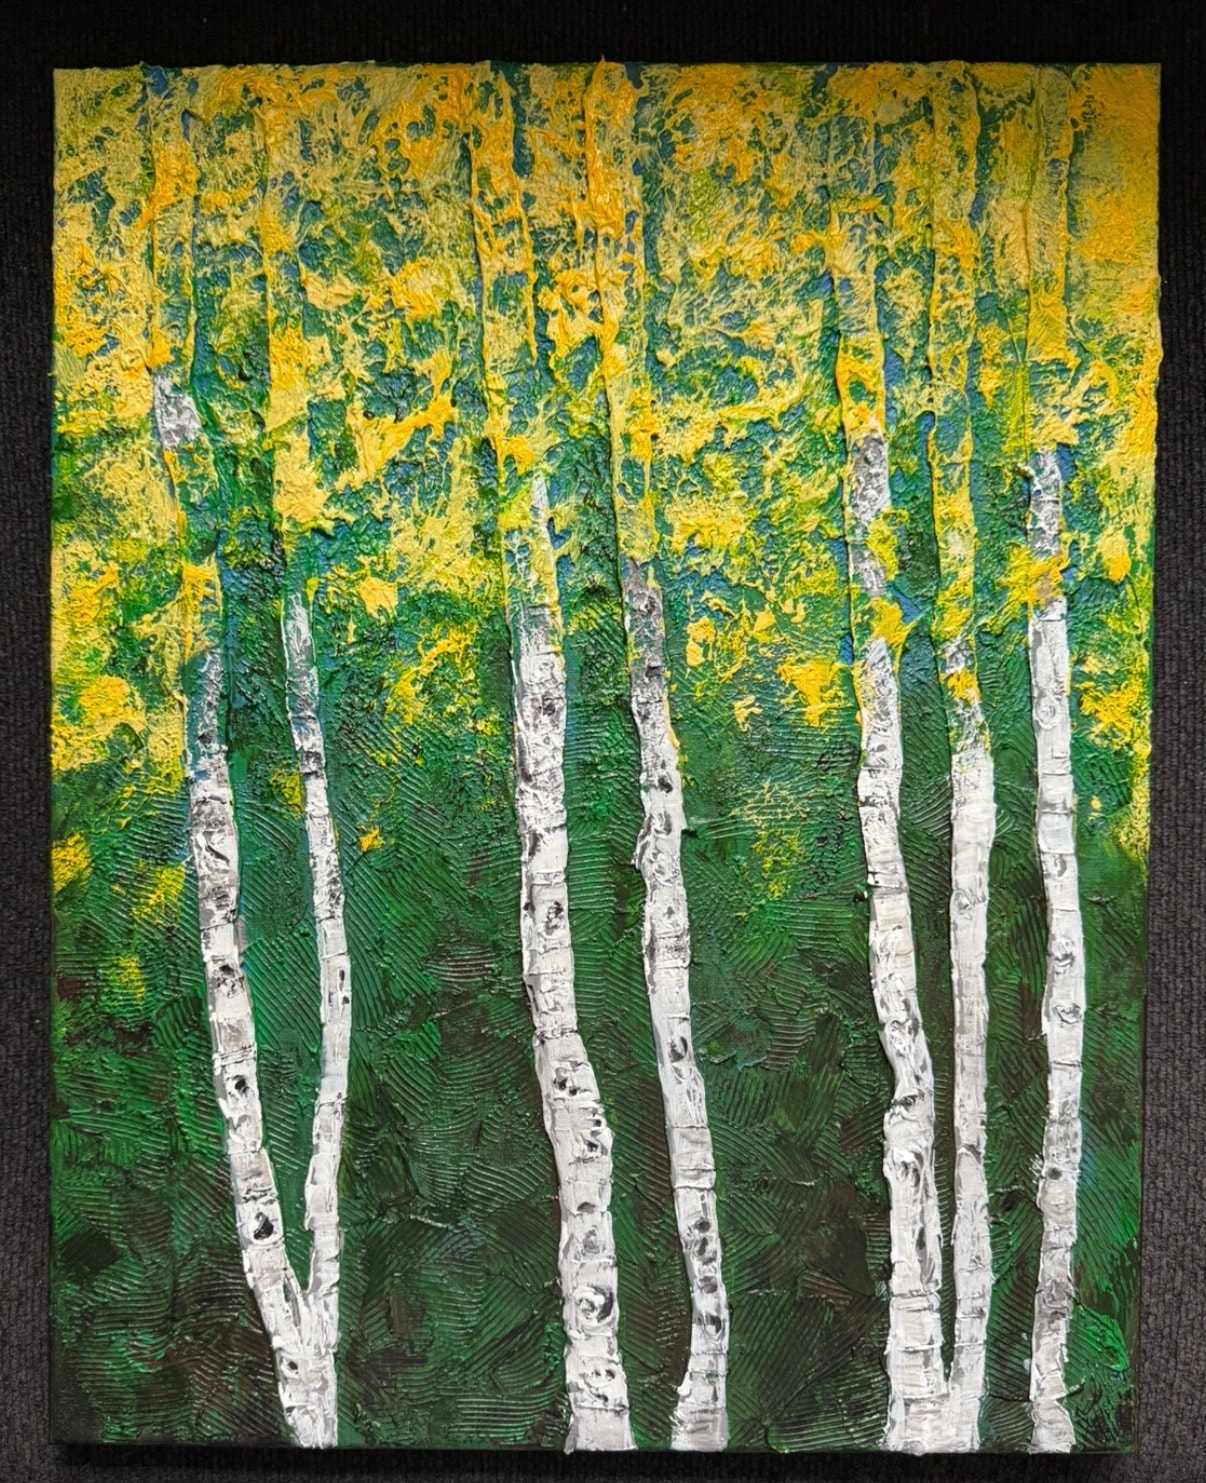
Caulk texture painting is the technique developed and popularized by artists like Jay the Painter in Akron, Ohio. It produces professional-quality 3D wall art that is durable, flexible, and visually dramatic.
Why Caulk?
Most texture mediums become rigid and brittle when dry. Acrylic modeling paste, gesso, and dried paint can crack if the canvas flexes during shipping or storage. Caulk stays permanently flexible — it moves with the canvas without cracking, which makes it ideal for wall art that will be handled, shipped, and hung.
Step-by-Step: Caulk Texture 3D Wall Art
Step 1: Plan your composition Sketch your design lightly on the canvas with pencil. Decide which areas will be raised (foreground elements, focal points) and which will be flat or recessed (backgrounds, shadows).
Step 2: Apply the caulk Load your caulk gun and apply caulk to the canvas in the areas you want raised. Work in sections — caulk begins to skin over after about 15–20 minutes. Use the tip of the caulk gun to lay down lines, or squeeze out larger amounts for broader raised areas.
Step 3: Shape the texture While the caulk is still wet, use palette knives, old brushes, or your fingers (wear gloves) to shape it. You can create sharp ridges, smooth curves, deep grooves, or organic irregular forms depending on your subject.
Step 4: Let it dry completely This is the most important step. Caulk needs 24–48 hours to cure fully. Do not rush this. Painting over wet or partially-cured caulk will cause problems with adhesion and may cause the texture to shift.
Step 5: Prime if needed Some caulks benefit from a thin coat of gesso before painting. Test a small area first — most paintable latex caulks accept acrylic paint directly without priming.
Step 6: Paint Apply your base colors first, working them into the grooves and recessed areas. Then build up lighter colors on the raised surfaces and peaks. The texture does a lot of the work for you — paint naturally settles into the low areas and sits on the high areas, creating automatic contrast.
Step 7: Add highlights and shadows Use a dry brush technique to drag light paint across the raised peaks. Use thin washes of dark paint to deepen the recessed areas. This step is what makes the 3D effect really pop.
Step 8: Varnish Once the paint is completely dry, apply a coat of varnish to protect the surface and unify the sheen.
See the full caulk art process with before-and-after photos here.
Method 2: Modeling Paste Texture
Modeling paste is the most commonly used texture medium in art supply stores. It's easier to find than caulk and comes in a range of formulations (light, heavy, coarse, fine).
Pros: Widely available, easy to work with, accepts paint well Cons: Becomes rigid when dry and can crack over time, especially on flexible canvas
For wall art that will stay in one place and never be moved, modeling paste works well. For art that will be shipped or frequently handled, caulk is more durable.
Method 3: Mixed Media 3D Wall Art
Mixed media 3D wall art incorporates physical objects into the composition. This approach is highly creative but requires more planning.
Common materials:
- Buttons, beads, or small stones for texture
- Wire bent into shapes
- Fabric or lace embedded in paint
- Natural materials: twigs, dried flowers, shells
- Paper torn or cut into shapes
Process:
- Plan your composition on paper first
- Attach larger objects with strong adhesive before painting
- Apply gesso over the entire surface to unify it
- Paint over everything, treating the embedded objects as part of the texture
- Add detail and highlights
- Varnish to seal
Tips for Professional-Looking 3D Wall Art
Work large. 3D texture reads better at larger scales. A 16x20 canvas gives you room to develop the texture meaningfully. Very small canvases can look cluttered with heavy texture.
Less is more. Beginners often over-texture. Not every inch of the canvas needs to be raised. Strategic use of texture — concentrated in the focal areas, tapering off toward the edges — creates more visual impact than uniform texture everywhere.
Study the light. Before you start painting, hold a lamp at a low angle to your textured canvas and observe where the shadows fall. Use this information to guide your color placement — dark paint in the shadows, light paint on the peaks.
Let each layer dry. Whether you're using caulk, paste, or mixed media, patience is essential. Rushing the drying process is the most common cause of problems.
Photograph in raking light. When you photograph your finished 3D wall art, use a single light source at a low angle to the surface. This is called raking light, and it's what makes texture photographs look dramatic.
Where to Buy Professional 3D Wall Art
If you'd rather own a professionally made piece than make your own, Jay the Painter in Akron, Ohio creates original caulk texture paintings that are available for purchase directly.
Every painting is one of a kind — no prints, no reproductions. Sizes range from mini paintings starting at $40 to full-size originals. Jay ships nationwide.
Browse the full gallery of original 3D texture paintings.
To inquire about a specific painting or discuss a commissioned piece, call or text Jay directly at 330-285-3136.
Jay the Painter creates original caulk texture paintings in Akron, Ohio. Call or text 330-285-3136.