How Textured Paintings Are Made: A Step-by-Step Look Inside the Process
Most people have never seen how a textured painting is actually made. The process is completely different from flat painting — it starts with building a three-dimensional sculpture on the canvas before a single drop of paint is applied. Here is the full process.
How Textured Paintings Are Made: A Step-by-Step Look Inside the Process
Most people who see a textured painting for the first time ask the same question: "How did you do that?"
The answer is not what they expect. Making a textured painting is not like making a flat painting. You do not start with paint. You do not start with color. You start with structure — building a three-dimensional surface on the canvas before a single drop of paint is applied.
This is the full process, step by step, from blank canvas to finished textured painting.
Step 1: Concept and Composition Planning
Before anything touches the canvas, the artist plans the composition — not just what the painting will show, but how the dimensional surface will be structured.
This is where textured painting diverges most sharply from flat painting. In a flat painting, composition is about color, value, and line. In a textured painting, composition is also about topography — where the high points will be, where the deep recesses will fall, how the dimensional structure will guide the viewer's eye across the surface.
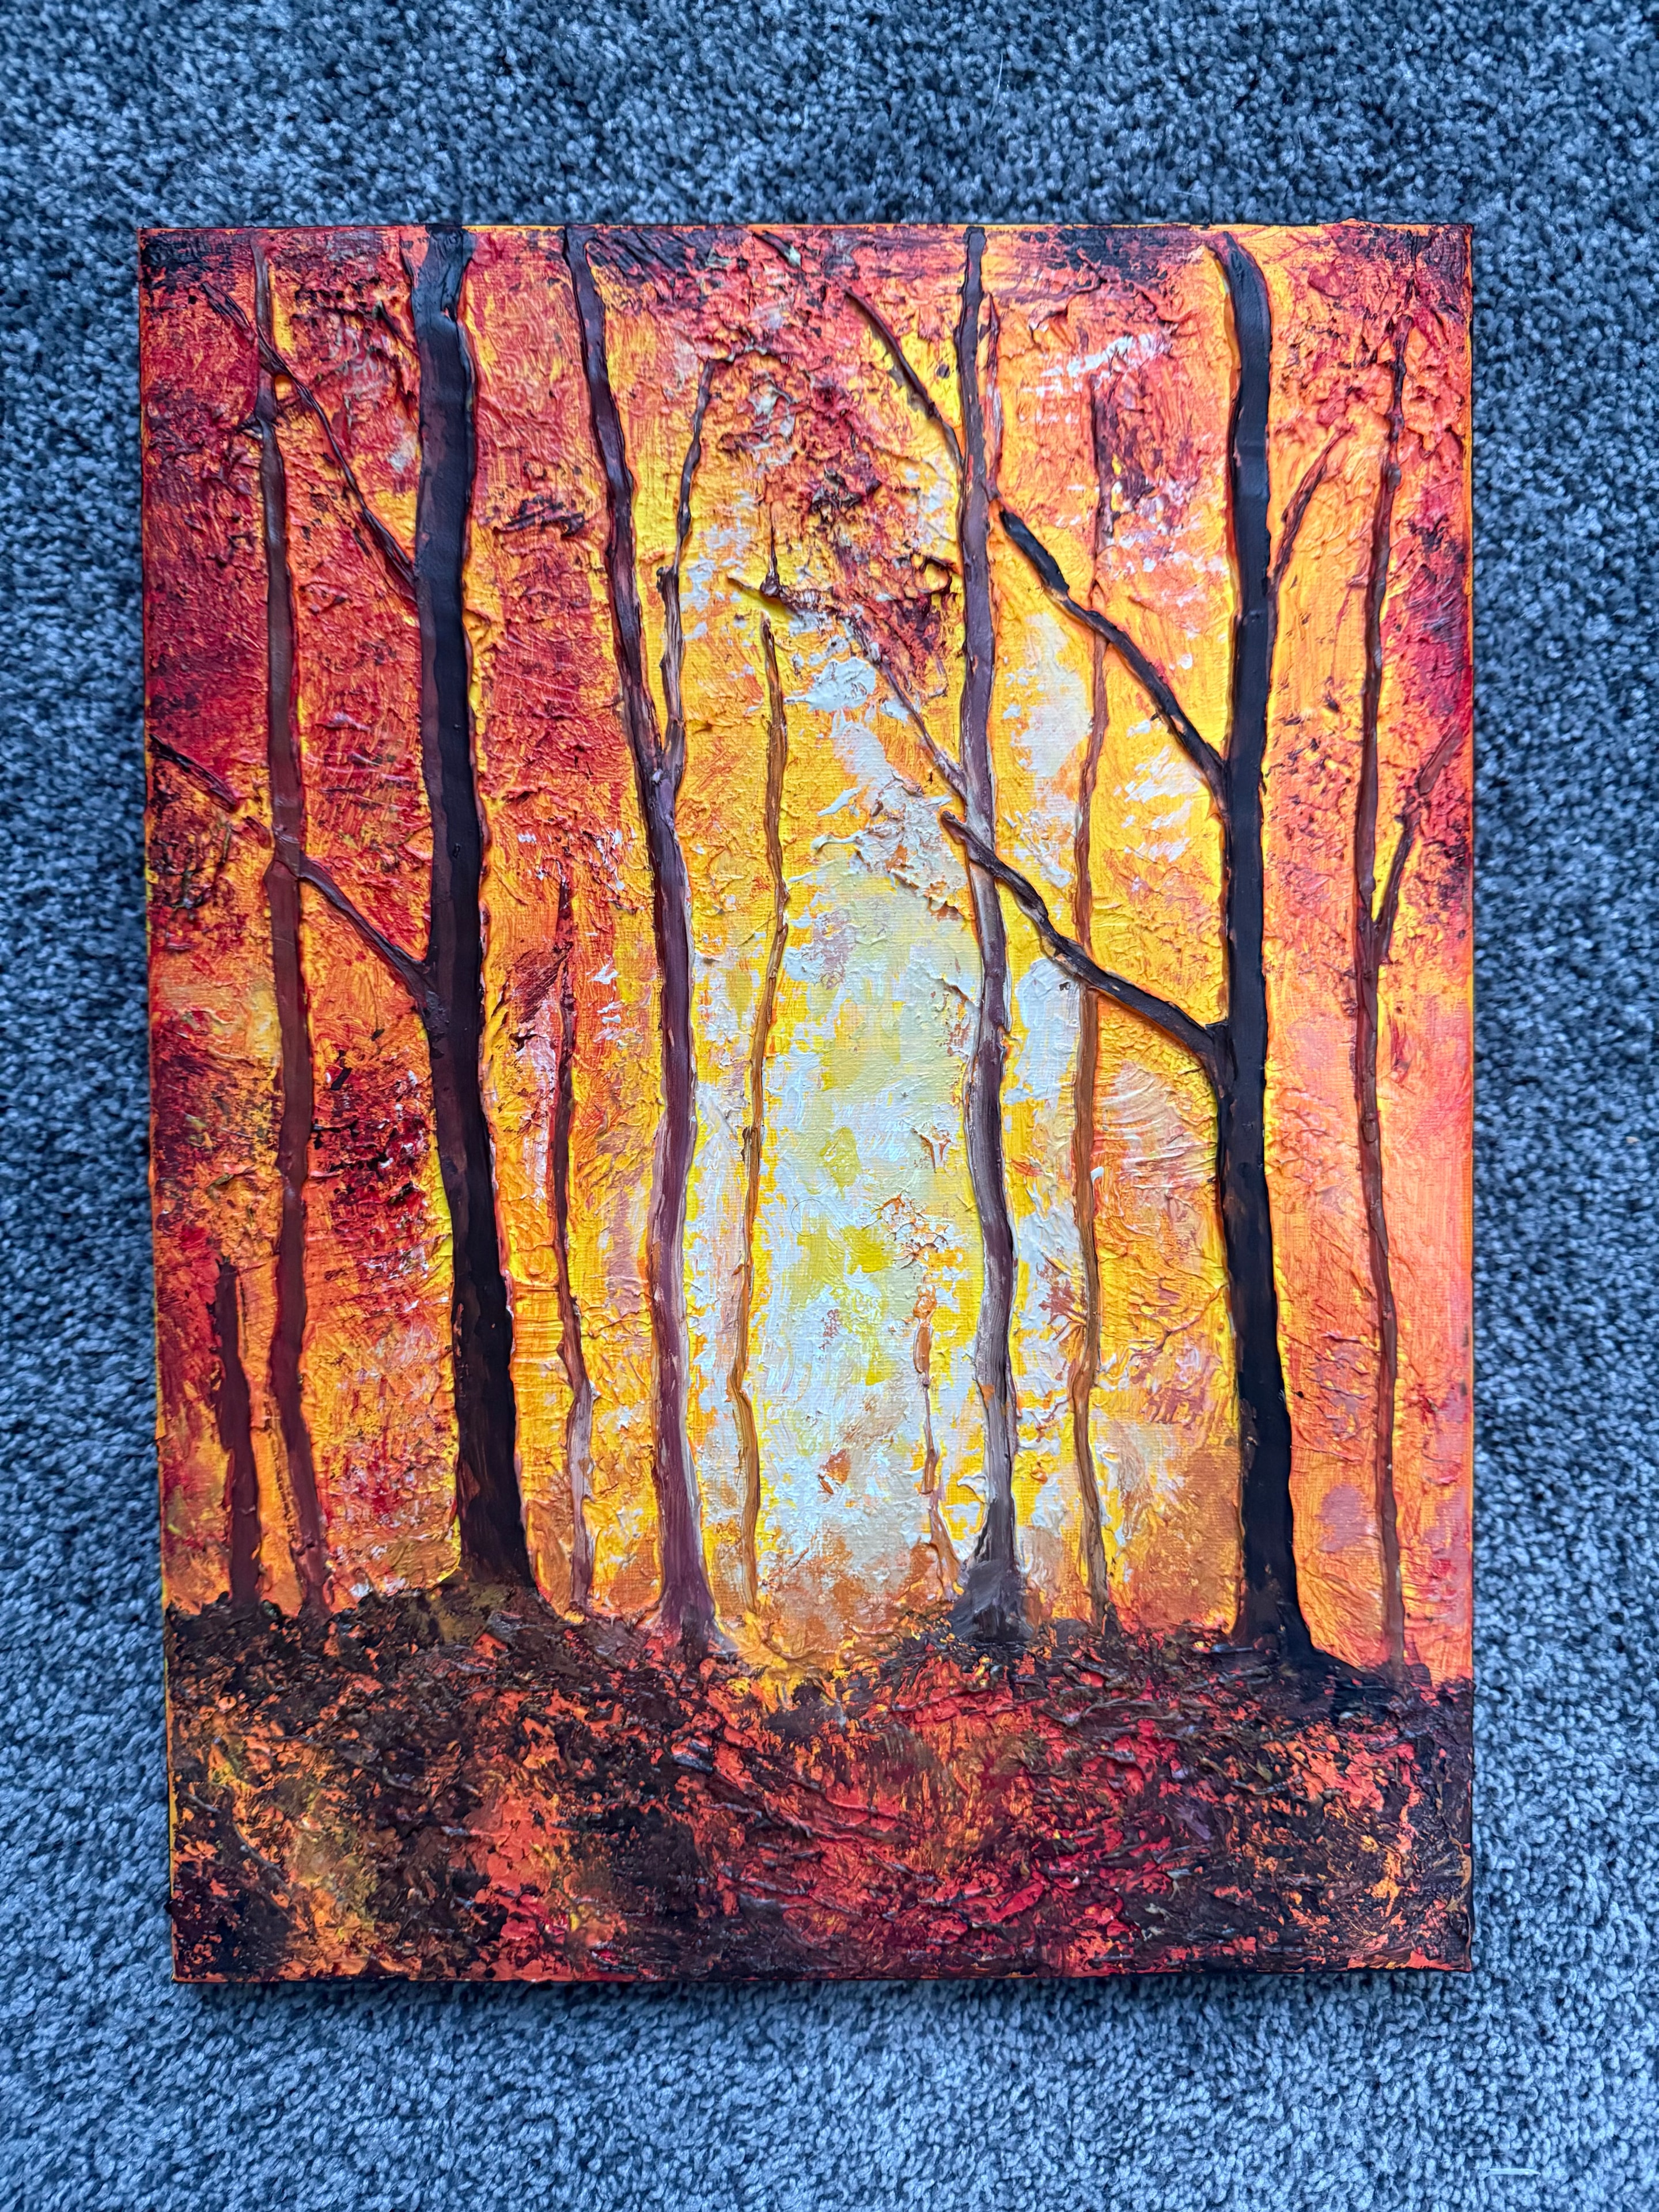
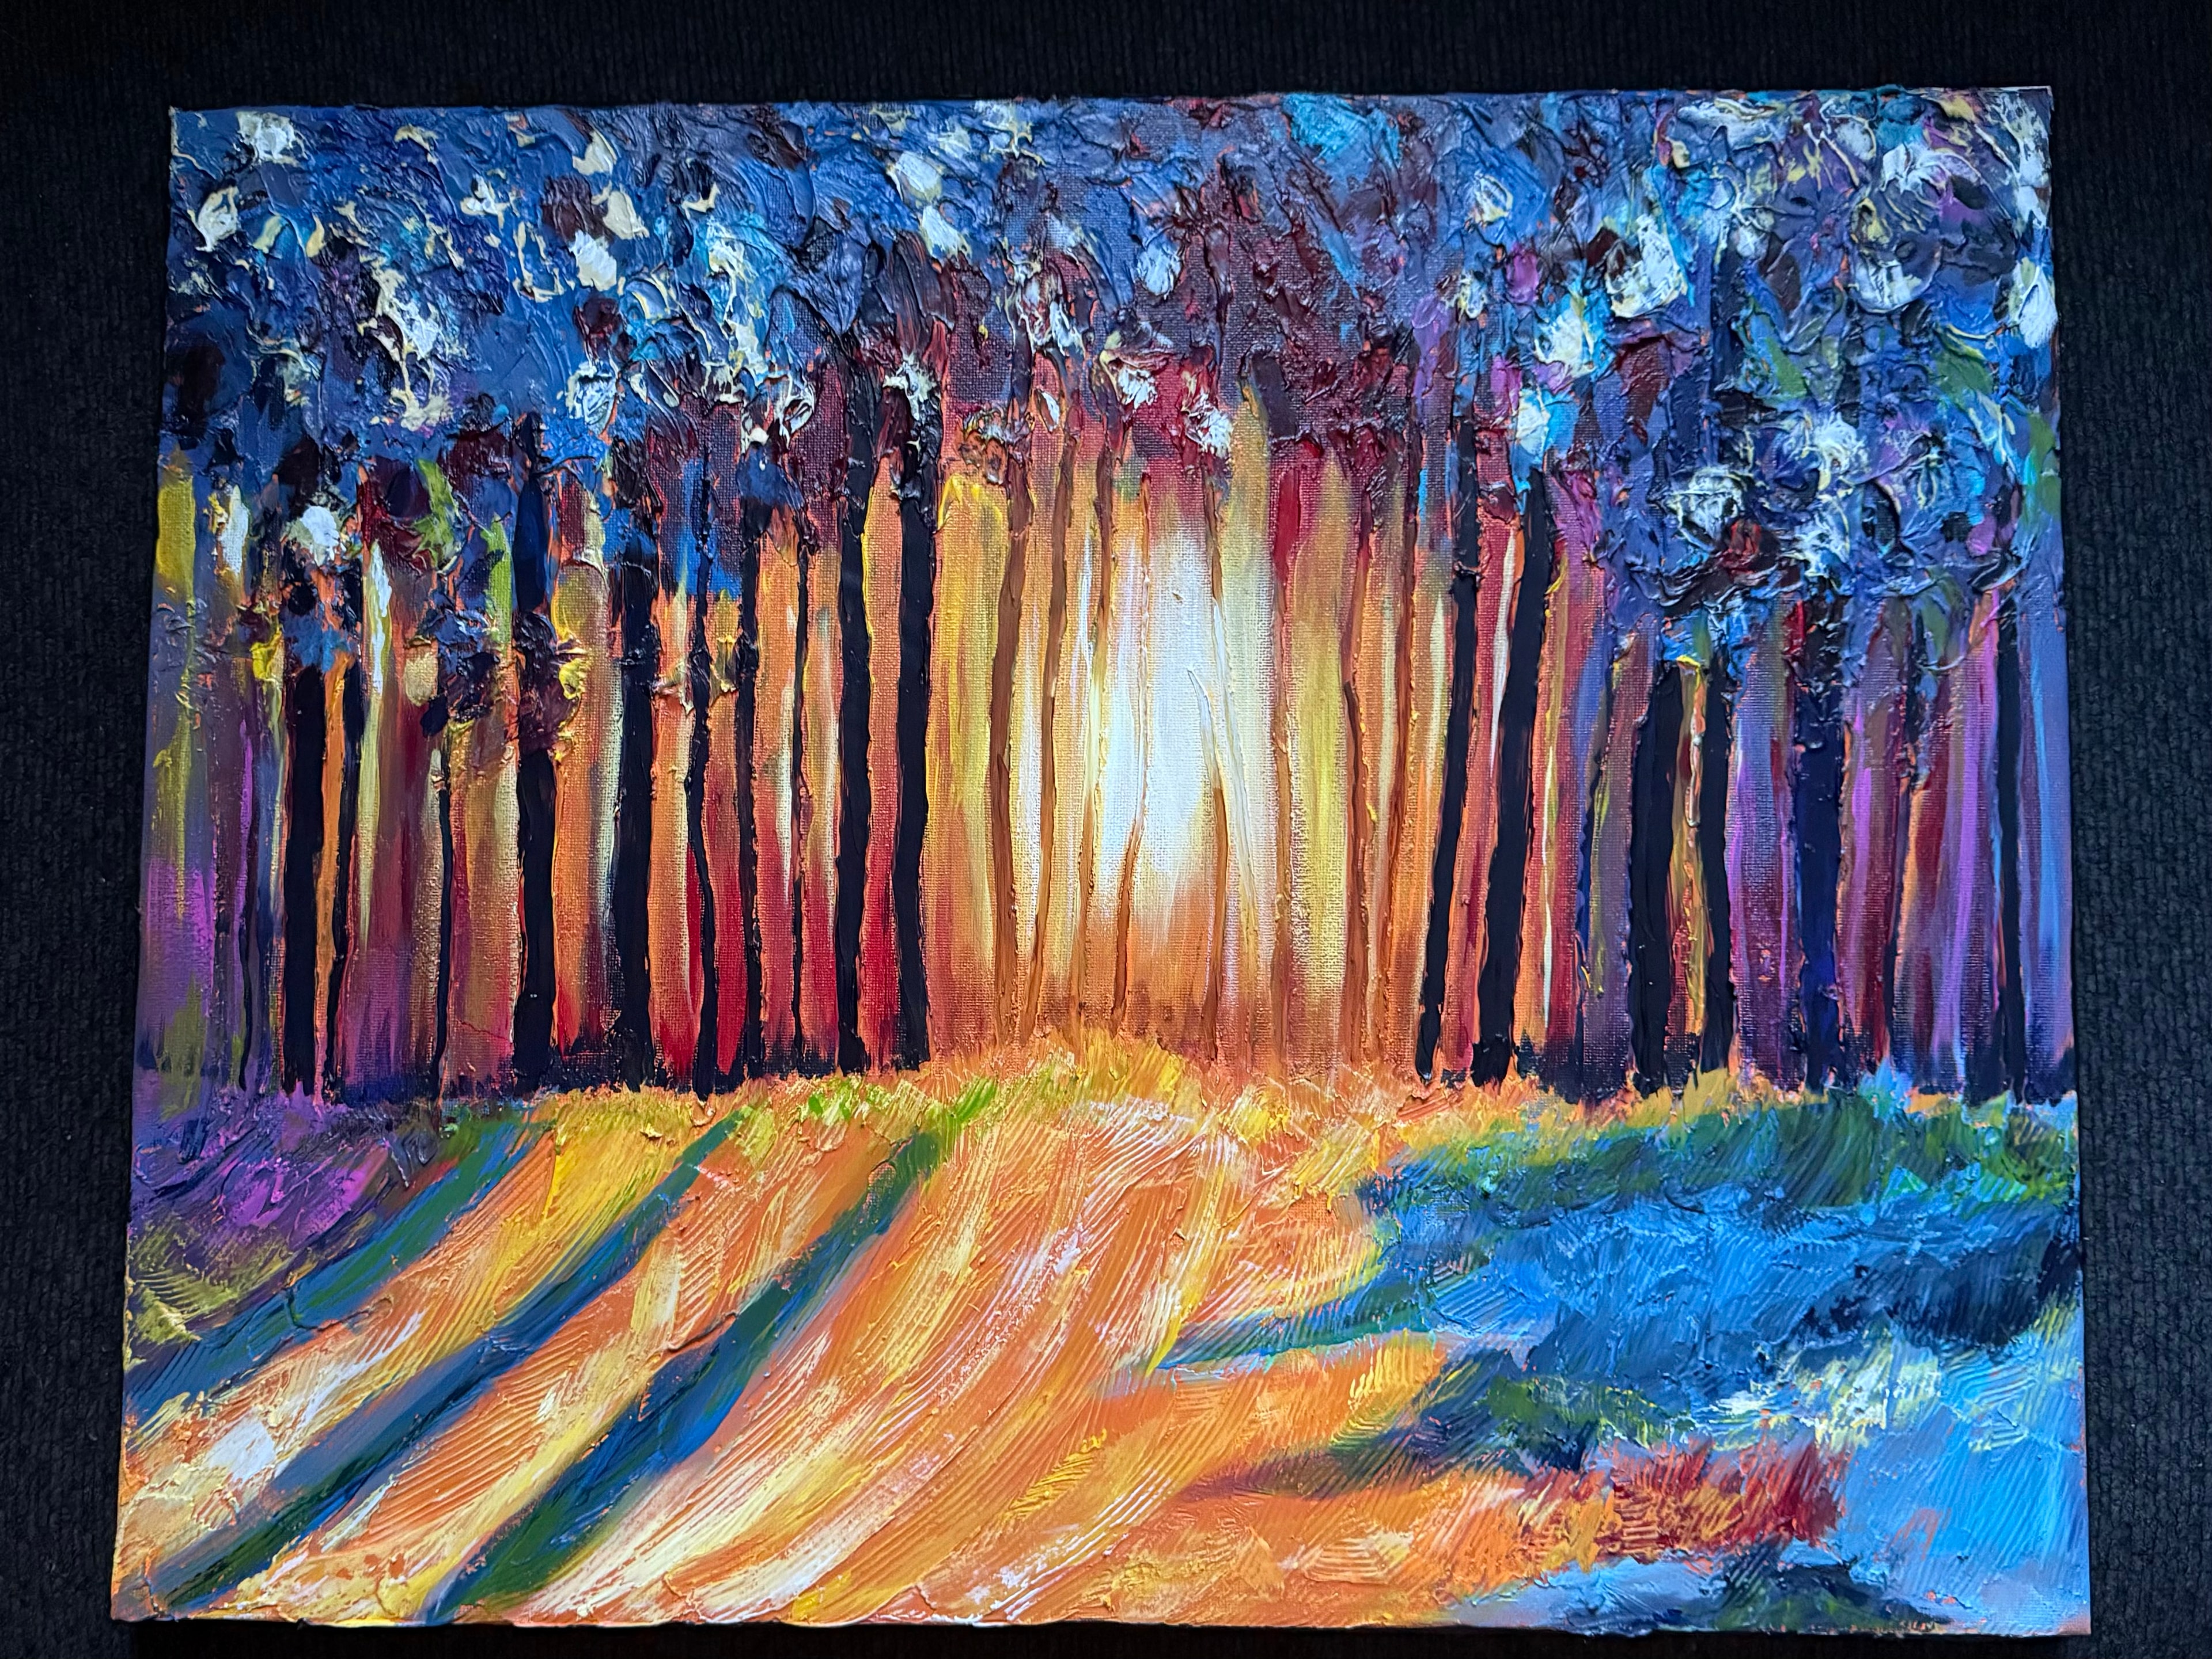
For a forest landscape, this means planning which tree trunks will have the most pronounced dimensional texture, how the foliage layers will be built up in relief, and where the deepest shadows will fall in the recesses between elements.
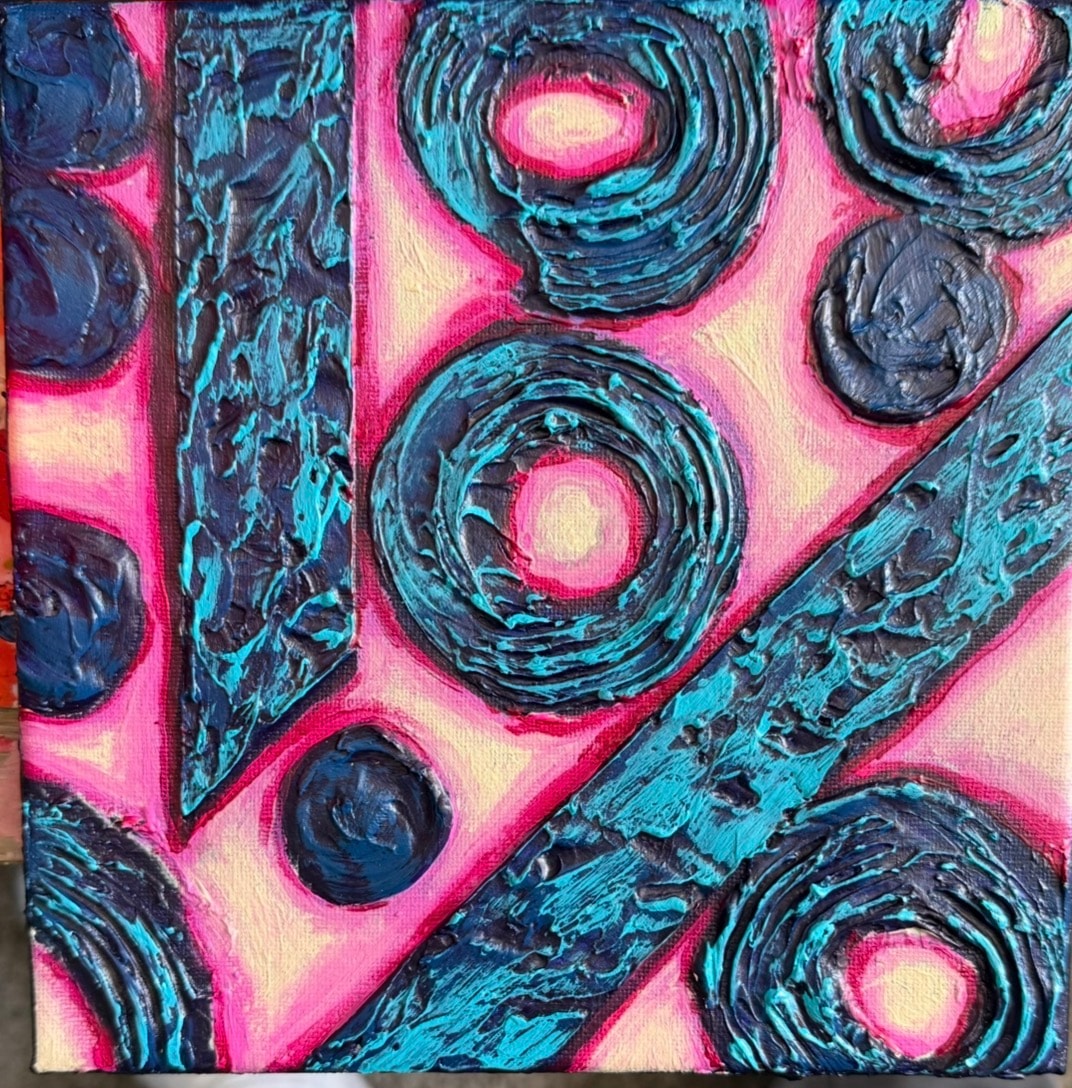
For an abstract composition, it means designing the dimensional structure itself — the arrangement of ridges, peaks, and valleys that will create visual rhythm and movement across the surface.
This planning stage is invisible in the finished painting, but it is the foundation of everything that follows.
Step 2: Preparing the Canvas
The canvas must be properly prepared to support the weight and flexibility demands of dimensional texture. A standard primed canvas works for moderate texture, but for heavy dimensional work, additional preparation is needed.
Jay the Painter uses professional-grade stretched canvas with a heavy-duty frame that will not warp under the weight of the texture medium. The canvas is inspected for any weak points or loose areas before work begins — a canvas that flexes unevenly will cause texture to crack over time.
For very large pieces, the canvas may be mounted on a rigid backing during the texture-building phase to prevent movement while the medium cures.
Step 3: Building the Dimensional Structure
This is the heart of the process — and the step that most distinguishes textured painting from every other art form.
Jay the Painter uses flexible caulk as his primary texture-building medium. This is not a conventional art supply. It is the same flexible sealant used in construction — chosen specifically because it remains flexible after curing, which means it can move with the canvas without cracking.
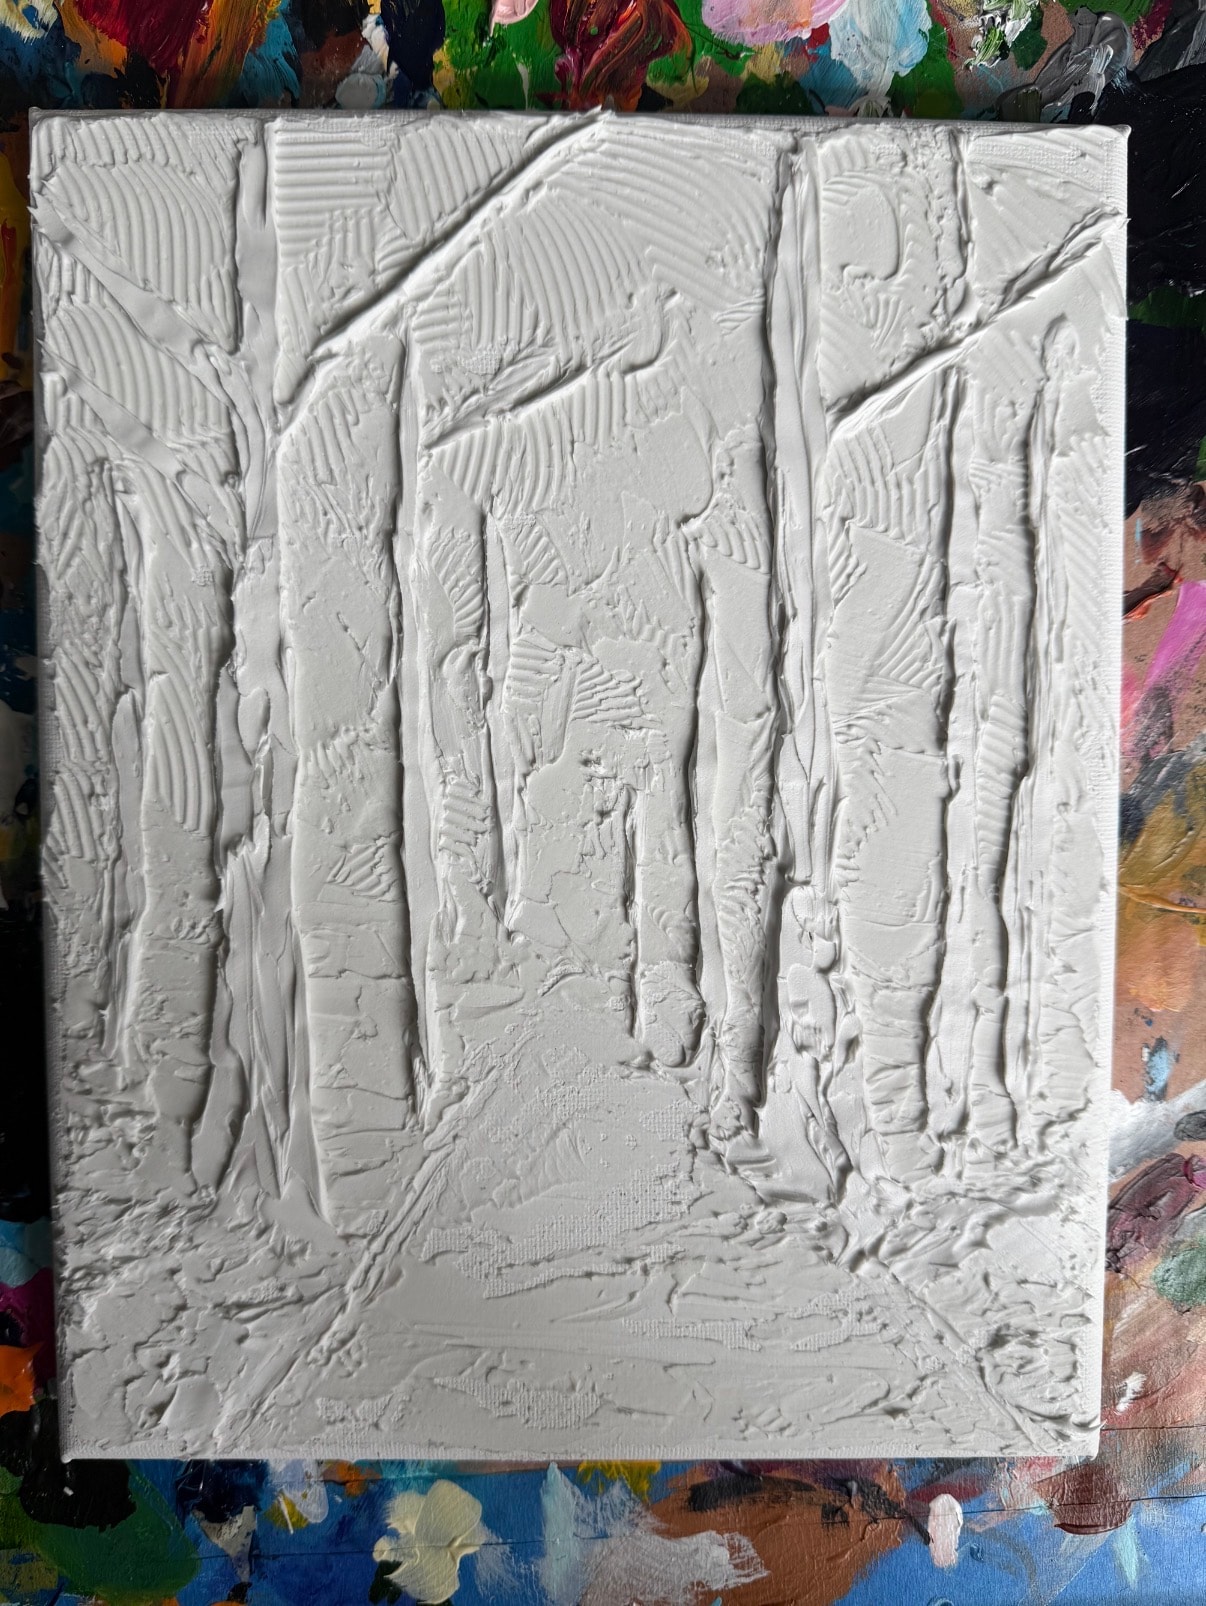
Using a combination of tools — caulk guns, palette knives, sculpting tools, and his hands — Jay builds the three-dimensional structure of the painting directly on the canvas surface. This is essentially sculpture. He is not painting yet. He is building a relief sculpture that will later receive paint.
For a forest painting, this means building individual tree trunks with dimensional bark texture, layering foliage masses in relief, and creating the sense of depth and recession that will make the finished painting feel like you could walk into it.
For a floral painting, it means sculpting individual petals with their natural curves and overlaps, building the center of the flower in higher relief, and creating the stems and leaves as dimensional elements that cast real shadows.
For an abstract, it means designing and building the entire dimensional composition — swirling ridges, geometric forms, organic peaks — as a sculptural object before any color is introduced.
This stage can take as long as the painting stage itself. For a complex large-format piece, building the dimensional structure may take several sessions over multiple days.
Step 4: Curing and Inspection
Once the dimensional structure is complete, the painting must cure completely before paint is applied. Caulk-based texture typically requires 24–48 hours to cure fully, depending on the thickness of the application and the ambient humidity.
During this time, the artist inspects the surface carefully for any areas that need reinforcement or adjustment. Thin areas that might crack under paint are built up. Structural elements that did not come out as planned are reworked while the medium is still workable.
This inspection stage is critical. Any structural problems that are not addressed before painting will be impossible to fix after the color work is complete.
After full curing, the surface is inspected one final time. The dimensional structure should be firm, flexible, and completely stable before painting begins.
Step 5: Base Color and Underpainting
With the dimensional structure complete and cured, painting begins — but not with the final colors. The first paint application is a base coat that establishes the overall tonal structure of the composition.
For most textured paintings, this base coat is applied with a large brush or roller, pushing paint into all the recesses of the dimensional surface to ensure complete coverage. The goal is to eliminate any white canvas showing through the texture and to establish the darkest values of the composition.
This base coat also serves as a guide for the color work that follows. By establishing the darkest areas first, the artist can see the full tonal range of the composition and plan the color layers accordingly.
Step 6: Building Color in Layers
The color work on a textured painting is fundamentally different from color work on a flat surface. Because the surface has real dimensional structure, the paint behaves differently — it pools in recesses, sits on peaks, and creates natural gradients as it flows across the dimensional topography.
Jay the Painter works in layers, building color from dark to light. Each layer is allowed to dry before the next is applied. This layering process creates depth and complexity in the color that would be impossible to achieve in a single application.
The dimensional surface guides the color work in ways that feel almost automatic. The recesses naturally hold darker values — shadows fall there. The peaks naturally receive lighter values — light hits them first. By working with this natural light logic rather than against it, the artist creates a painting that looks three-dimensional even in photographs, before the actual physical texture is visible.
Step 7: Detail Work and Refinement
With the major color areas established, the artist moves into detail work — adding the specific marks, highlights, and refinements that bring the painting to life.
For a forest painting, this means adding individual leaf details, bark texture highlights, light filtering through the canopy, and the subtle color variations that make a forest feel real rather than schematic.
For a floral painting, it means adding the delicate color gradients within individual petals, the stamens and pistils at the flower's center, and the subtle shadows where petals overlap.
For an abstract, it means refining the color relationships between different areas of the composition, adding accent marks that create visual rhythm, and making the final adjustments that bring the piece into balance.
This stage requires the most time and the most judgment. The artist is making hundreds of small decisions about color, value, and mark-making that collectively determine whether the painting succeeds or fails.
Step 8: Final Varnish and Protection
Once the painting is complete and fully dry, a final protective varnish is applied. This serves several purposes: it unifies the surface sheen across areas that may have dried to different levels of gloss, it protects the paint layer from dust and UV light, and it adds a final layer of protection to the dimensional surface.
For textured paintings, the varnish application requires care. A standard brush application can leave brush marks visible in the recesses of the texture. Jay the Painter uses a combination of brush and spray application to ensure even coverage across the entire dimensional surface.
The finished painting is then inspected under multiple light sources — natural light, directional spotlight, ambient room light — to confirm that the dimensional surface reads correctly and the color work holds up under all conditions.
The Result: A Painting That Cannot Be Reproduced
At the end of this process, the result is a painting that is genuinely one of a kind. Not because it is signed and numbered. Not because it is limited edition. But because the physical process of building dimensional texture by hand produces a surface that is unique to that specific painting, made at that specific moment, by that specific artist.
No two textured paintings are ever exactly alike — even if the same artist paints the same subject twice. The dimensional structure will be different. The color layers will interact differently. The light will fall differently.
This is what makes original textured paintings worth collecting. They are not reproductions of an idea. They are the idea itself, made physical.
See the Process in Action
Jay the Painter documents his process on his website, including before-and-after photographs showing the caulk texture structure before paint is applied and the finished painting after color work is complete.
See the Blue Forest Path painting process — from blank canvas to finished textured painting →
Explore Topics
Written by
Jay the Painter
Content creator and writer sharing insights and stories.